When we first saw it all I could think was, “How does one even begin to fix this up?! There is no way we would live here.” We were in town from Chicago, and our family members had just purchased a quaint house in a great neighborhood, so we swung by to see it.
They’d done project like this before — purchasing a fixer upper with the intent to renovate and either flip it or rent it out — and it’s safe to say they knew what they were doing. They had a key piece of advice that, in hindsight, I really learned from. “In a renovation project/house flip, you want to take the worst house on the block and turn it into one of the best.” I didn’t see how this house could be turned around, but I admired them for their vision.
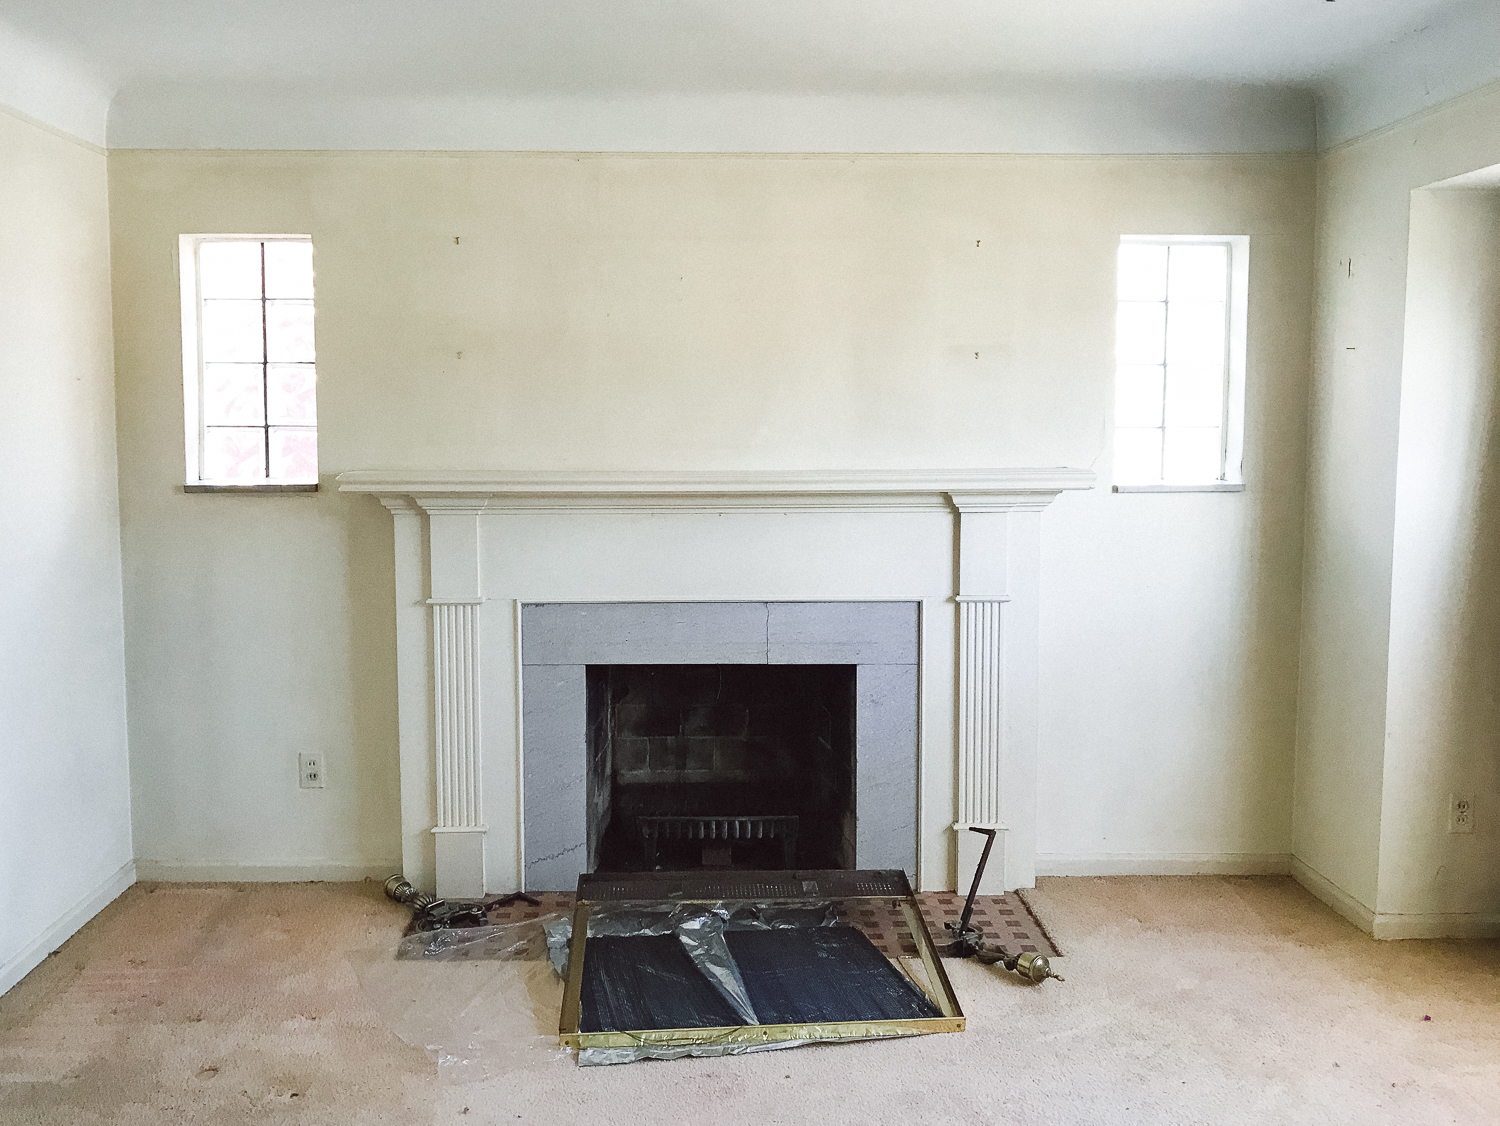
The house was, in a word, bad. Straight from the 1950s and hadn’t been updated since. Dirty. Had (actual) raccoons living in it at one point prior to its purchase. Bad.
But they saw that the bones of it were good. And, with some a lot of help, it could be turned into something wonderful.
As timing would have it, a few months later when we decided to begin our process of moving back to Detroit, the house became a great option for a lot of reasons:
- We’d be its first renters after the renovation, which basically meant a brand new house for our family to enjoy.
- Renting in general was appealing because we wanted to take our time while figuring out where we really wanted to be in Michigan long term before we bought.
- We’d know our landlords and knew they’d make it into a quality and safe home for our family, which is always a plus. (Especially after dealing with multiple horror stories in Chicago after living there for a decade!)
- Since the owners are family members, we all agreed that it’d be a fun project to work on together. A fixer upper home renovation was something that Doug and I had been eager to do for a long time, and now we had an amazing opportunity to be a part of one.
“Let’s do it.” And so the renovation process began!
We drove in multiple times to help with the demolition process. (Things like breaking apart the old fireplace tile, removing the carpet from the floors, tearing down walls.) The owners took the reigns on big decisions (like the ultimate decision to put in an enclose sun room) but were so generous to take us along for the ride. We helped pick out tiles, paint colors and appliances. It was a lot of work, but fun, and an experience that I truly learned so much from.
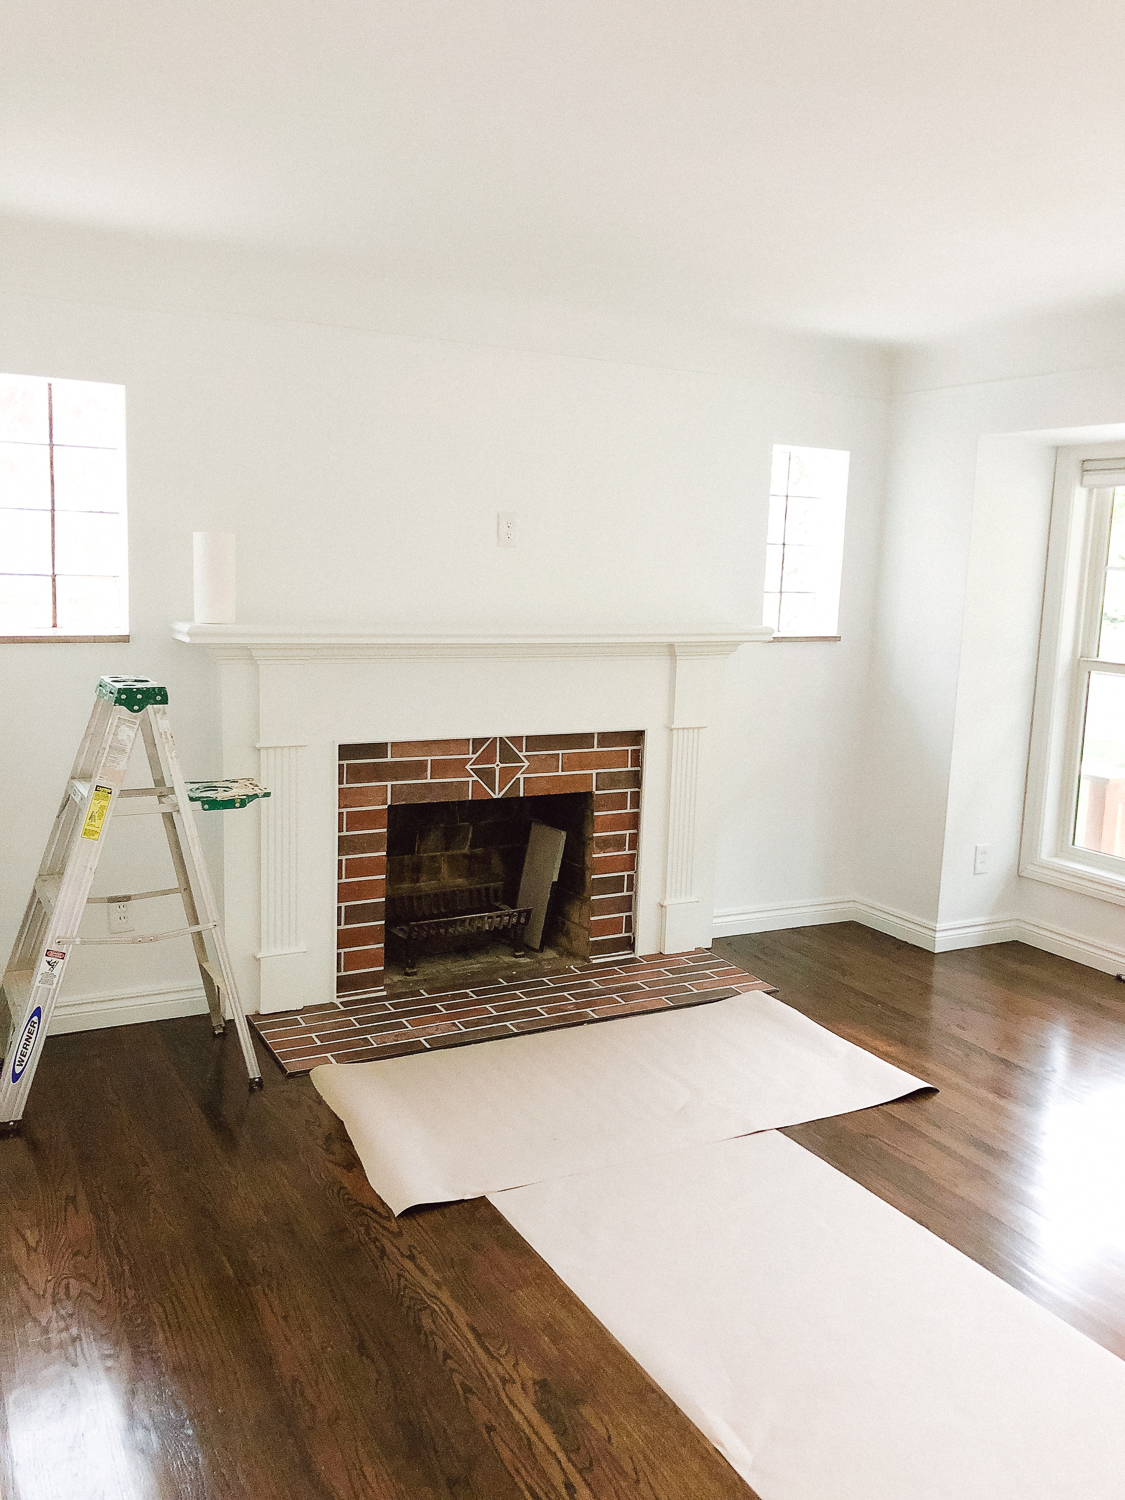
I look back on it all, and the beautiful house we’re moving into, and am filled with gratitude. Nearly a year later, and after putting this post together and re-looking at the “before” photos in particular, I can’t believe how far this house has come!
And, I’m so excited to share a “before and after” visual tour with you today! A few caveats as you check these photos out:
- The quality of these aren’t great because I grabbed them all quickly on my iPhone. But, they do the job, so let’s roll with it!
- This is a very rough showing of the final. There is still a lot of work being done on the house. Things like finishing the entire sun room, finalizing details in the bathrooms, etc. But even though it’s not perfect, I wanted to take you along for the ride! I think you can definitely see some of the major changes and progress that’s been made.
- There’s a ton of outside work being done as well. A new garage and front porch, but I figured I’d separate the inside of the house from those details for the time being.
- I took these among lots of work being done, so excuse the mess. 😉
Okay, enough of the set up already! Let’s do this. But, before we do…
Hi! I’m Emily, and I’ll be your tour guide today. Please keep your arms and legs inside the vehicle at all times. 😉
The Living Room – Before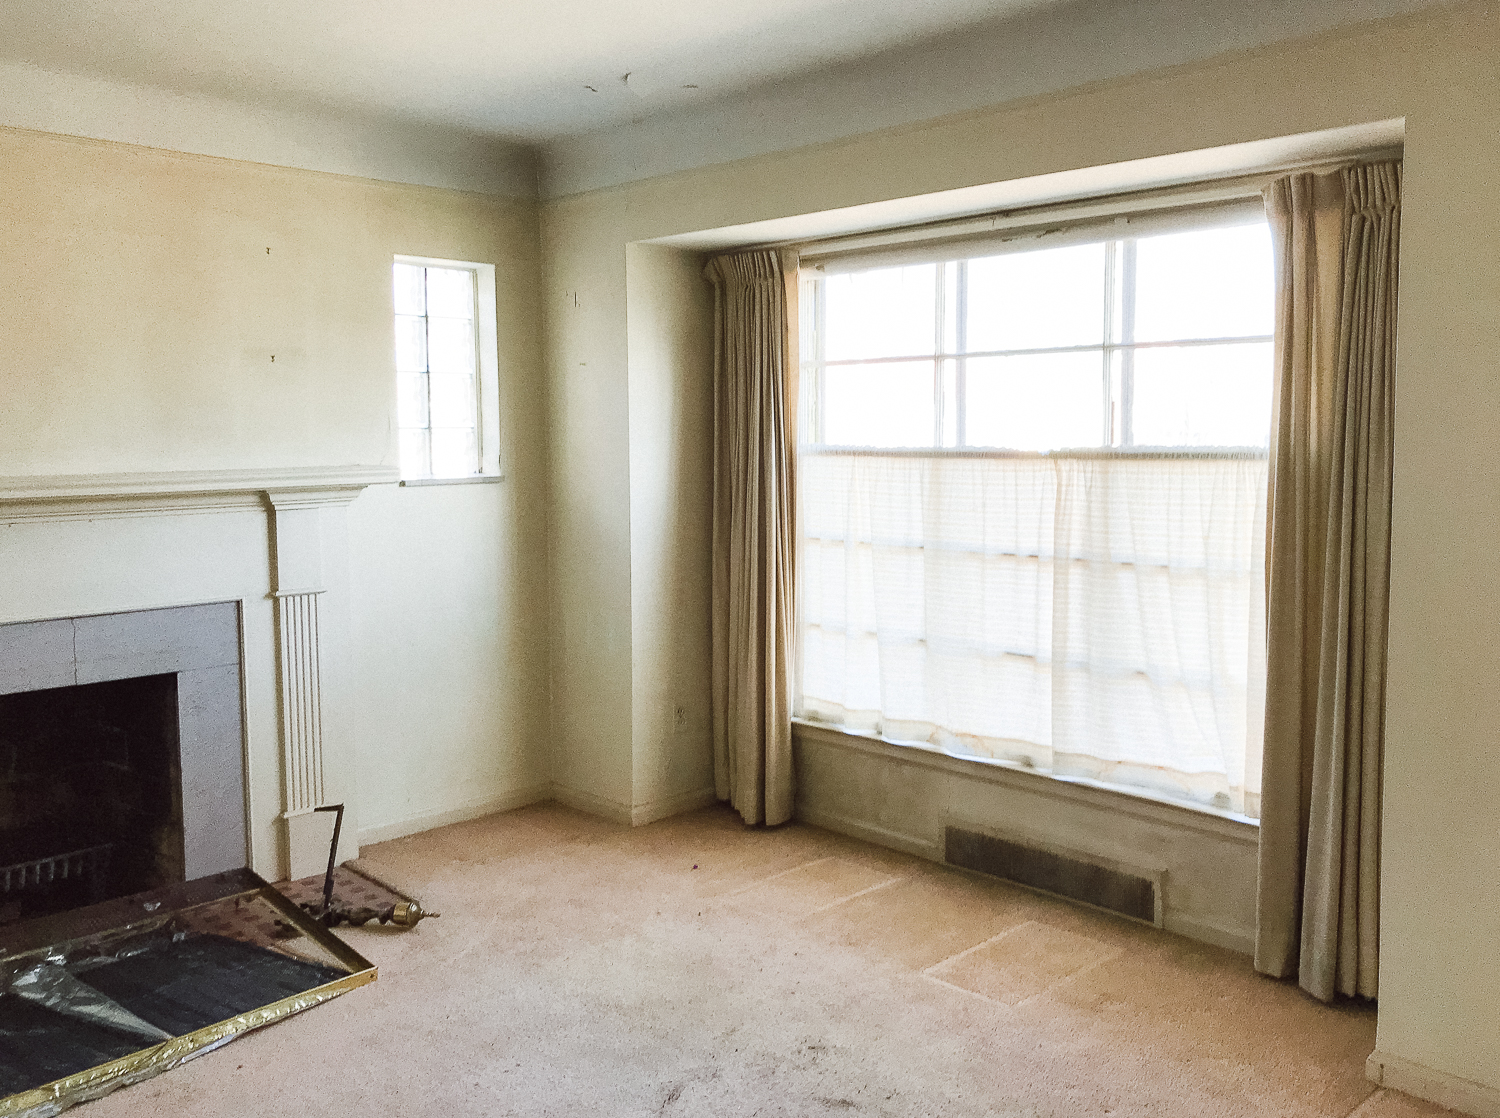
The Living Room – After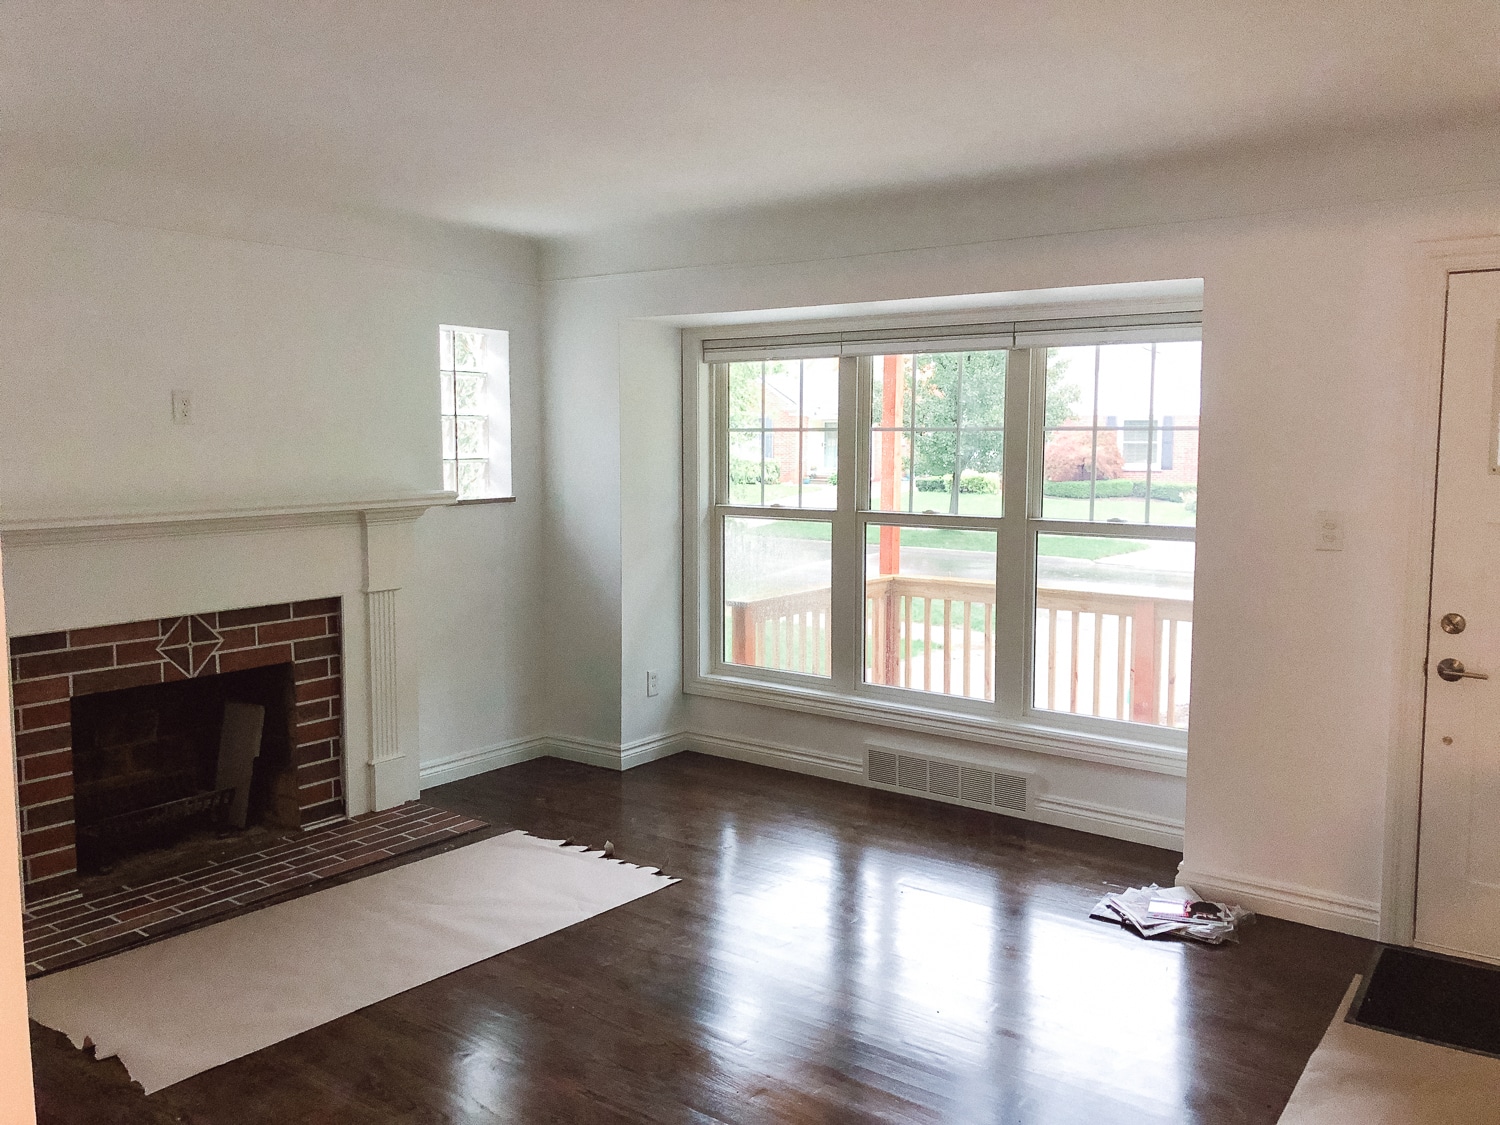
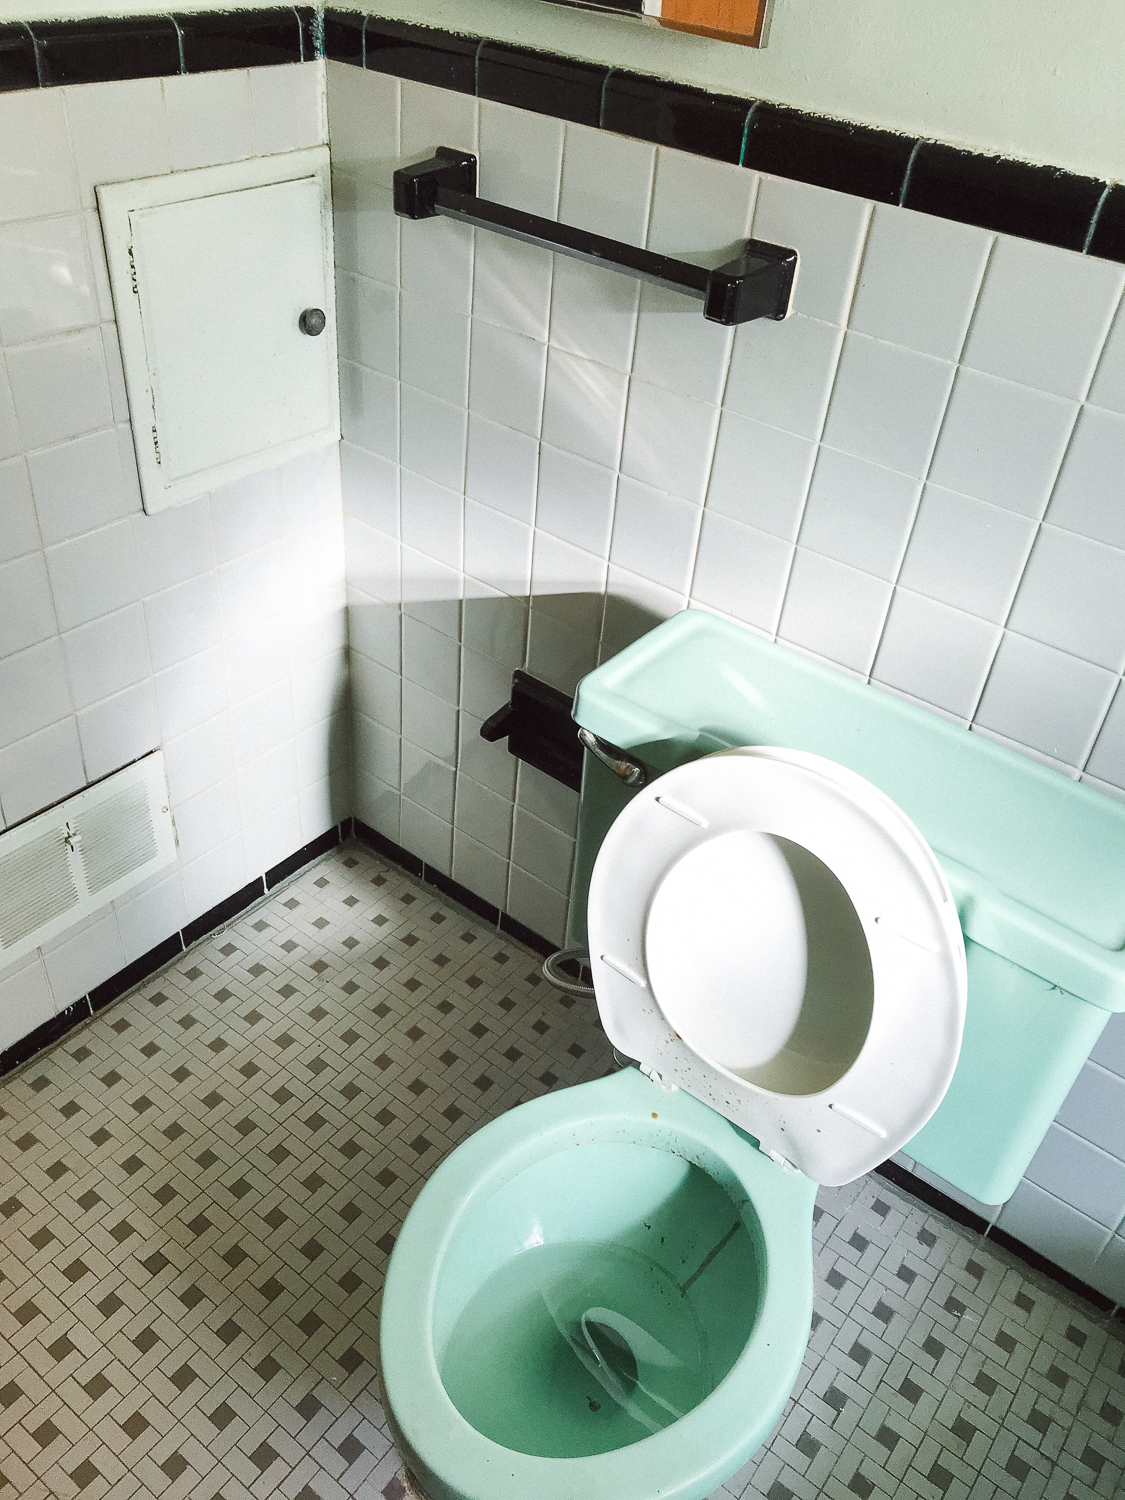
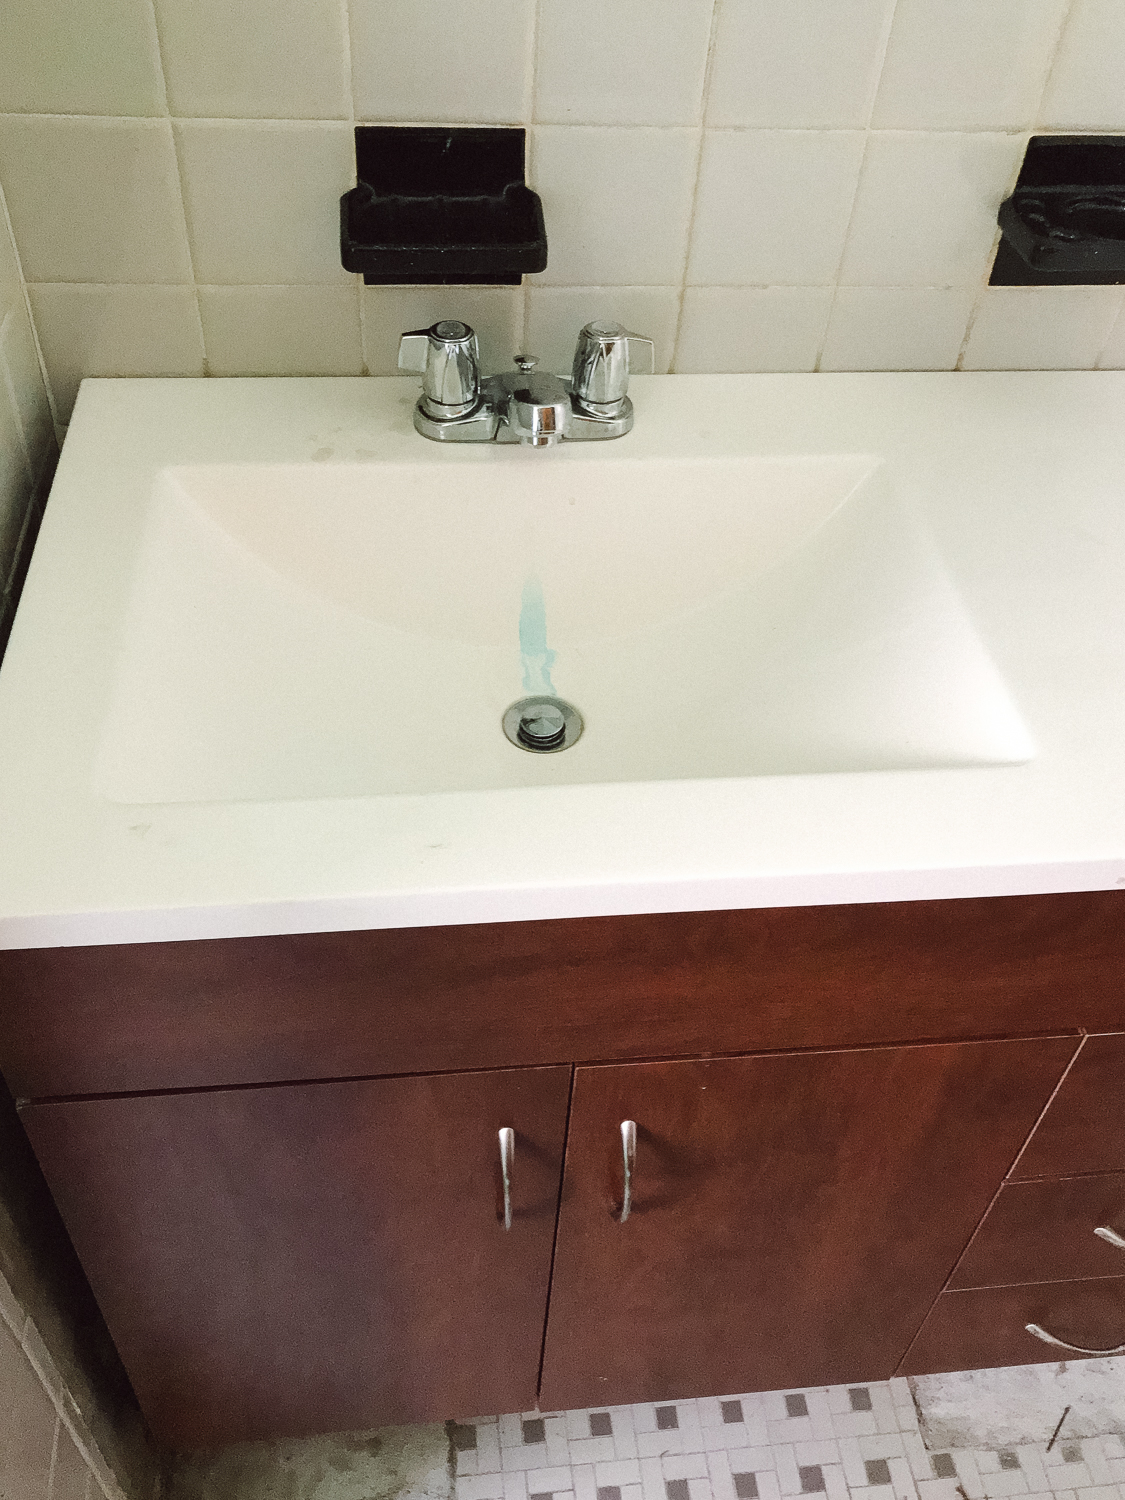
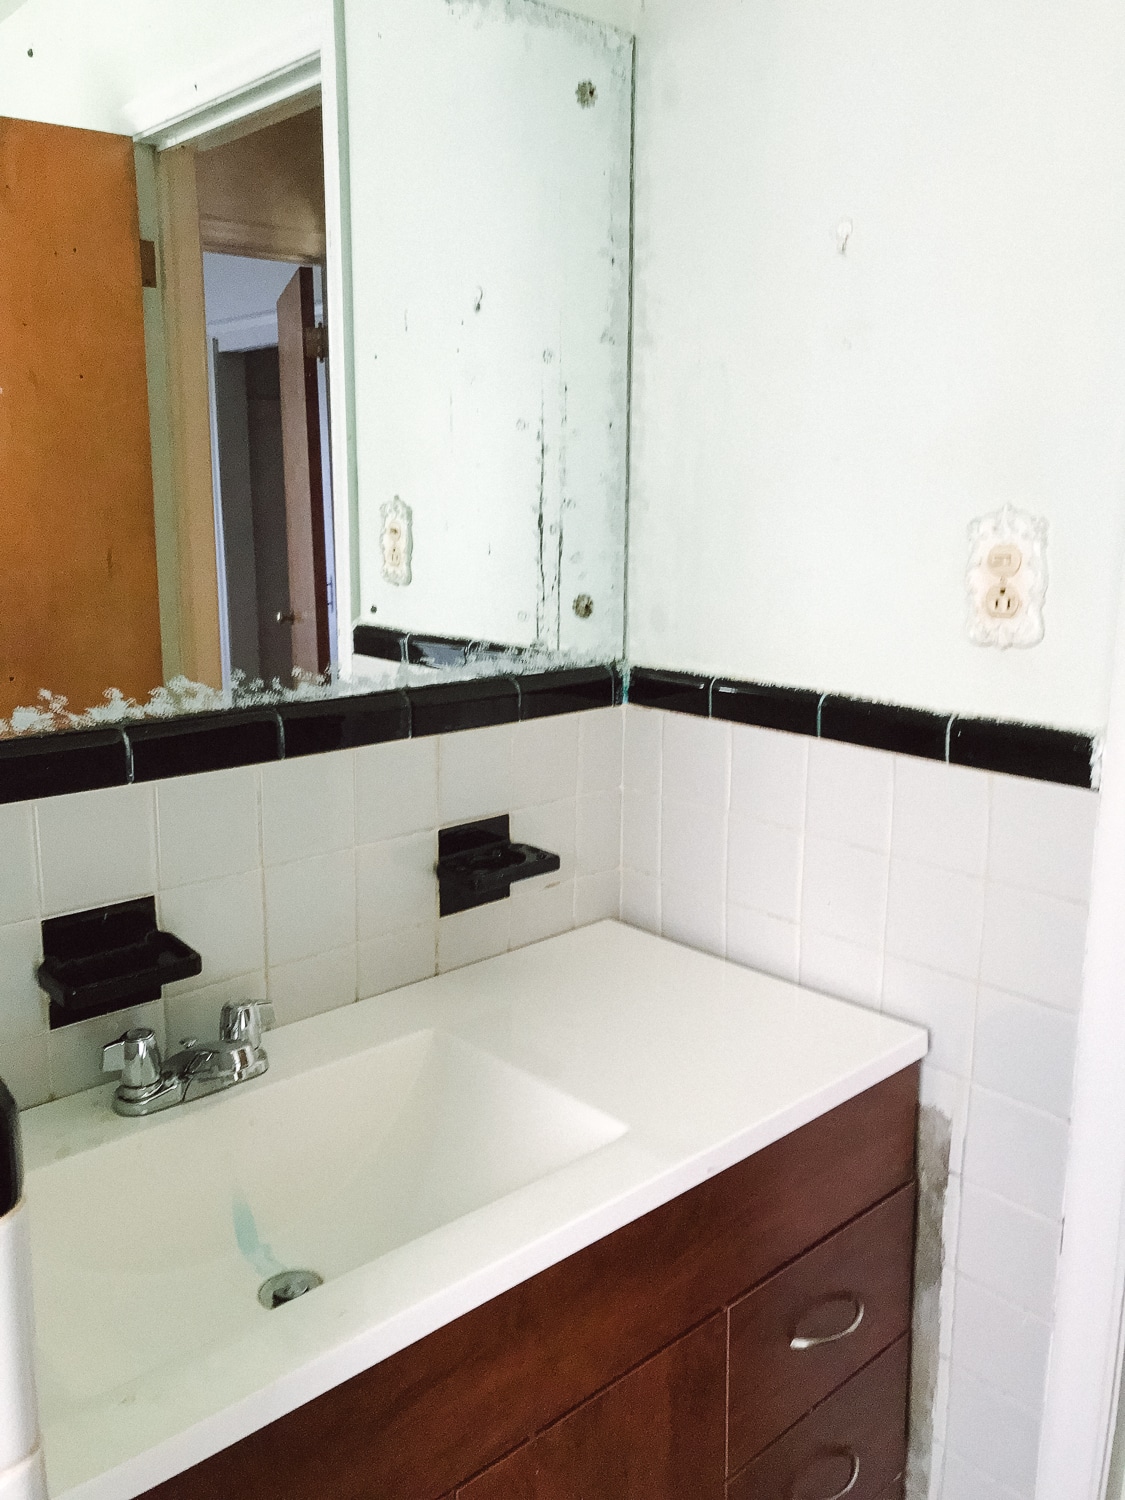
First Floor Bathroom – Before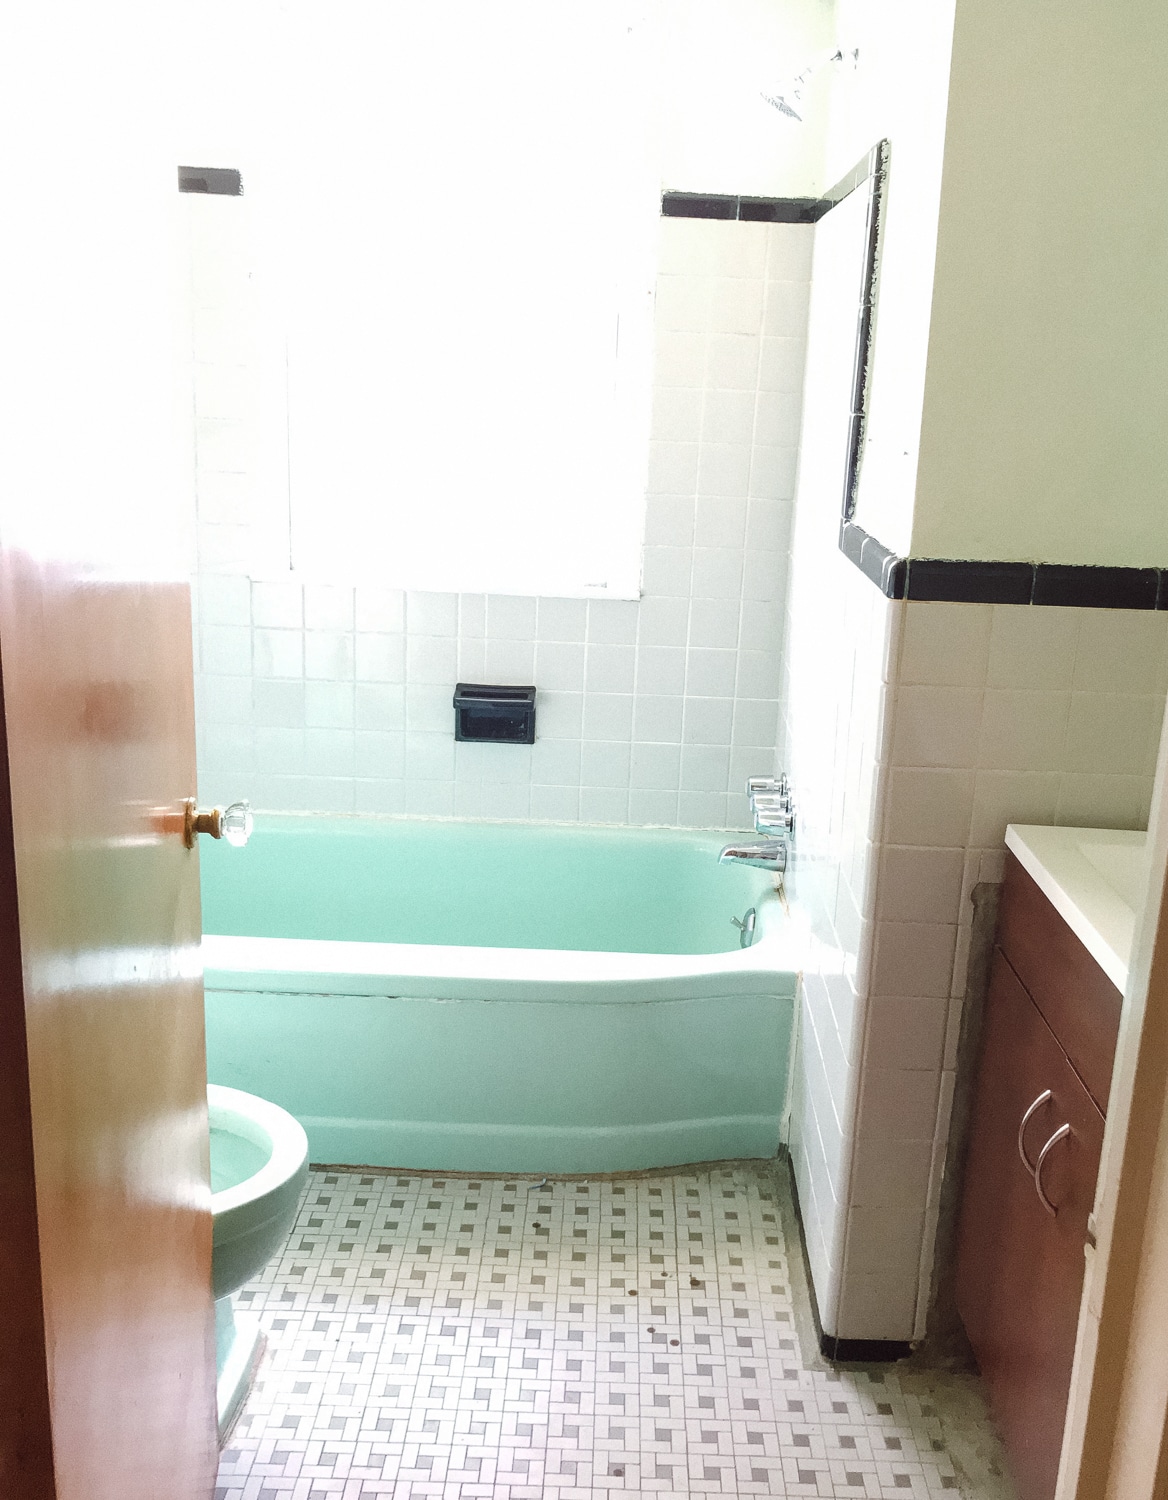
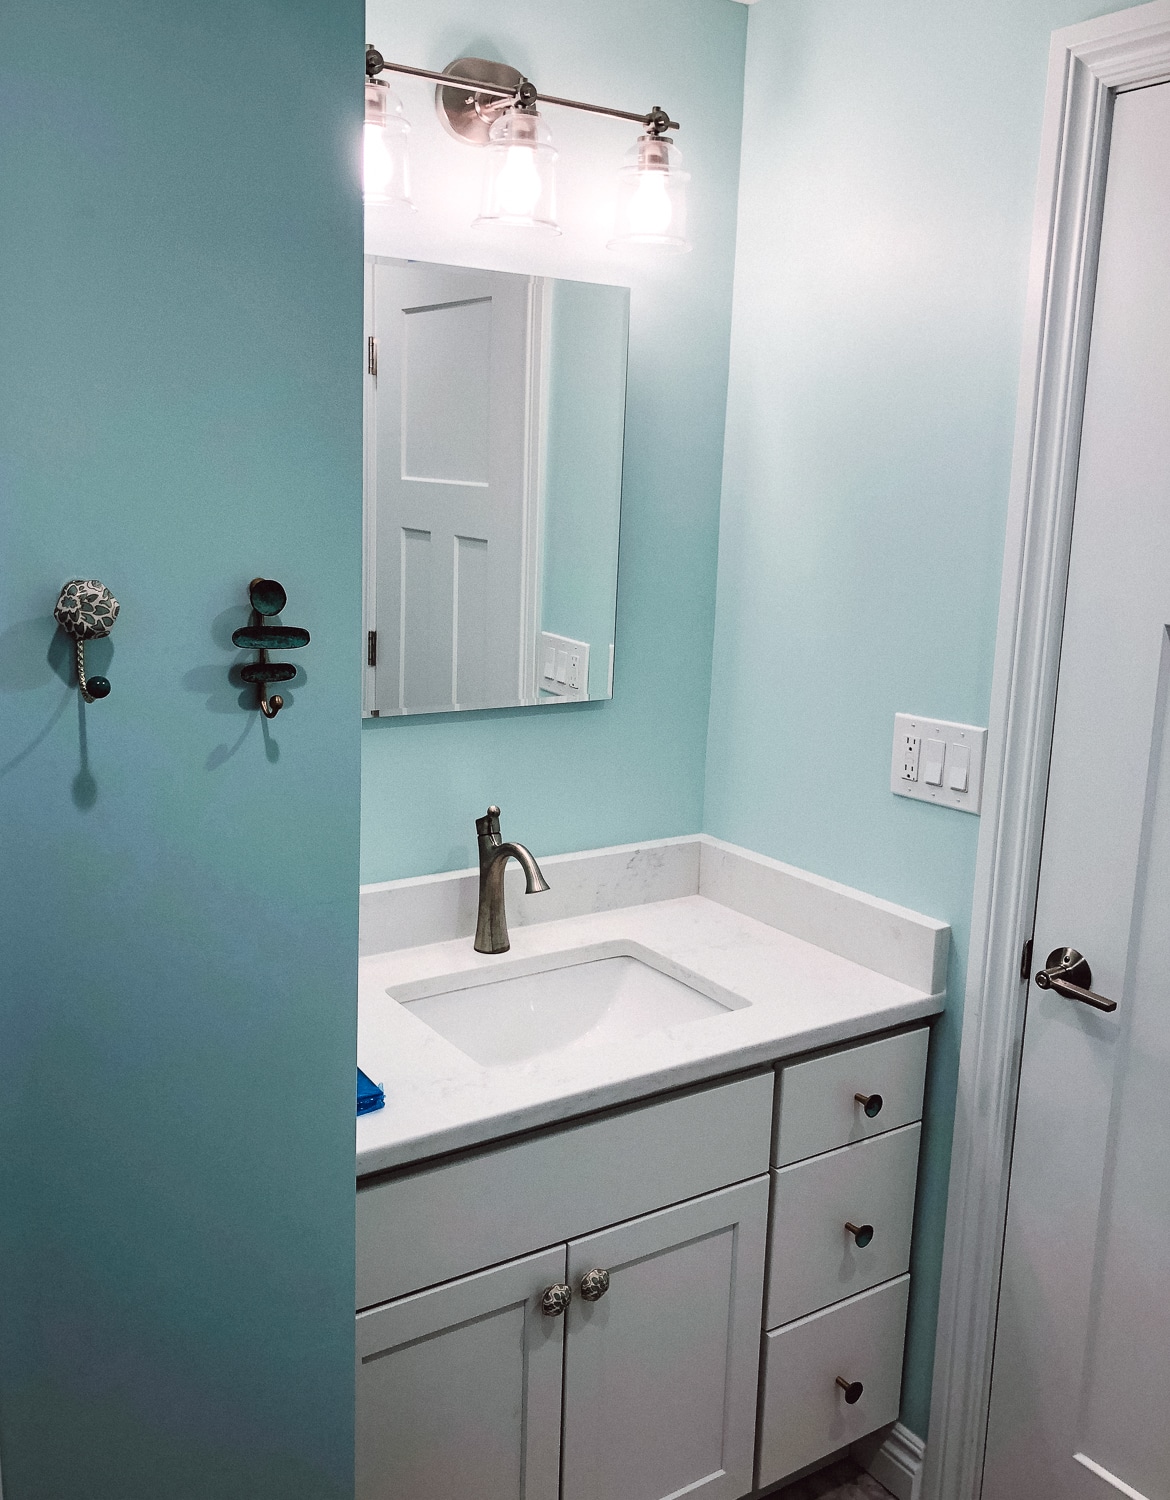
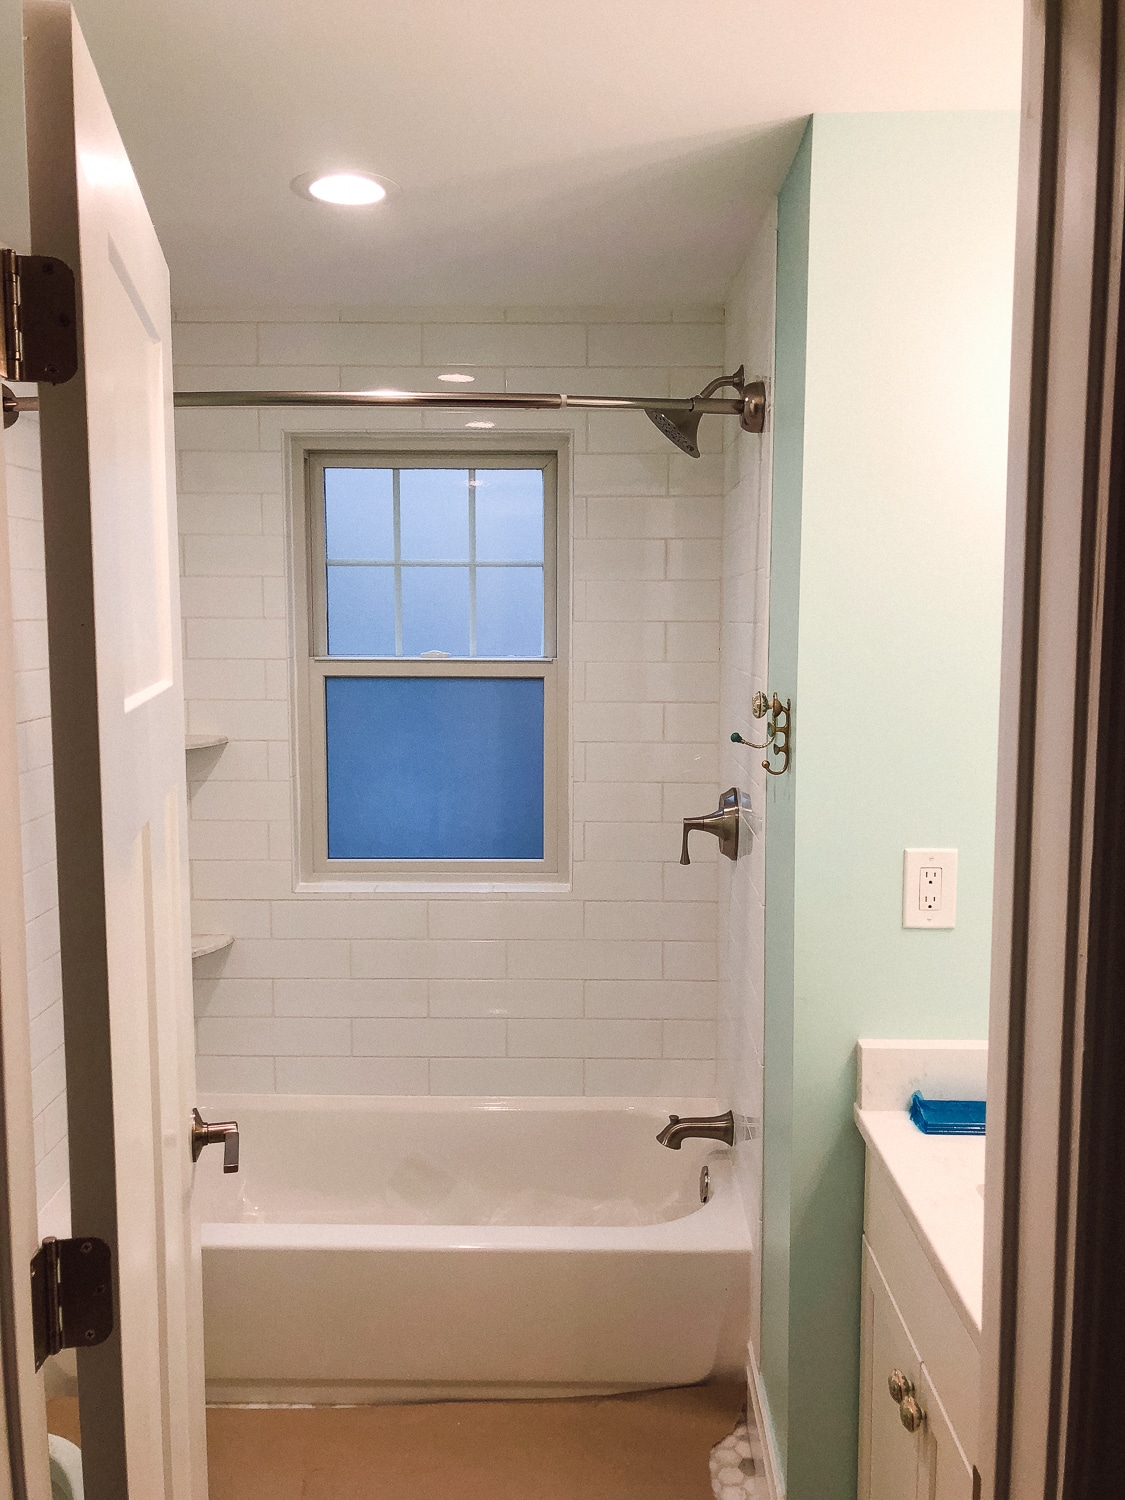
First Floor Bathroom – After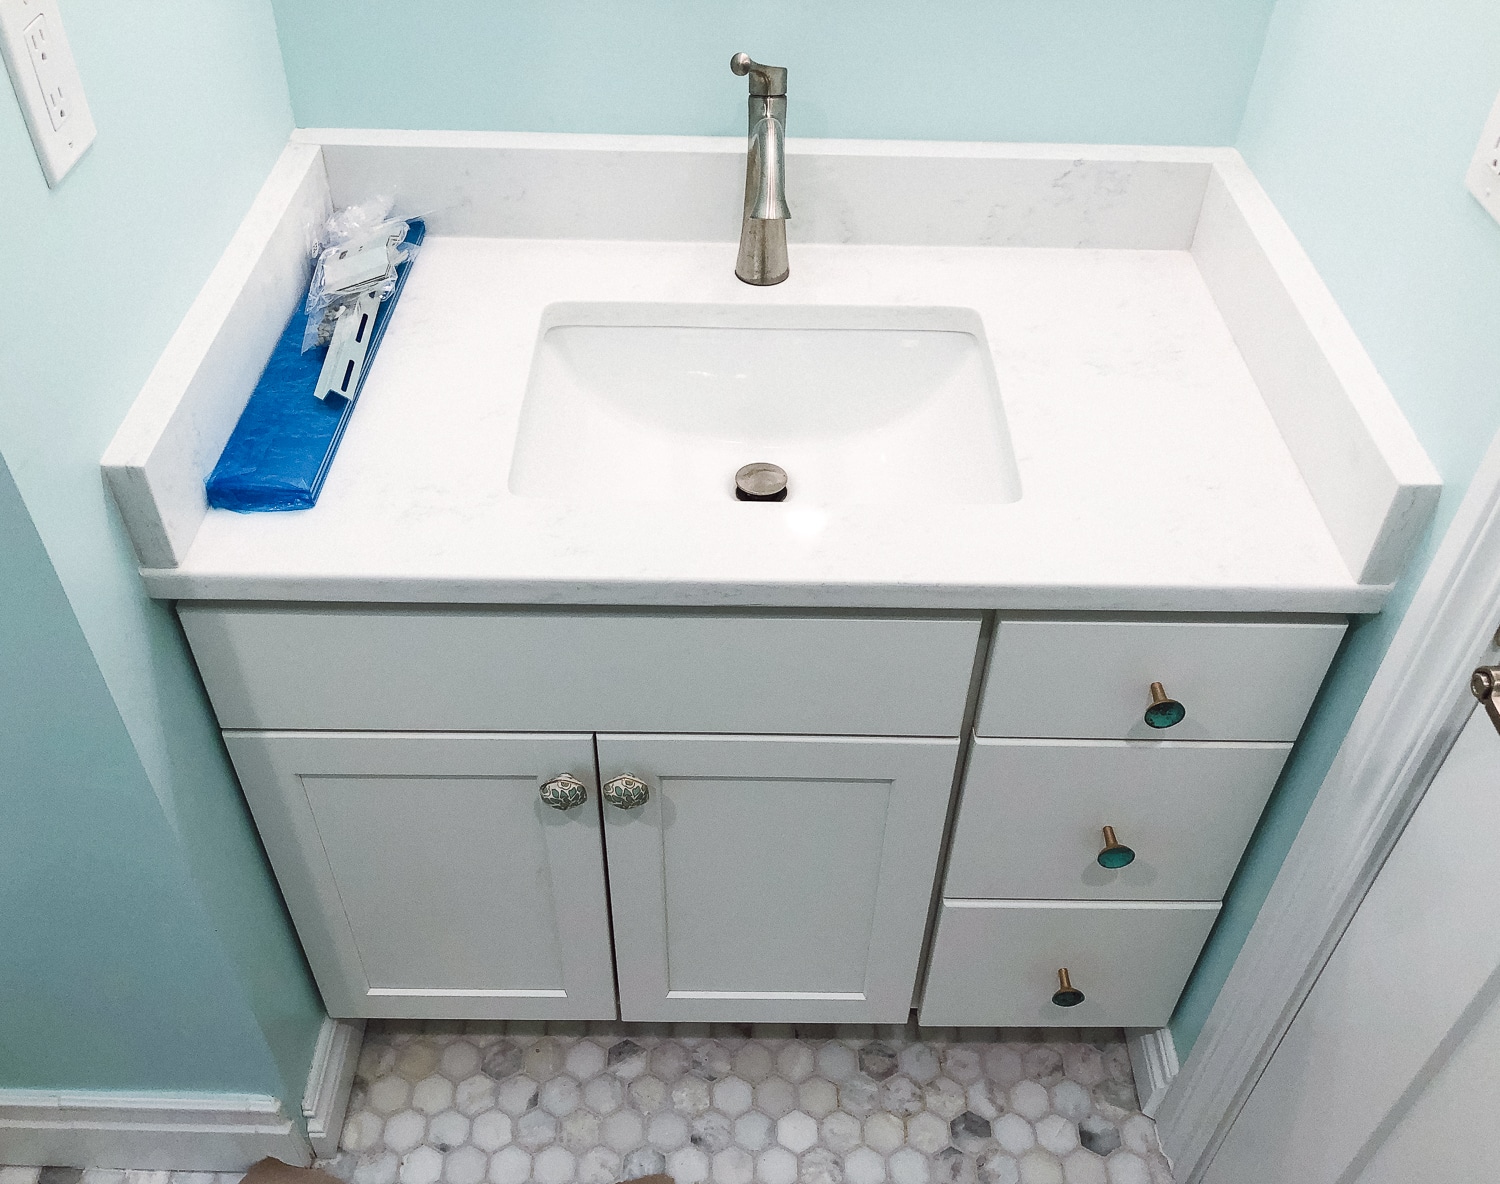
Kid’s Bedrooms – Before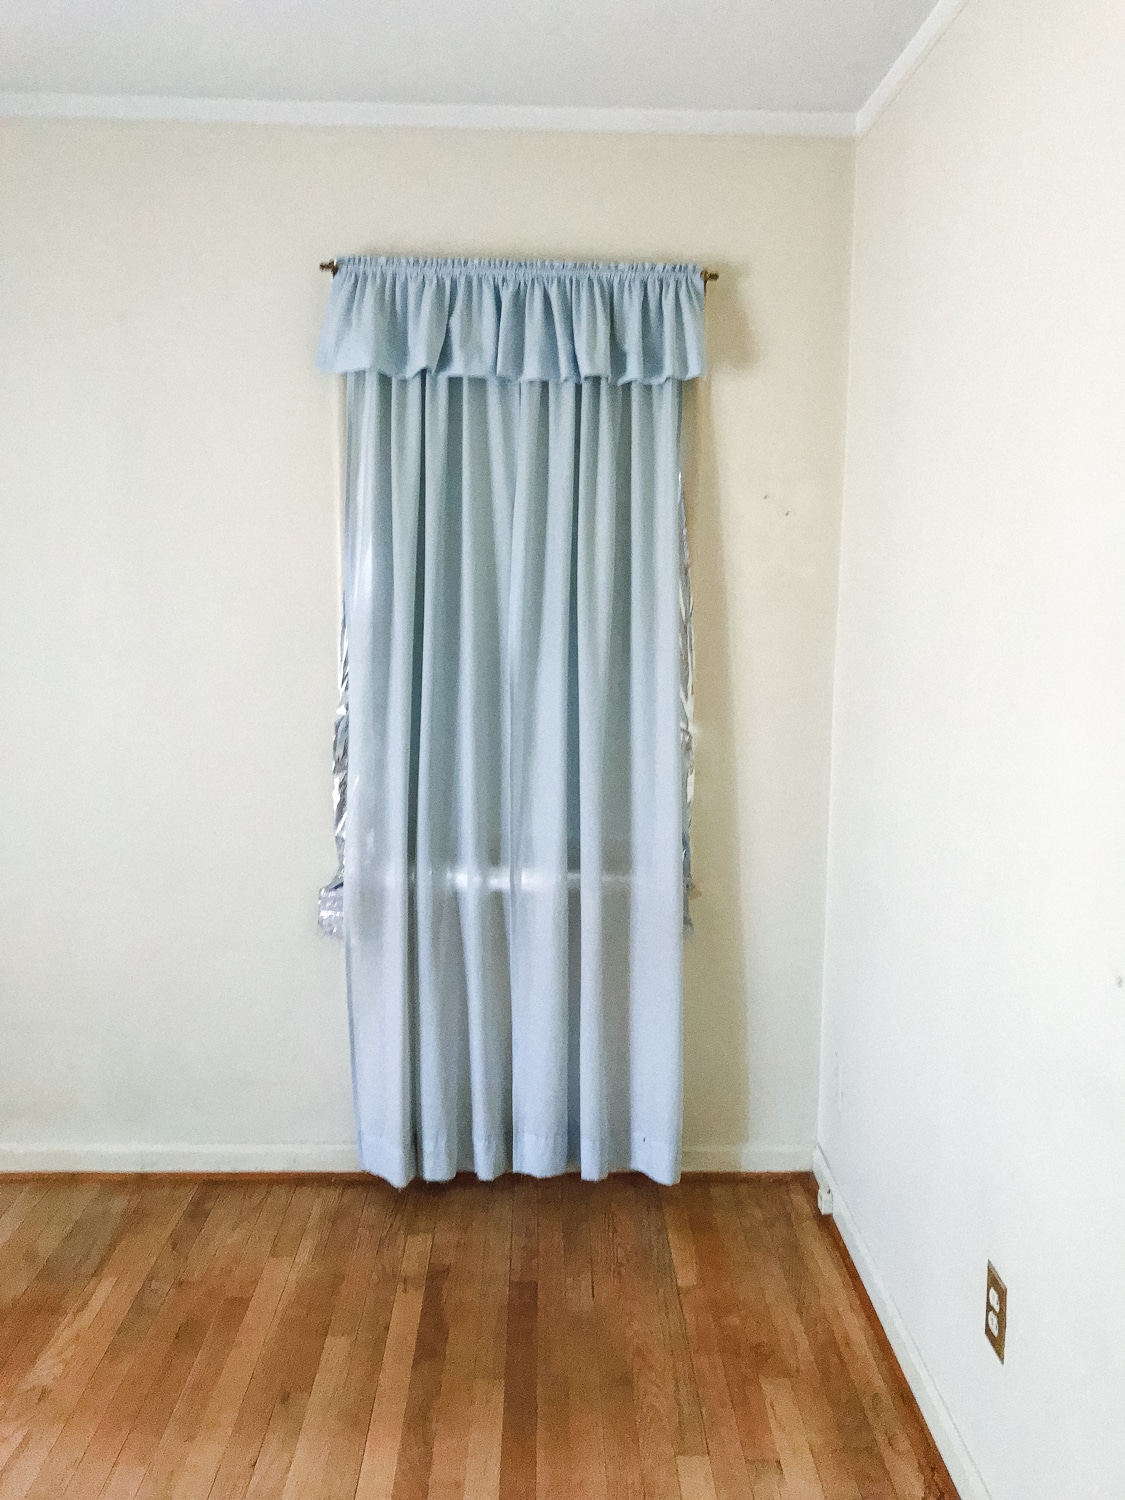
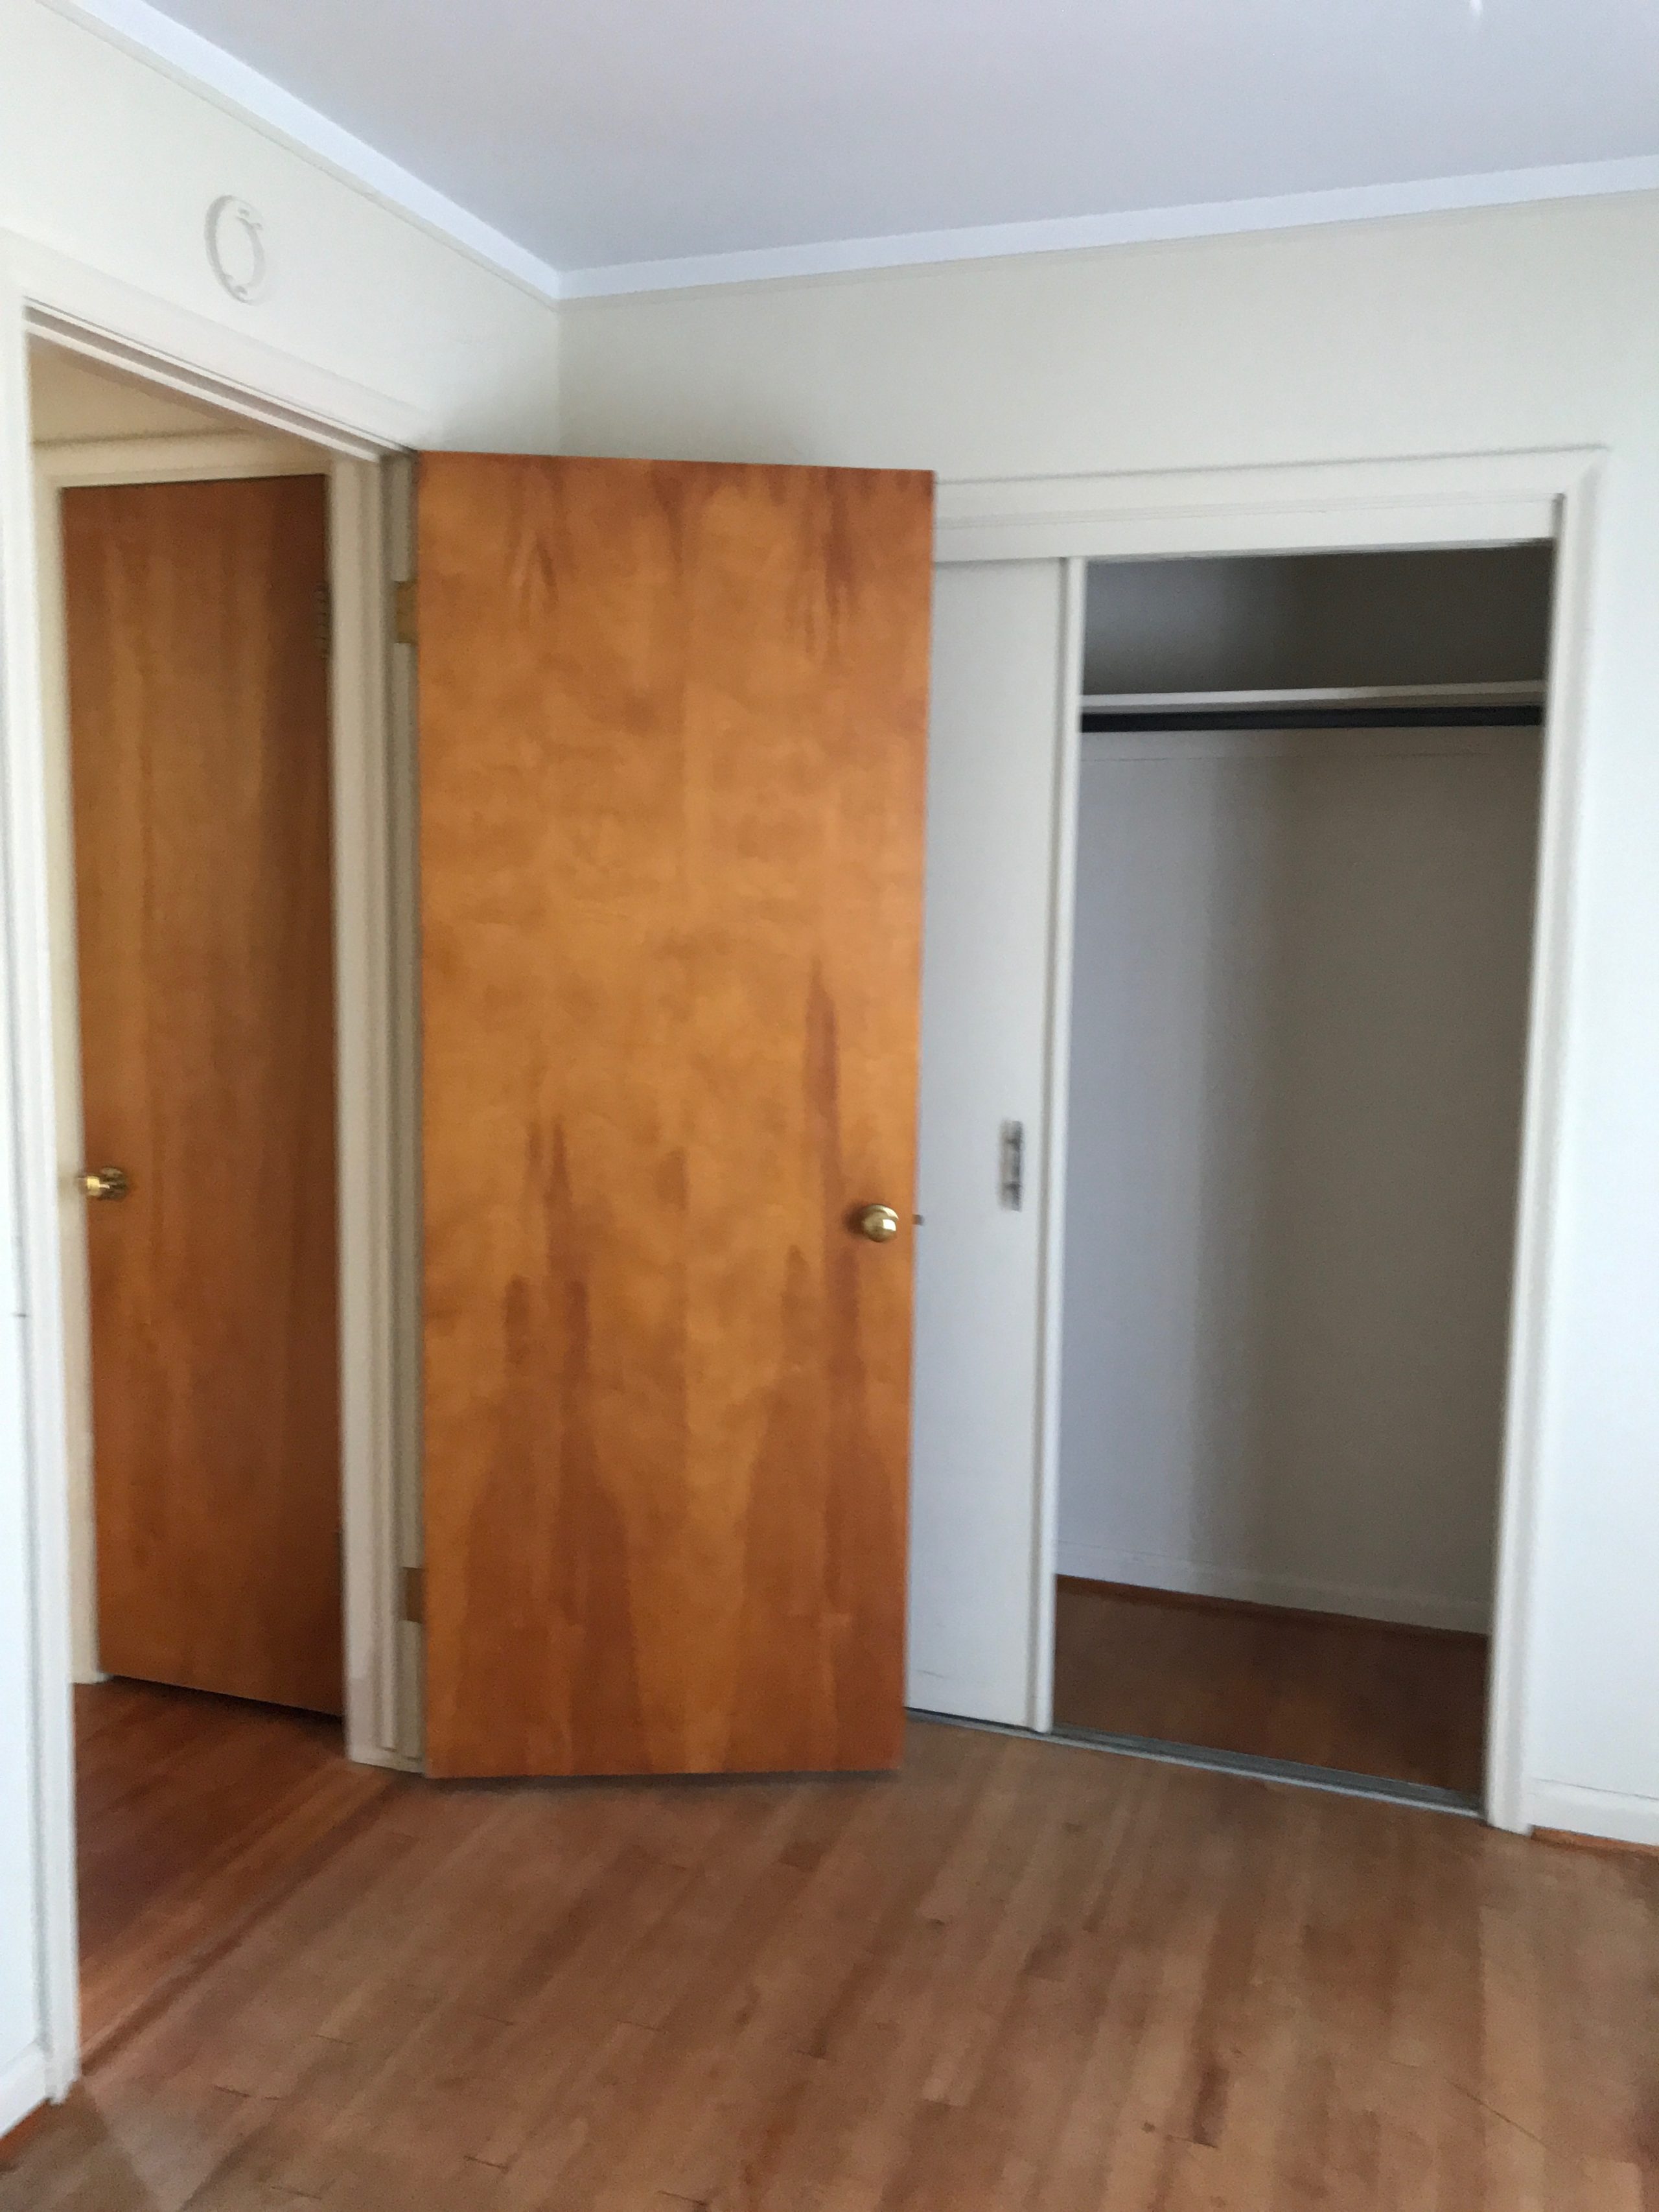
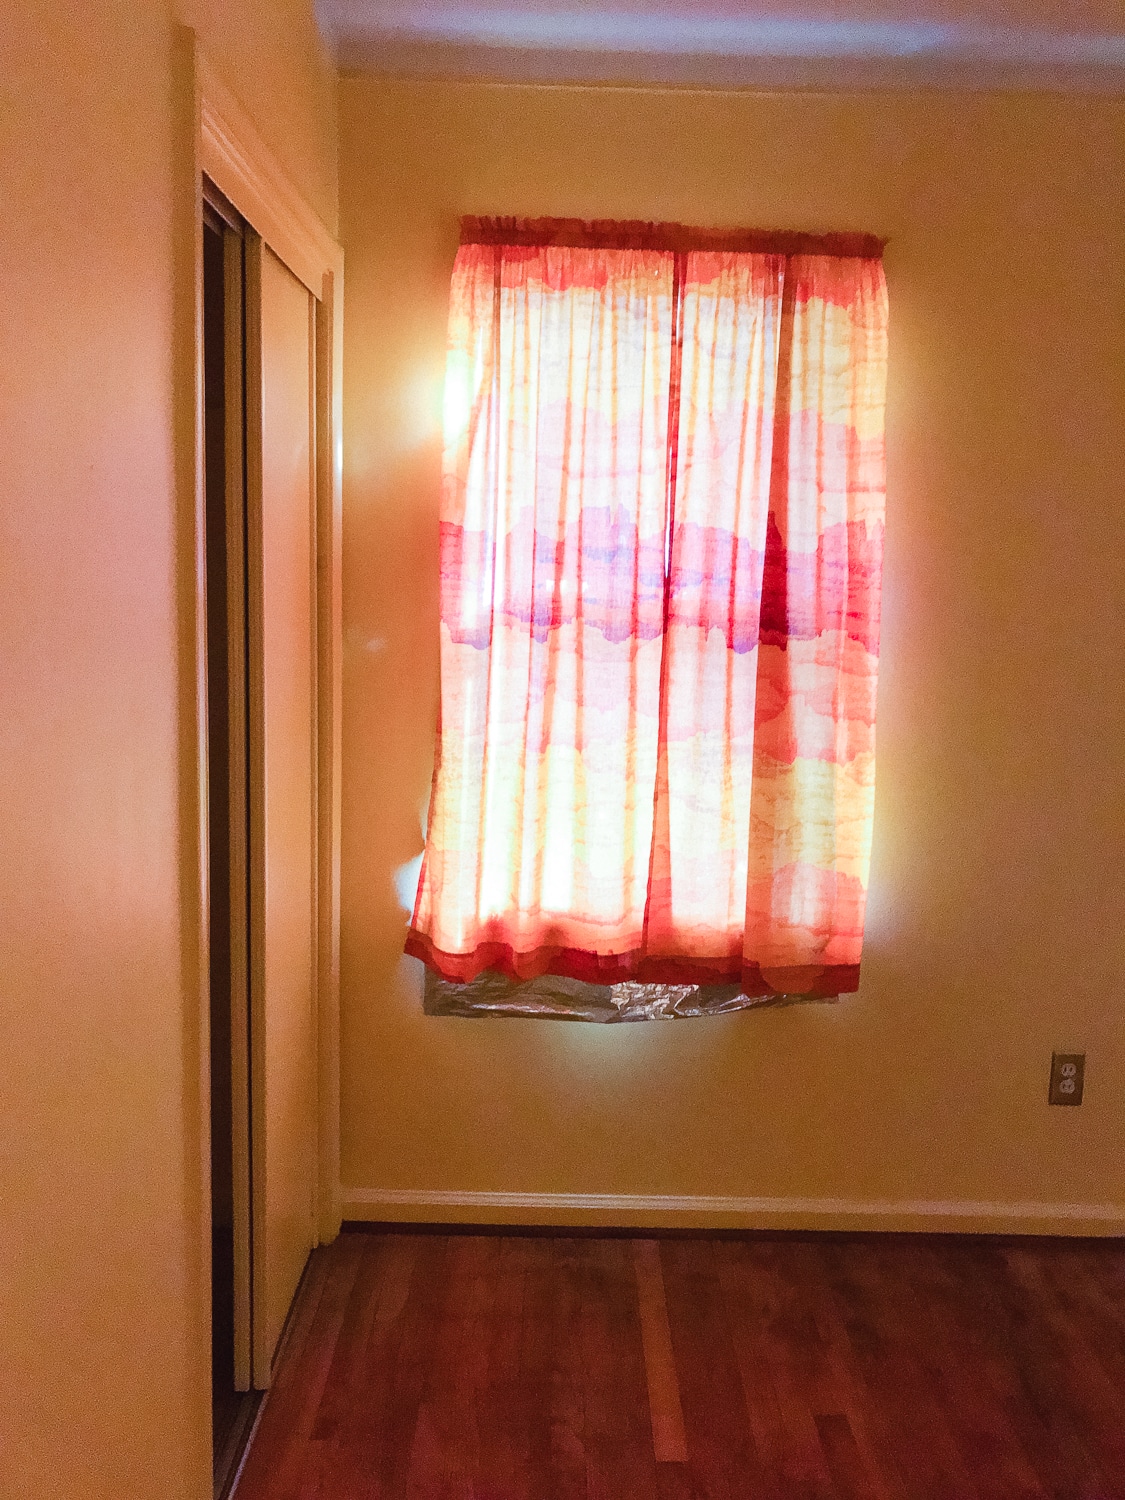
Kid’s Bedrooms – After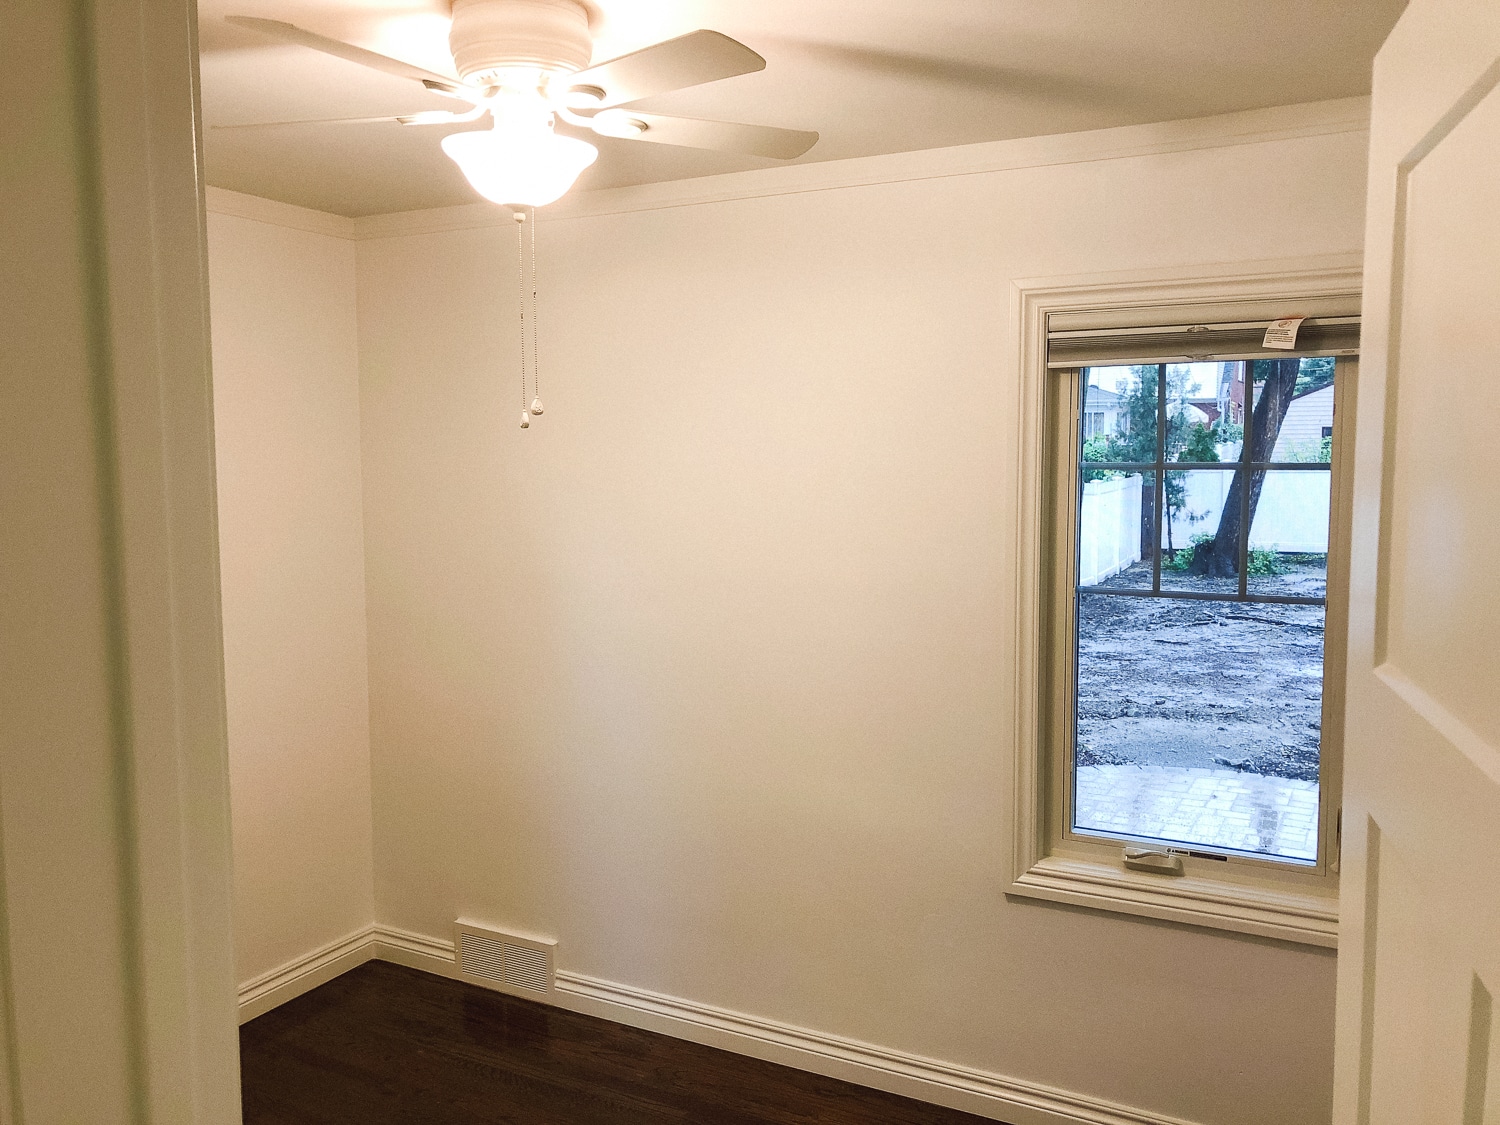
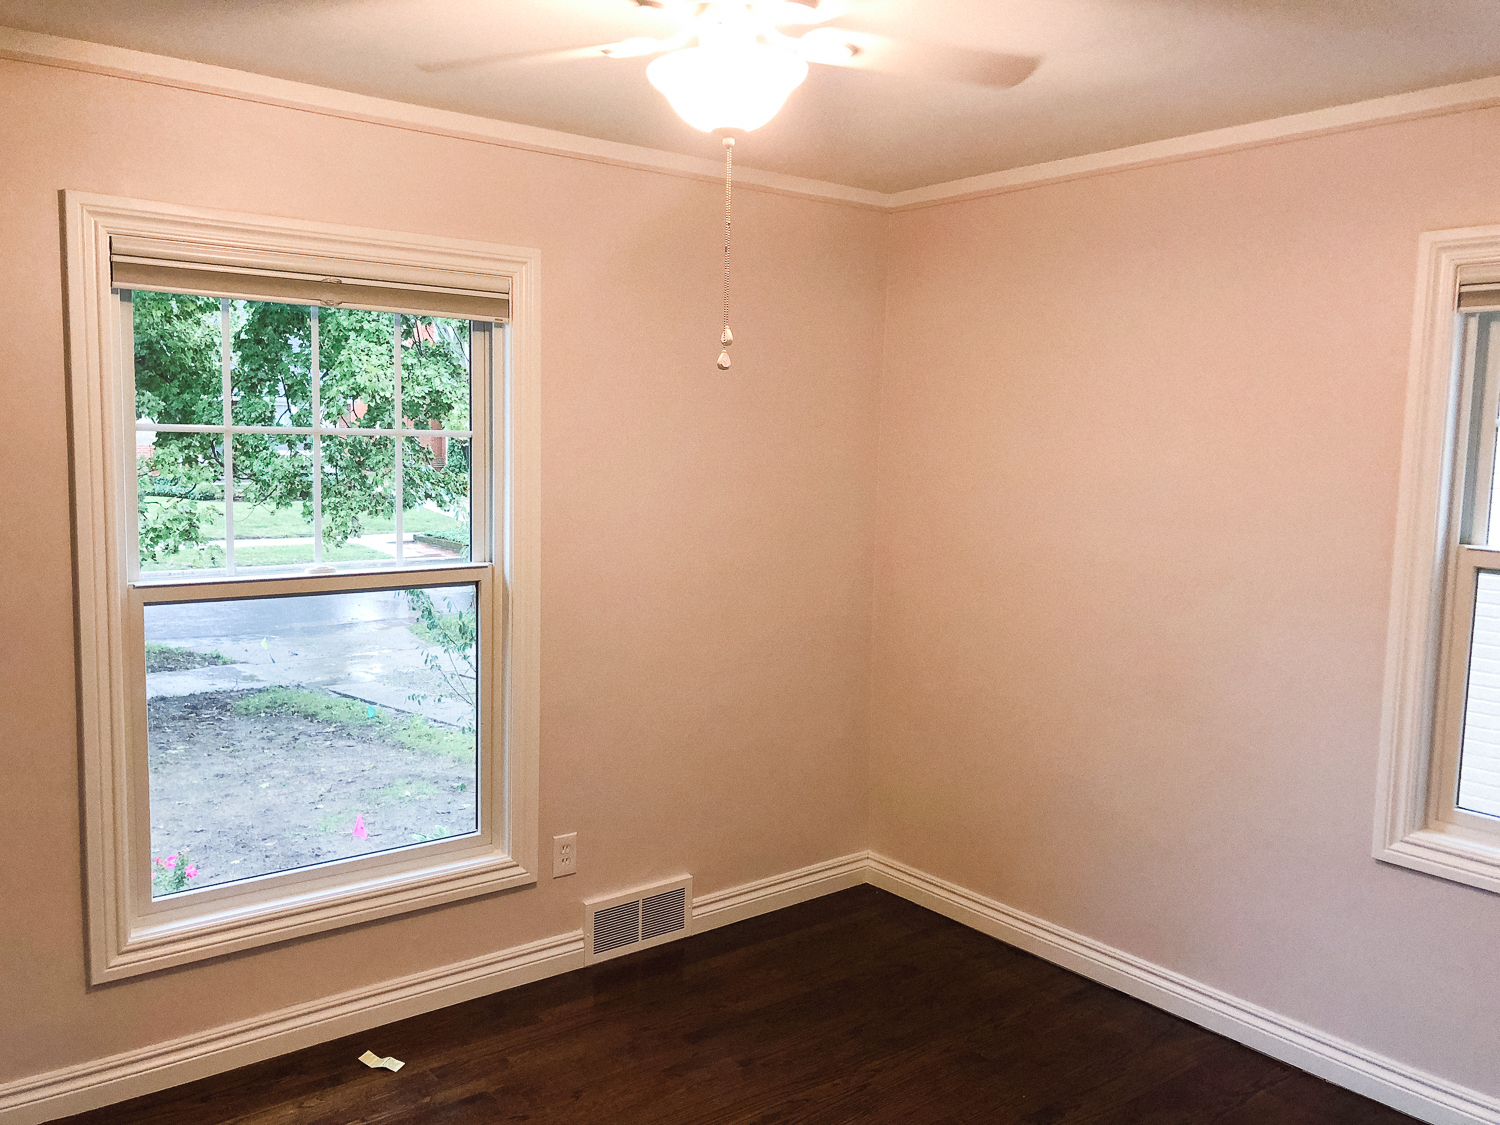
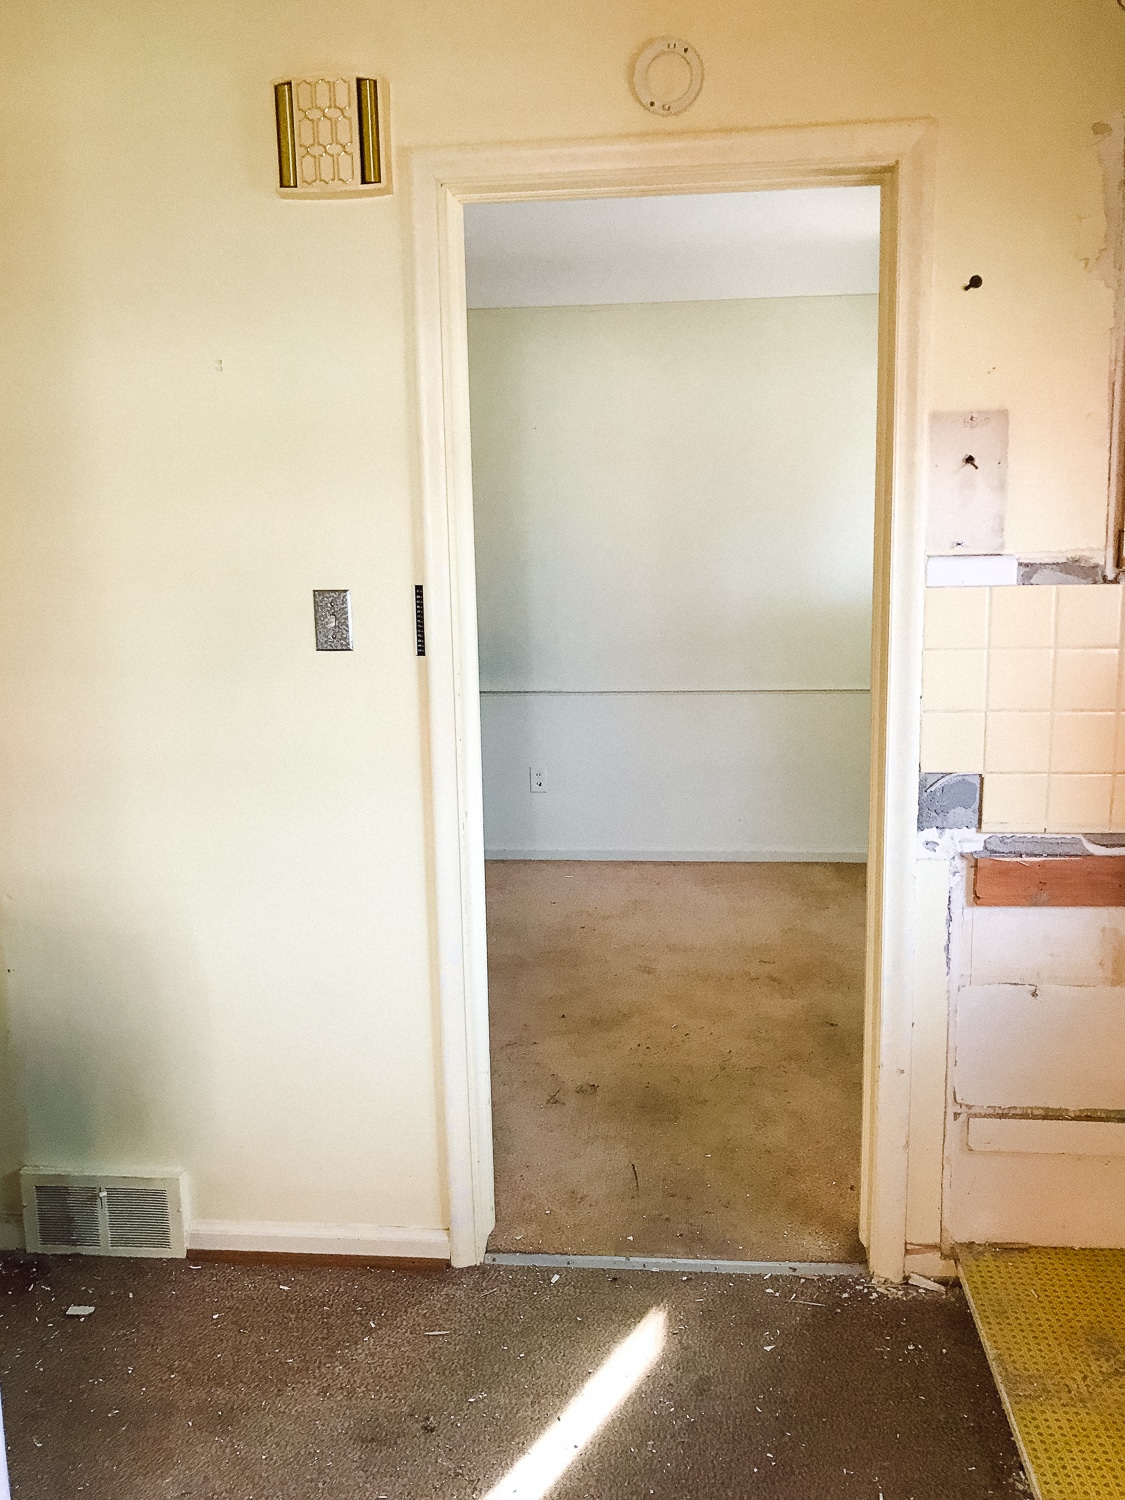
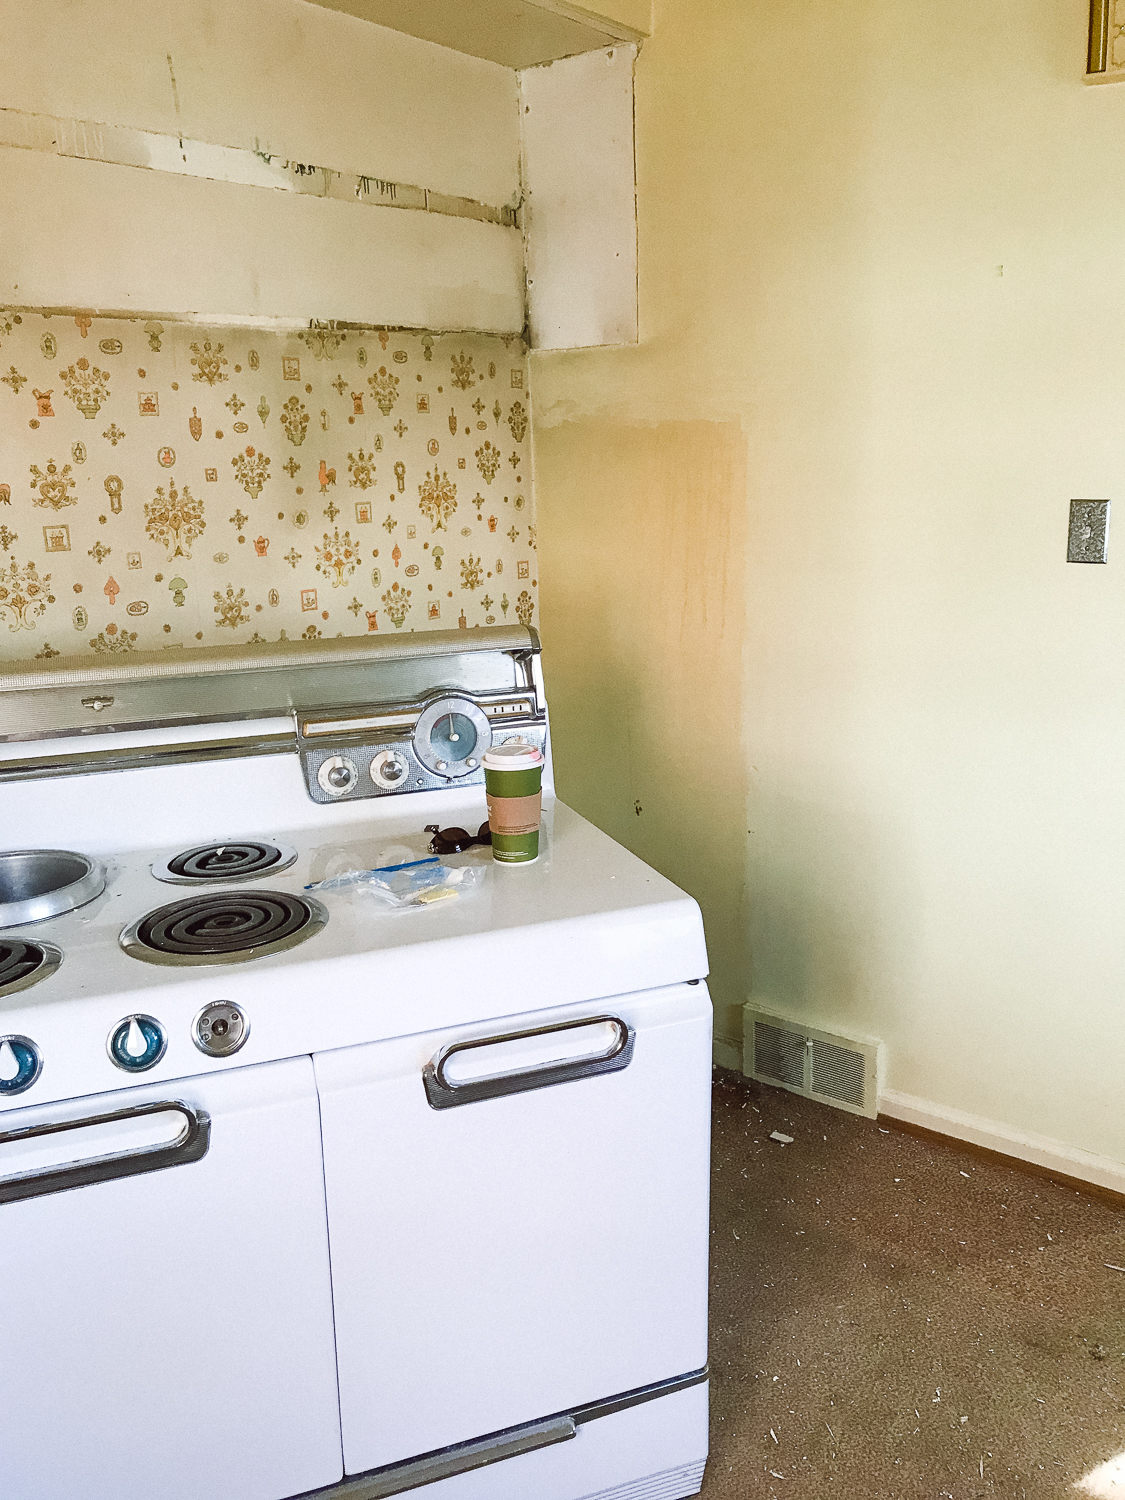
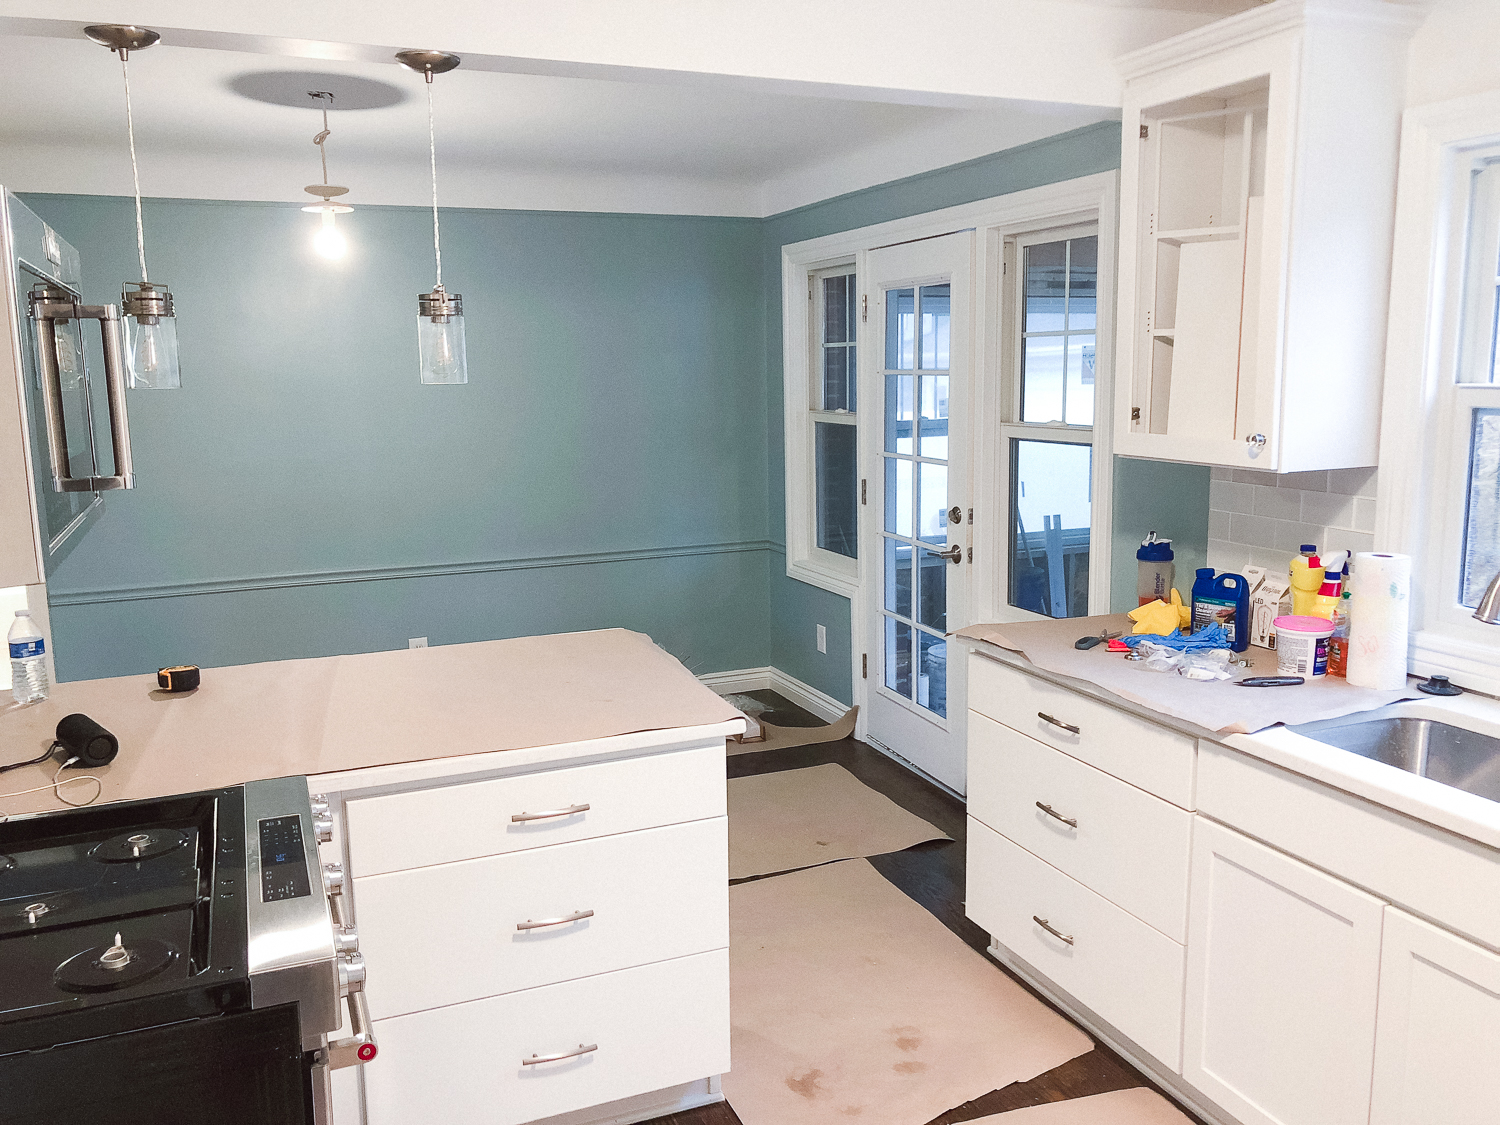
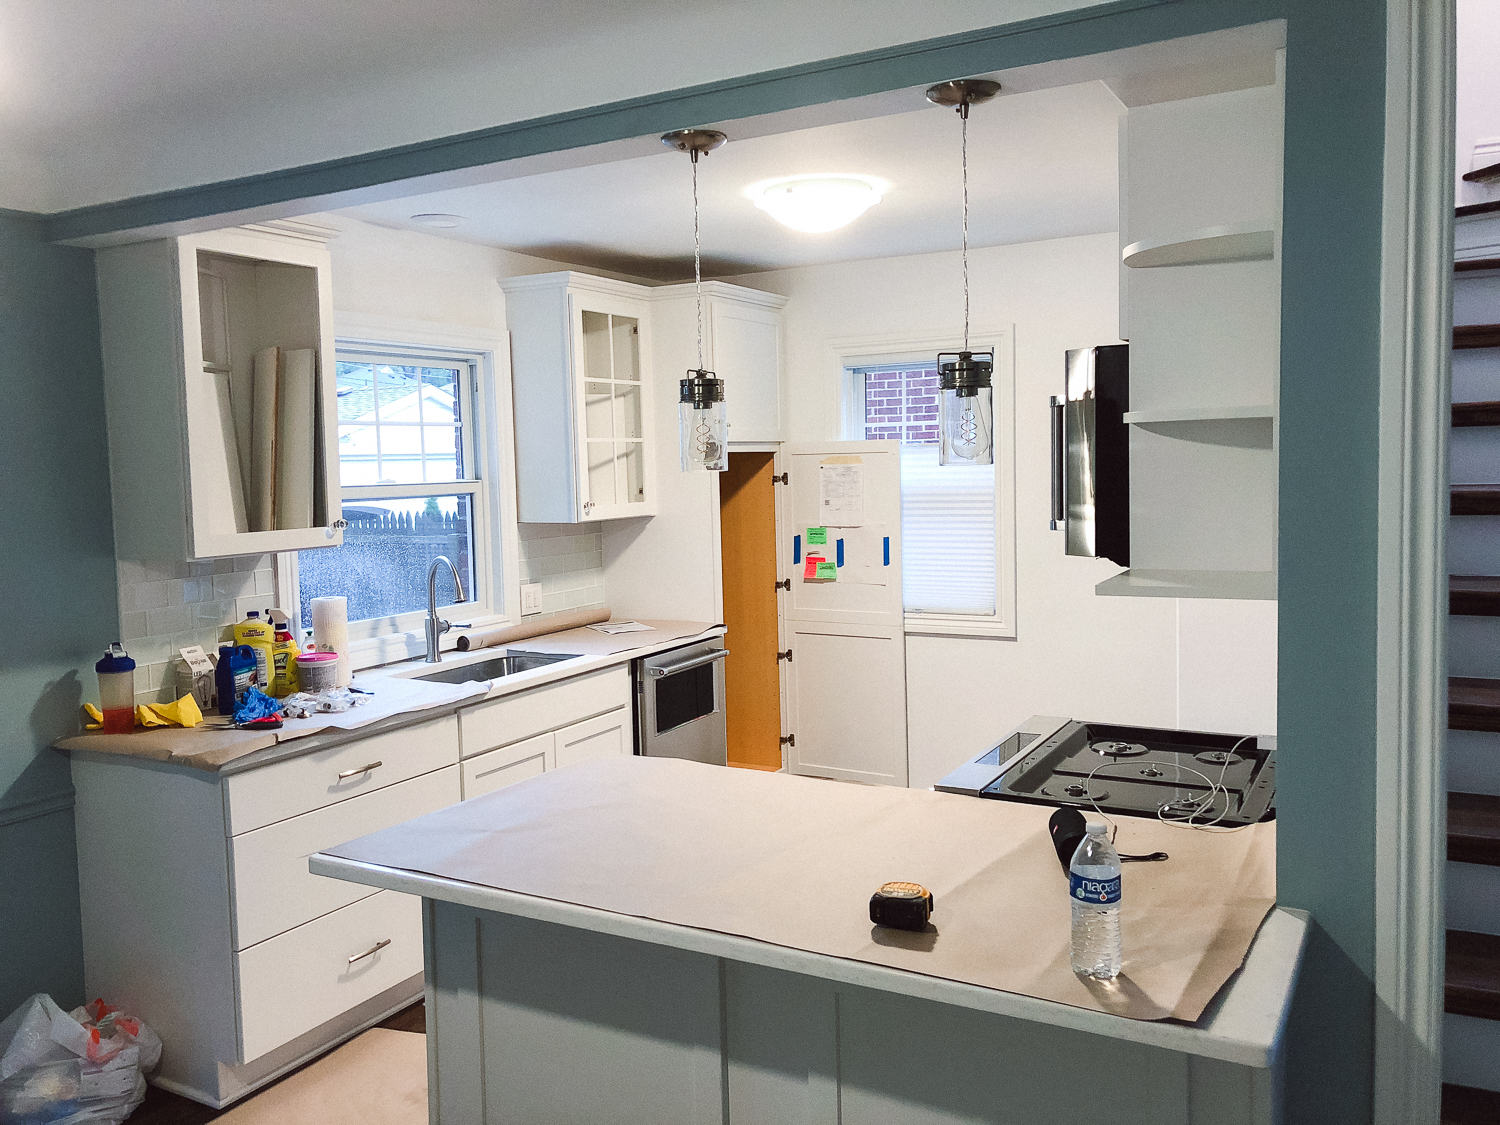
The Kitchen – Before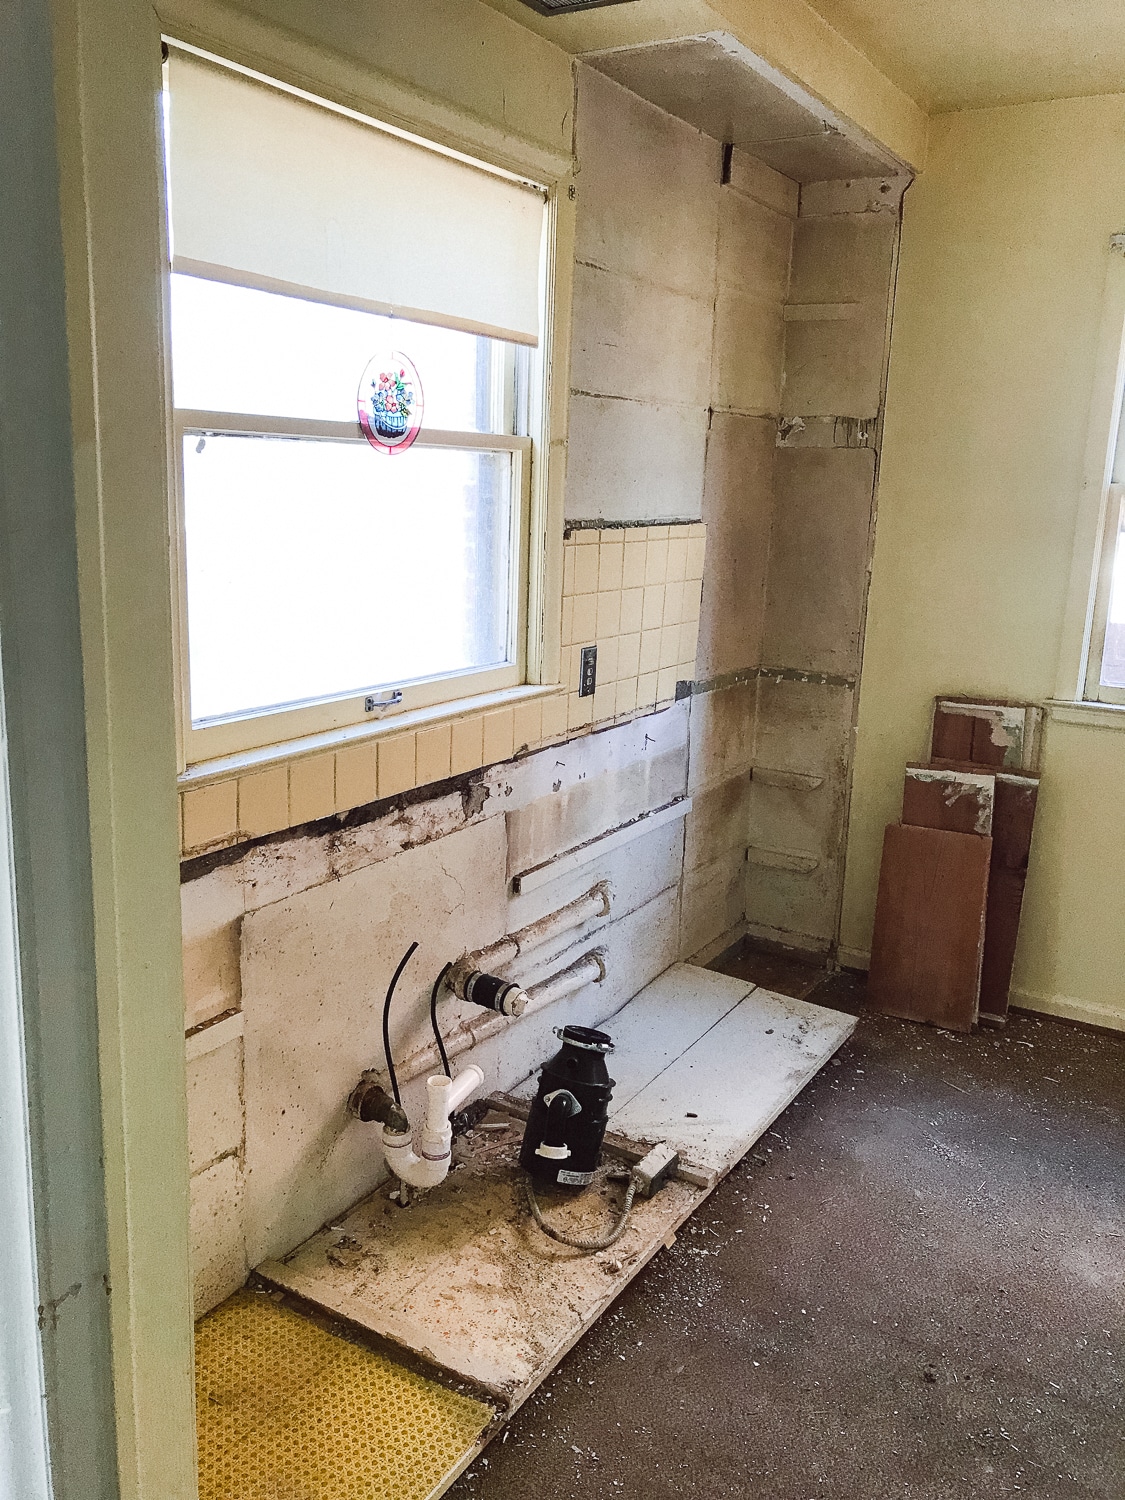
The Kitchen – After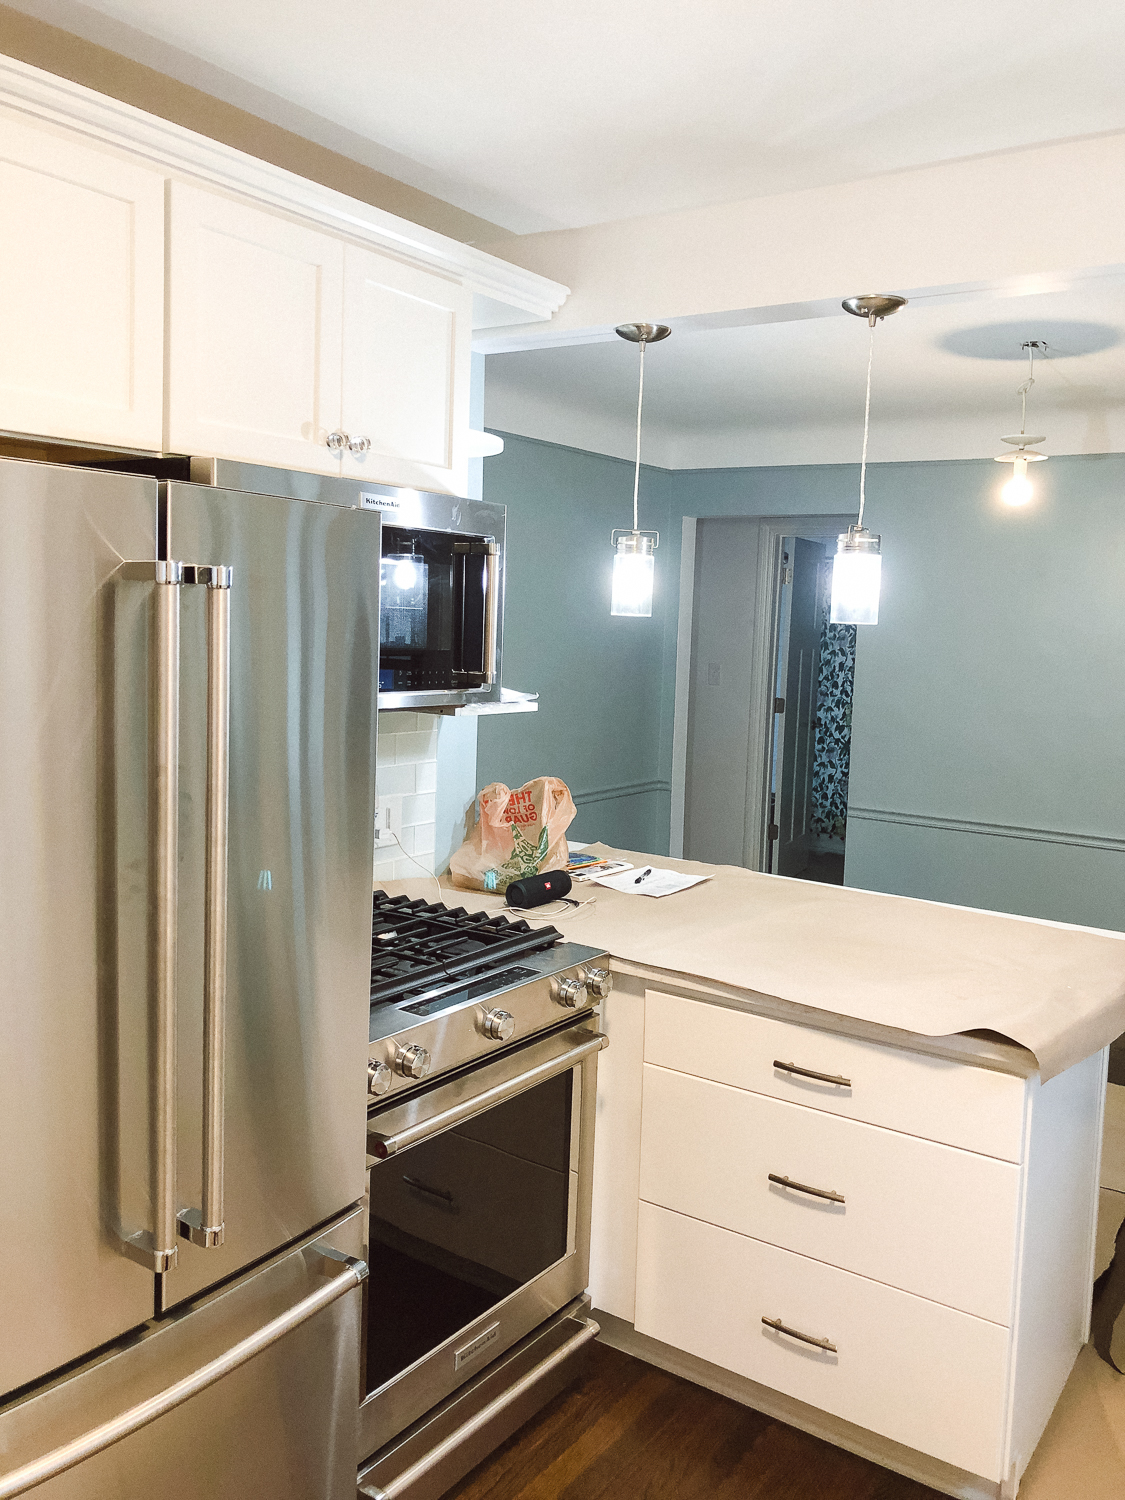
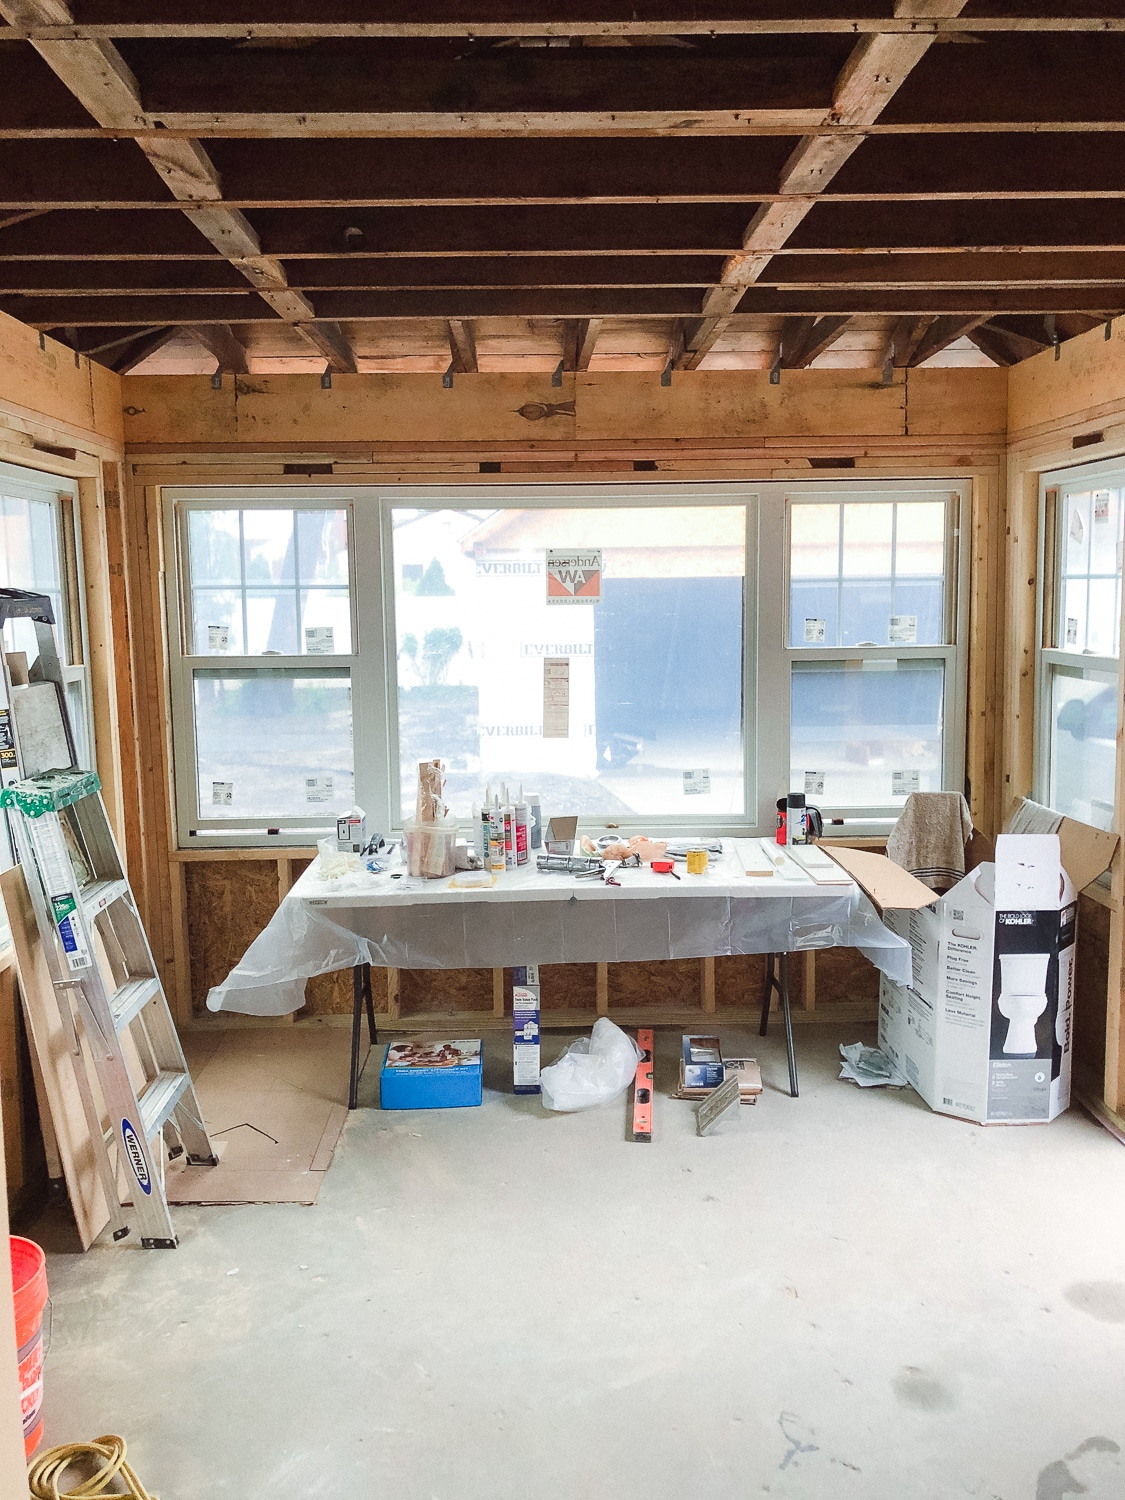
Enclosed Sun Room – Built From Prior Back Porch Area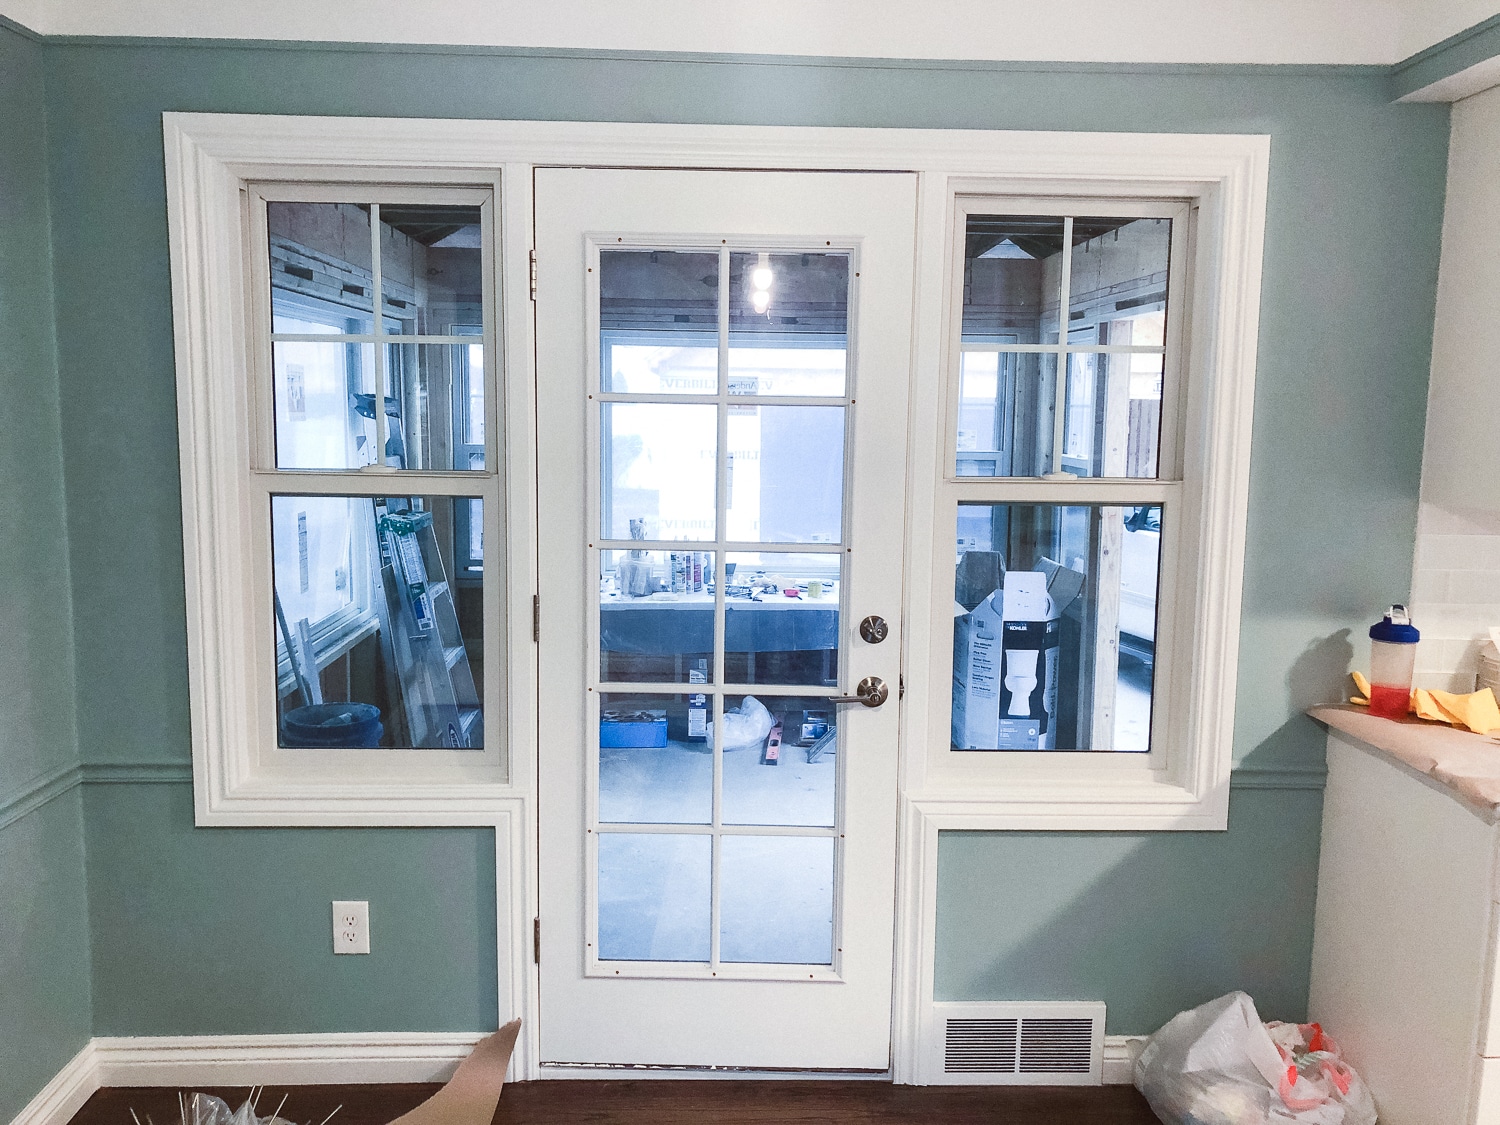
Stairs to Second Floor + The Master Bedroom – Before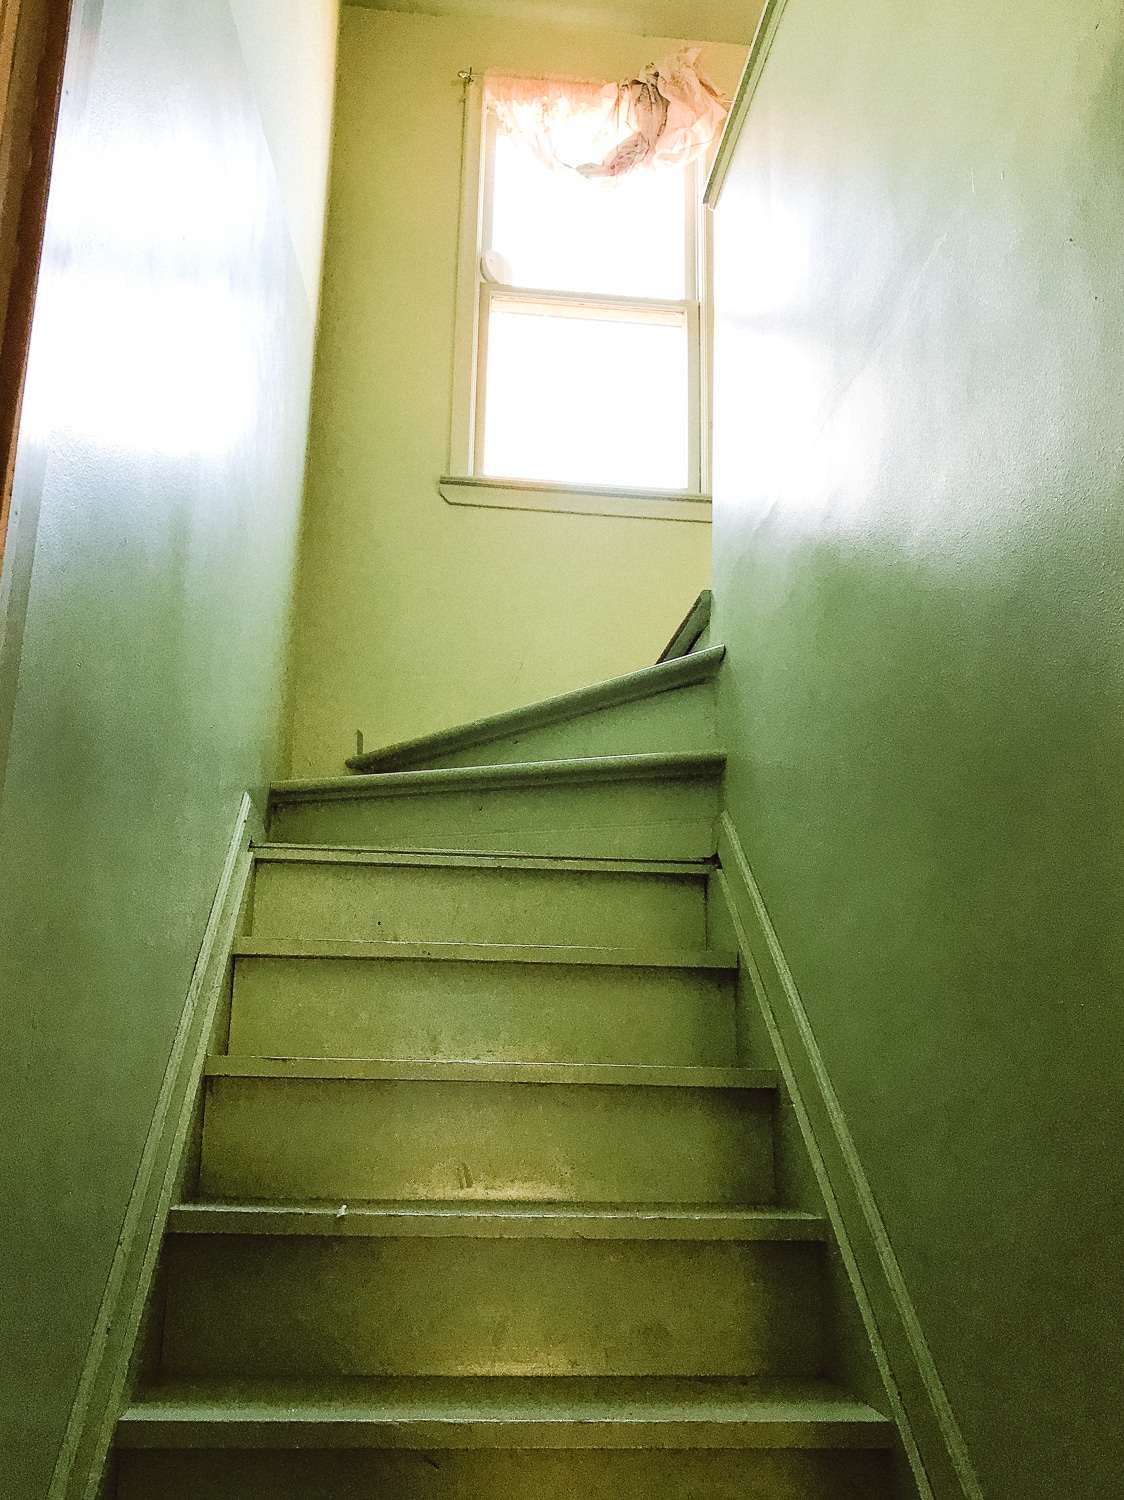
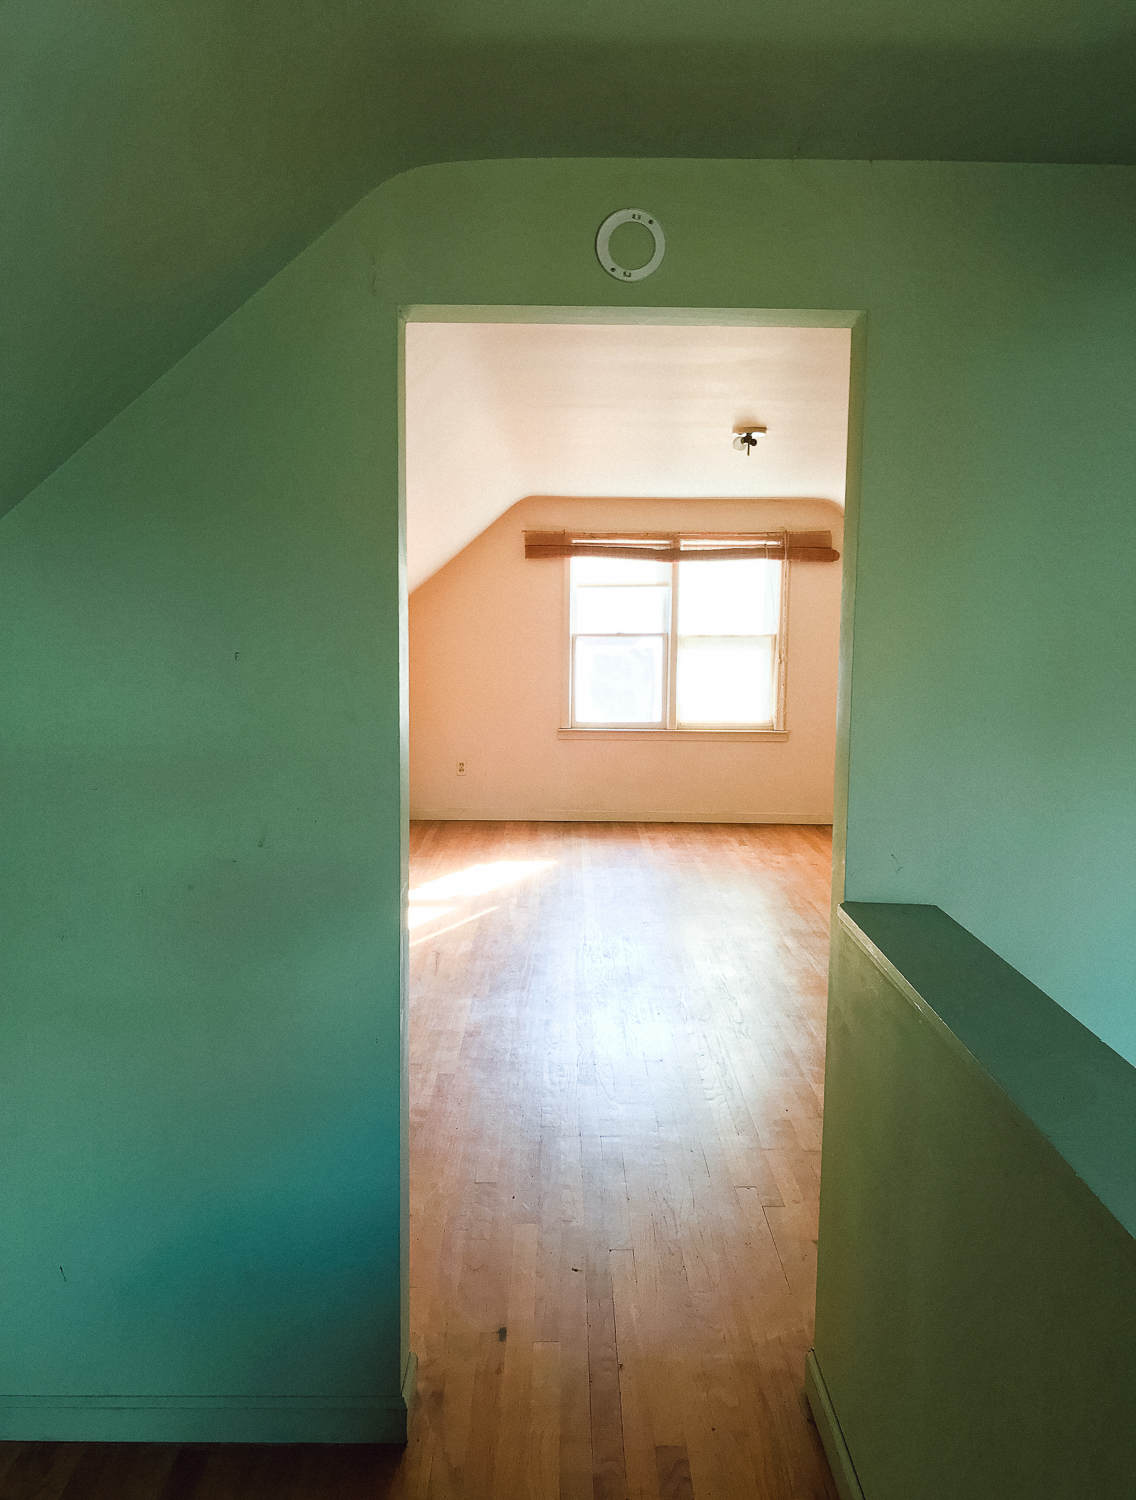
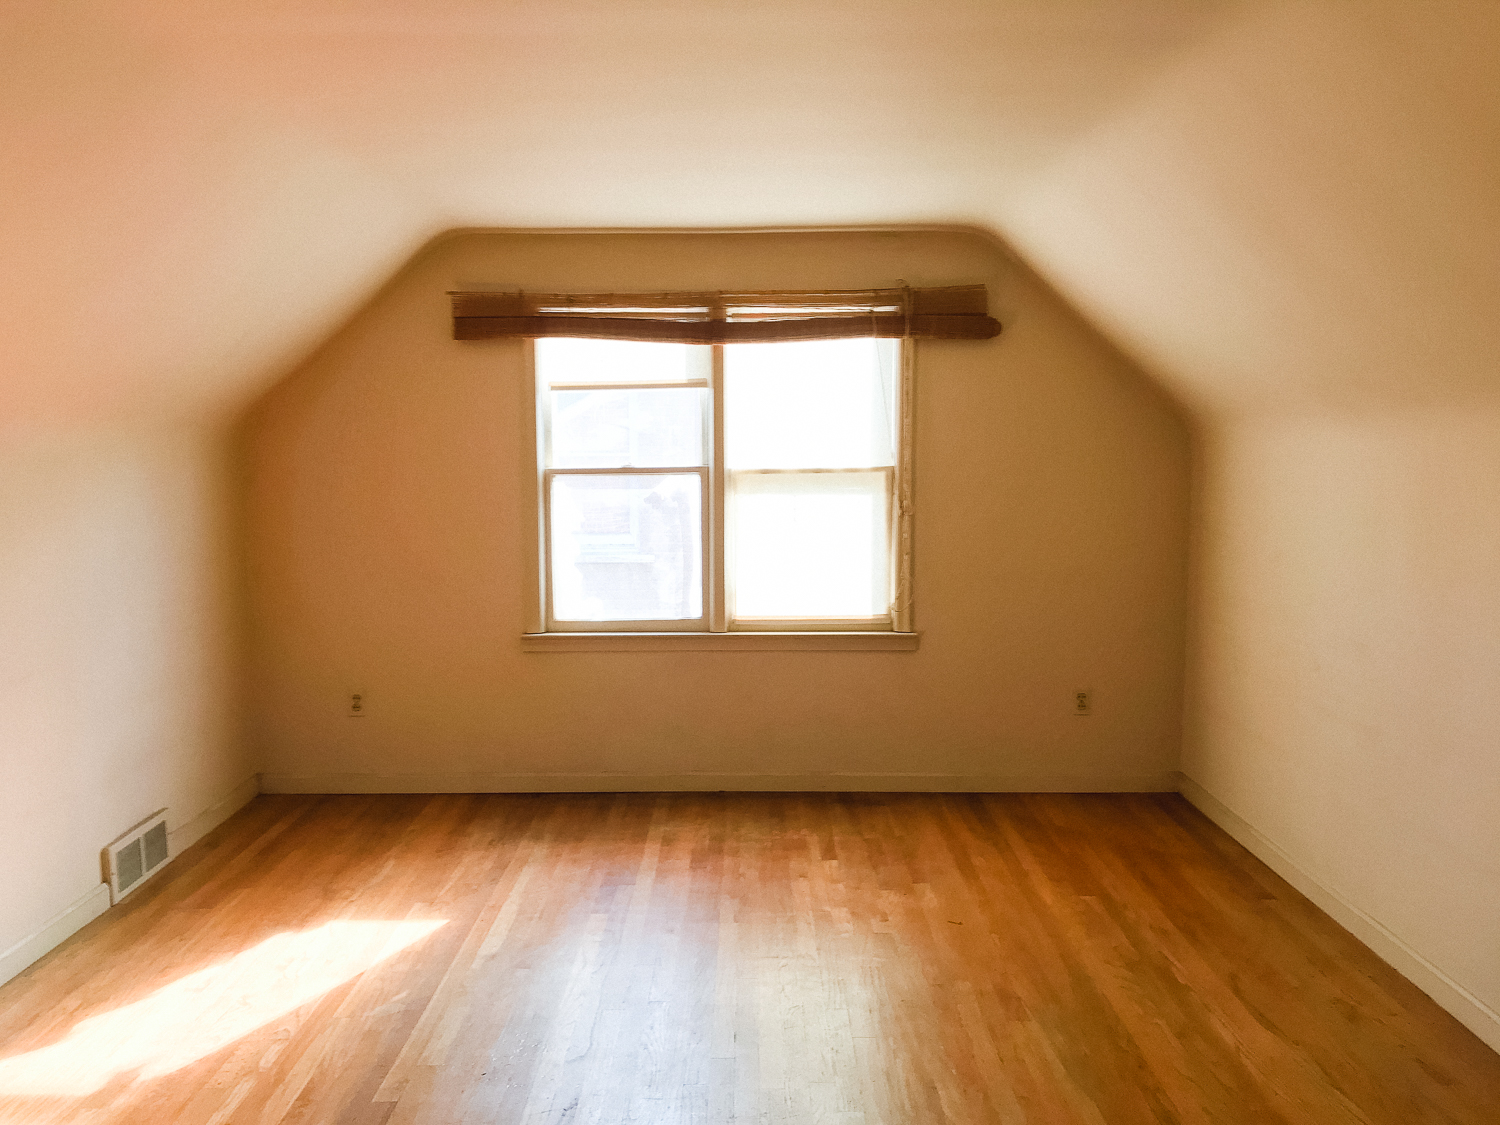
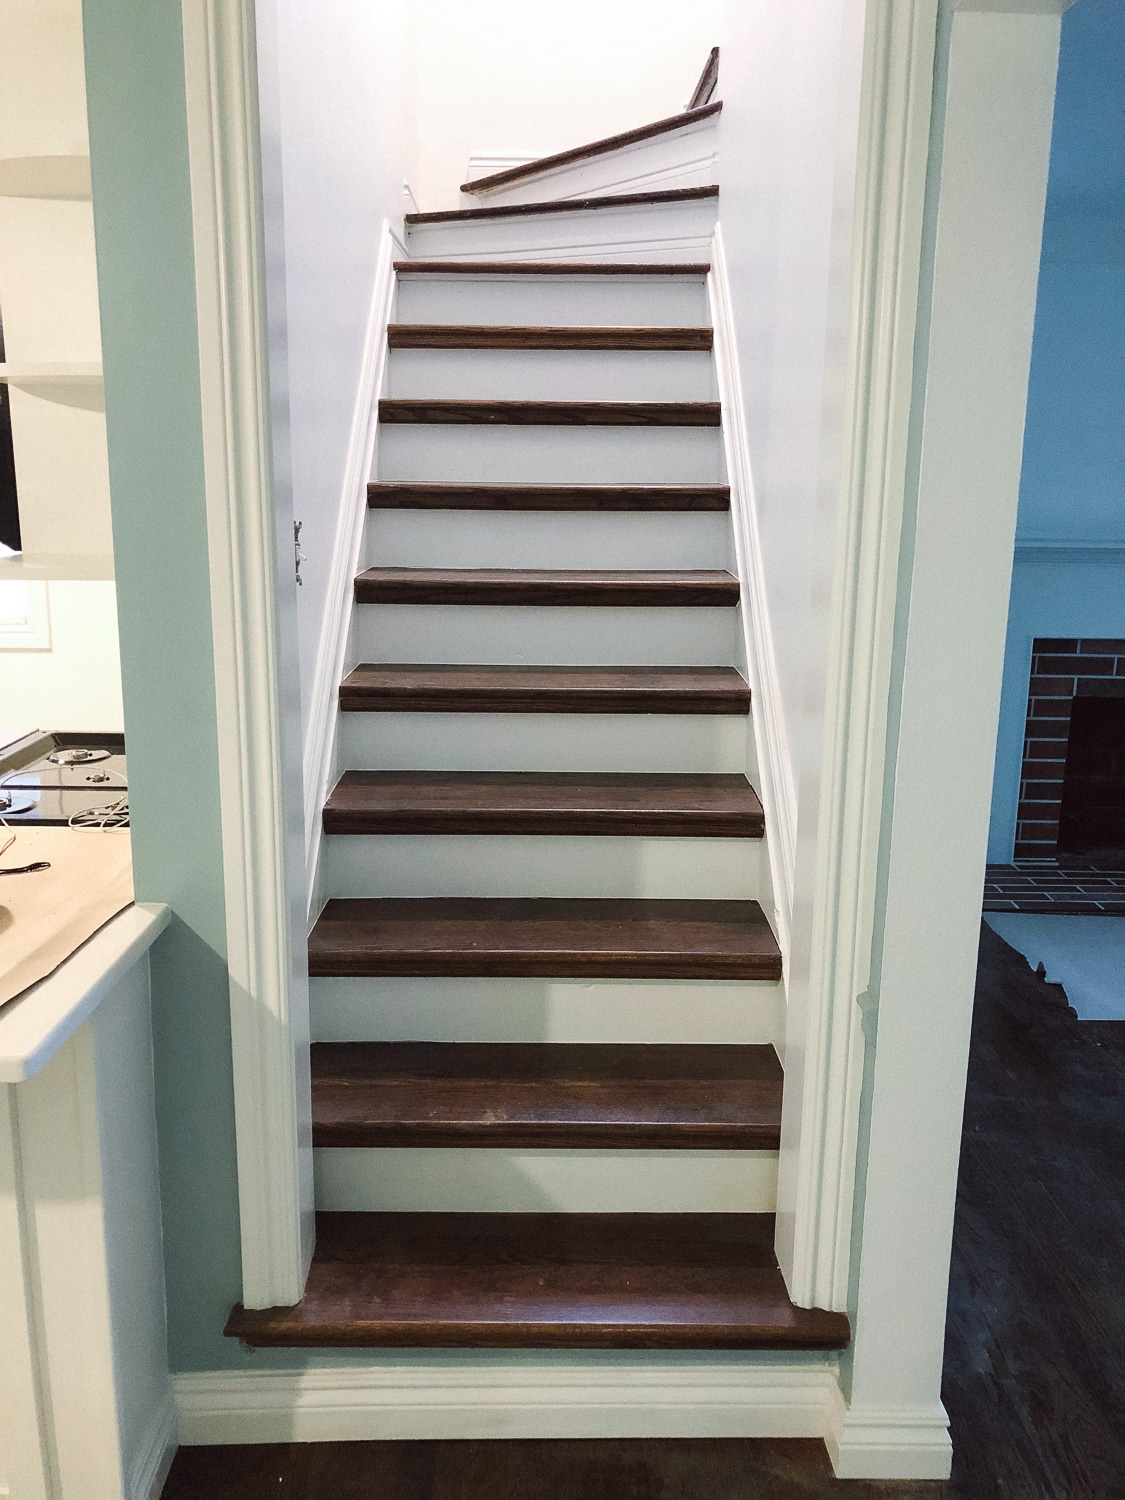
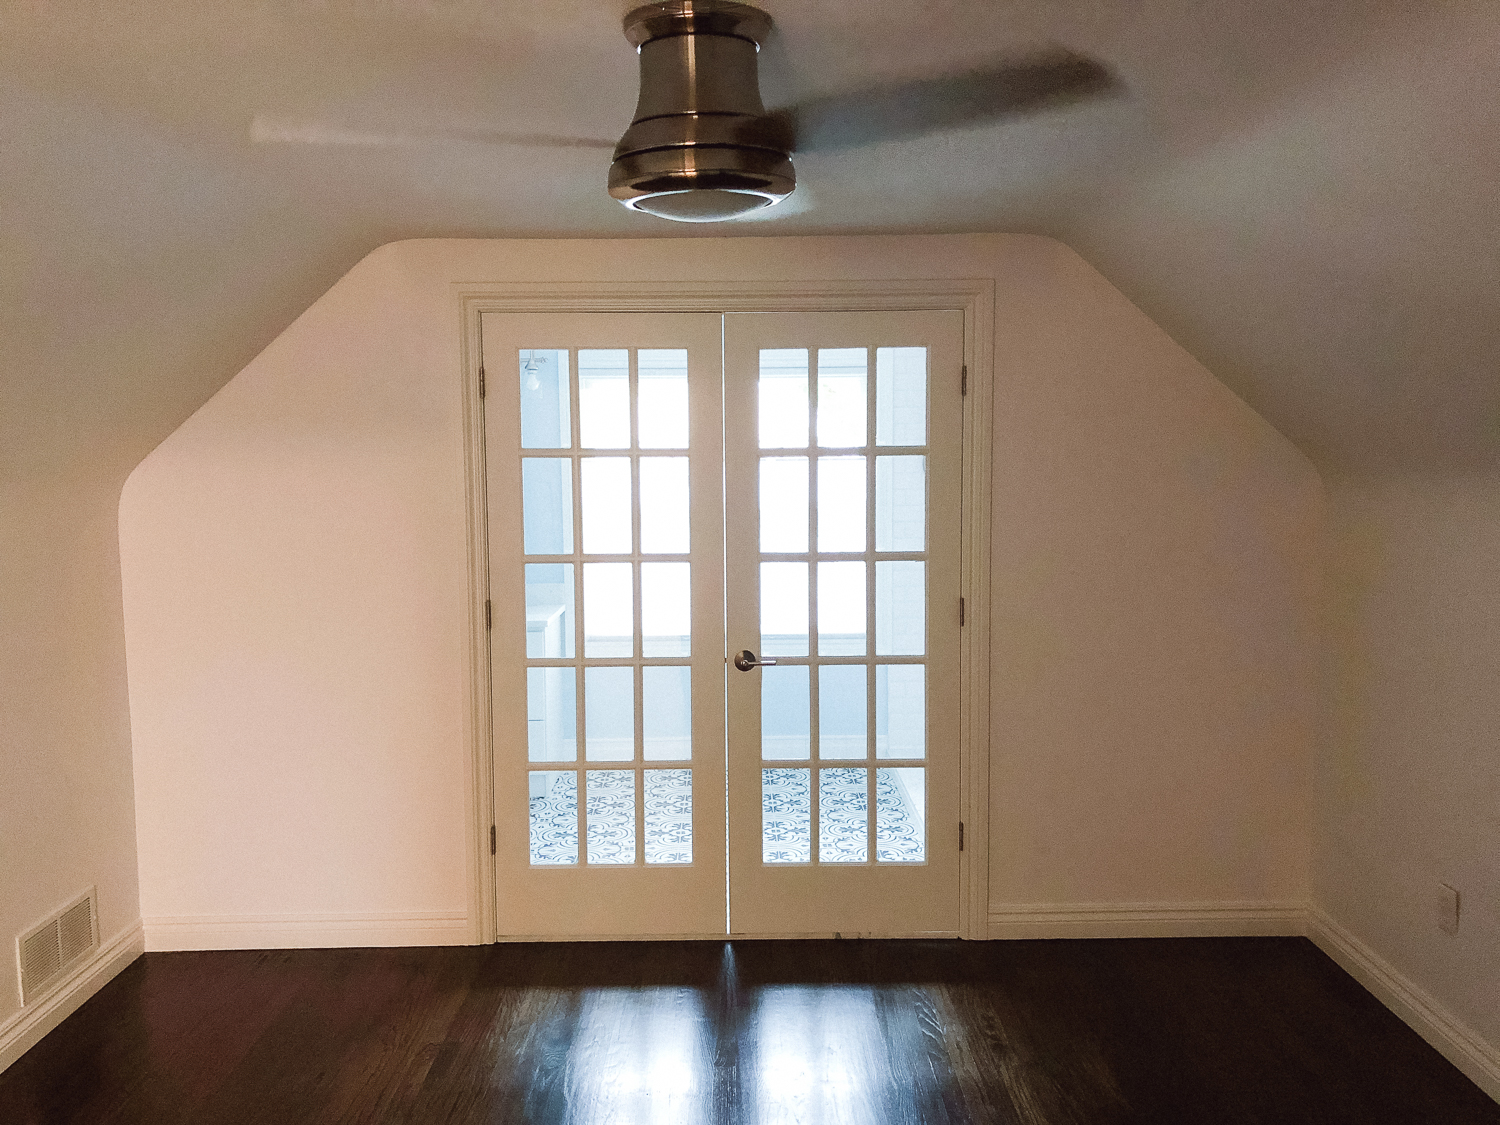
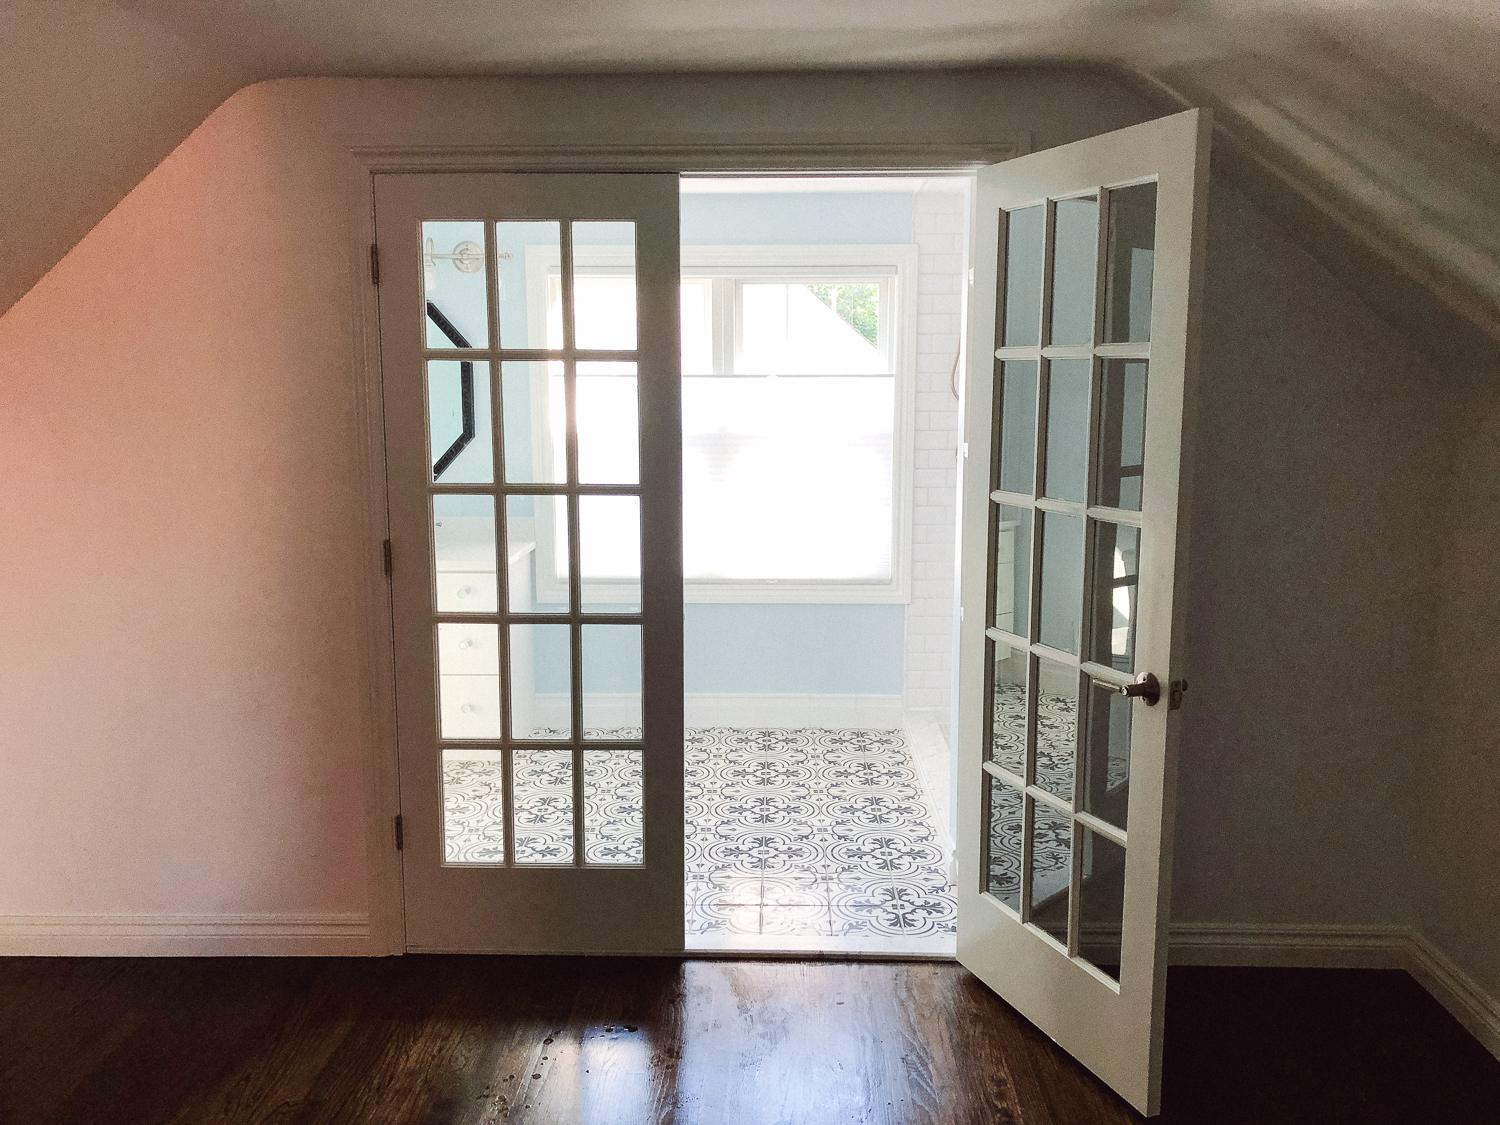
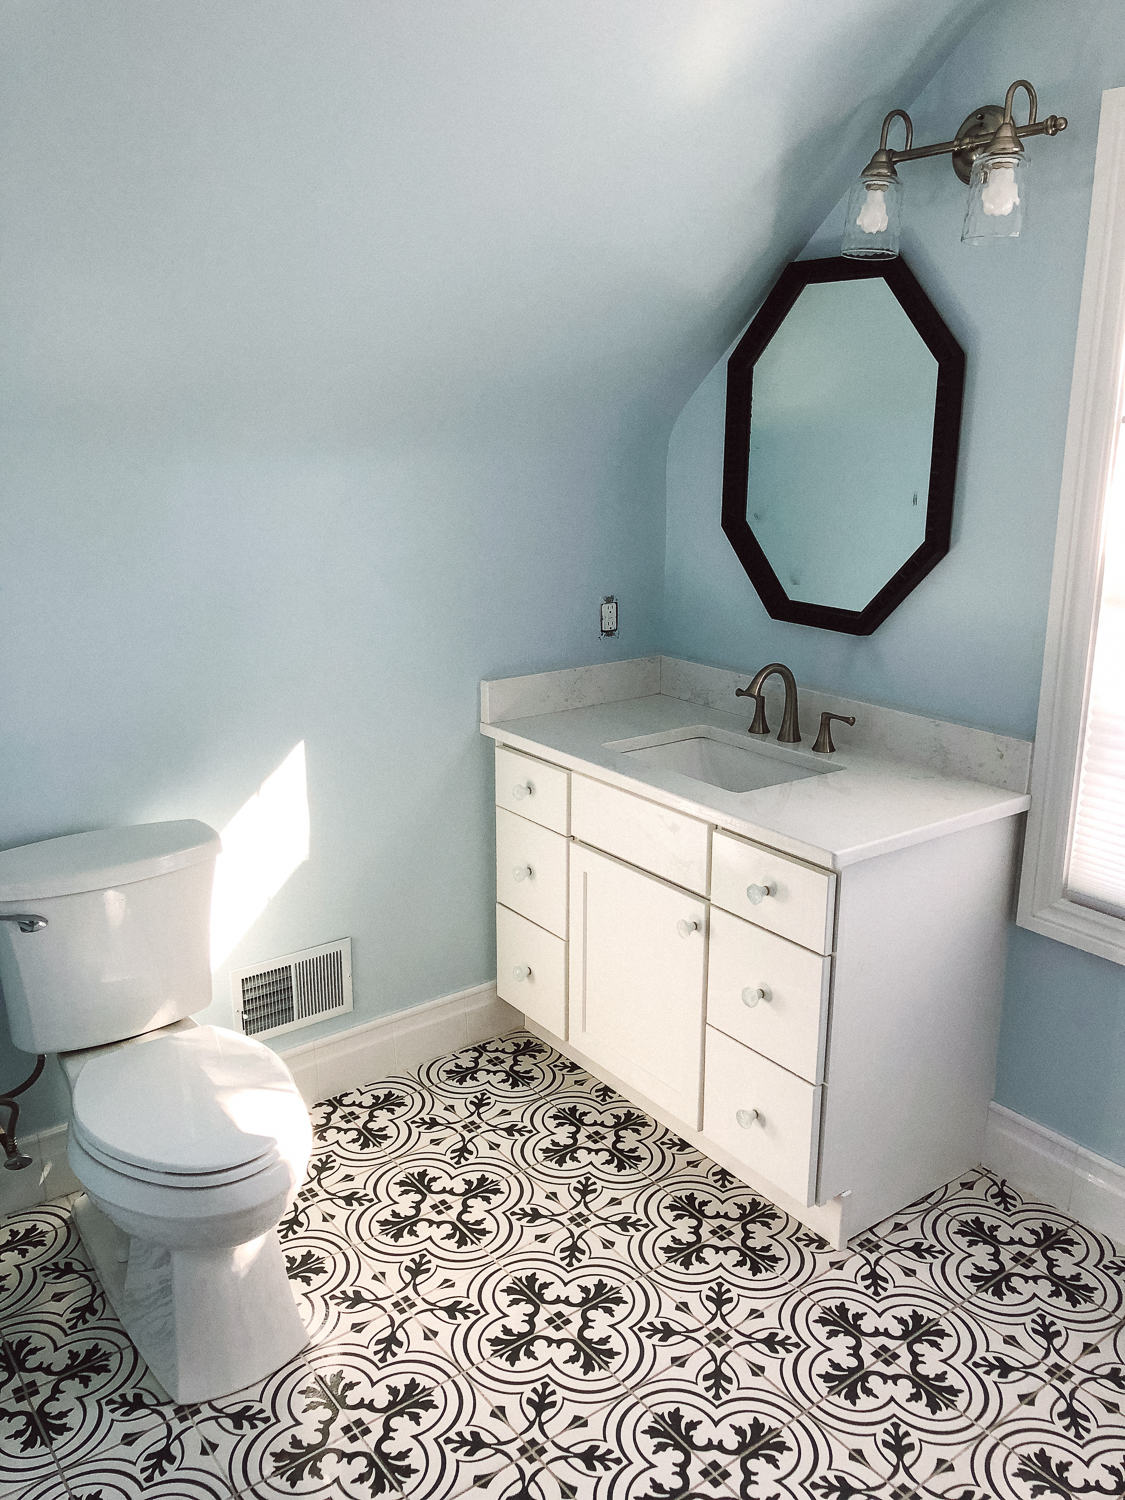
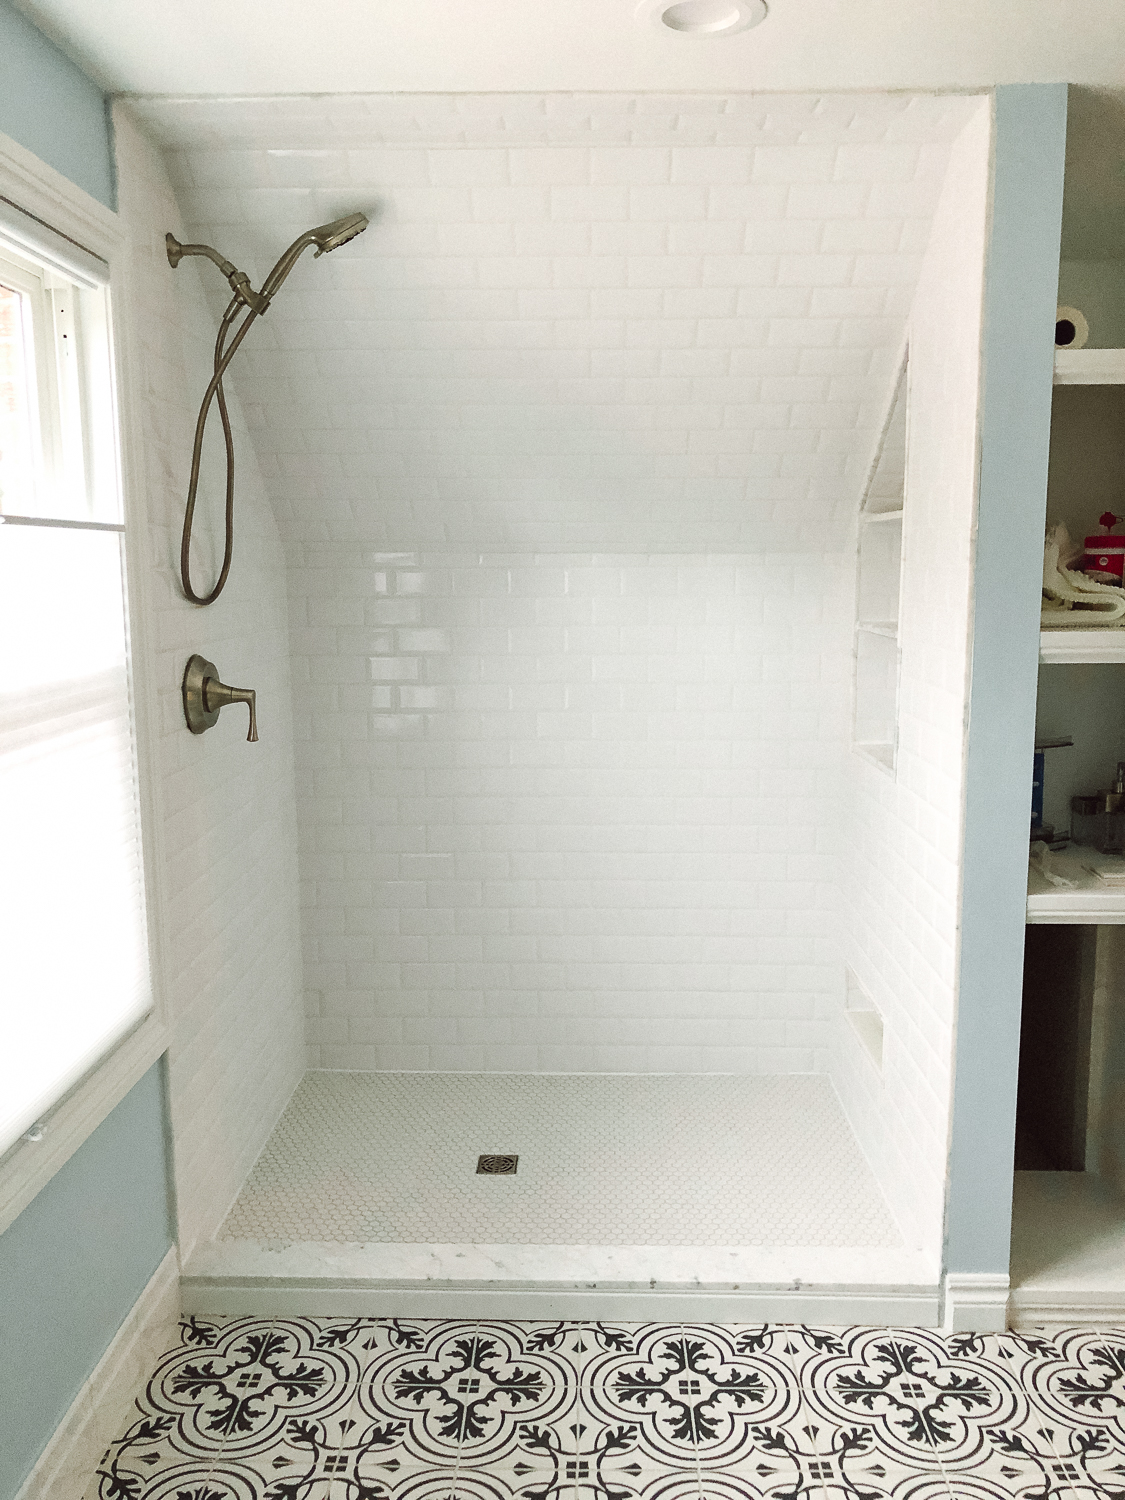
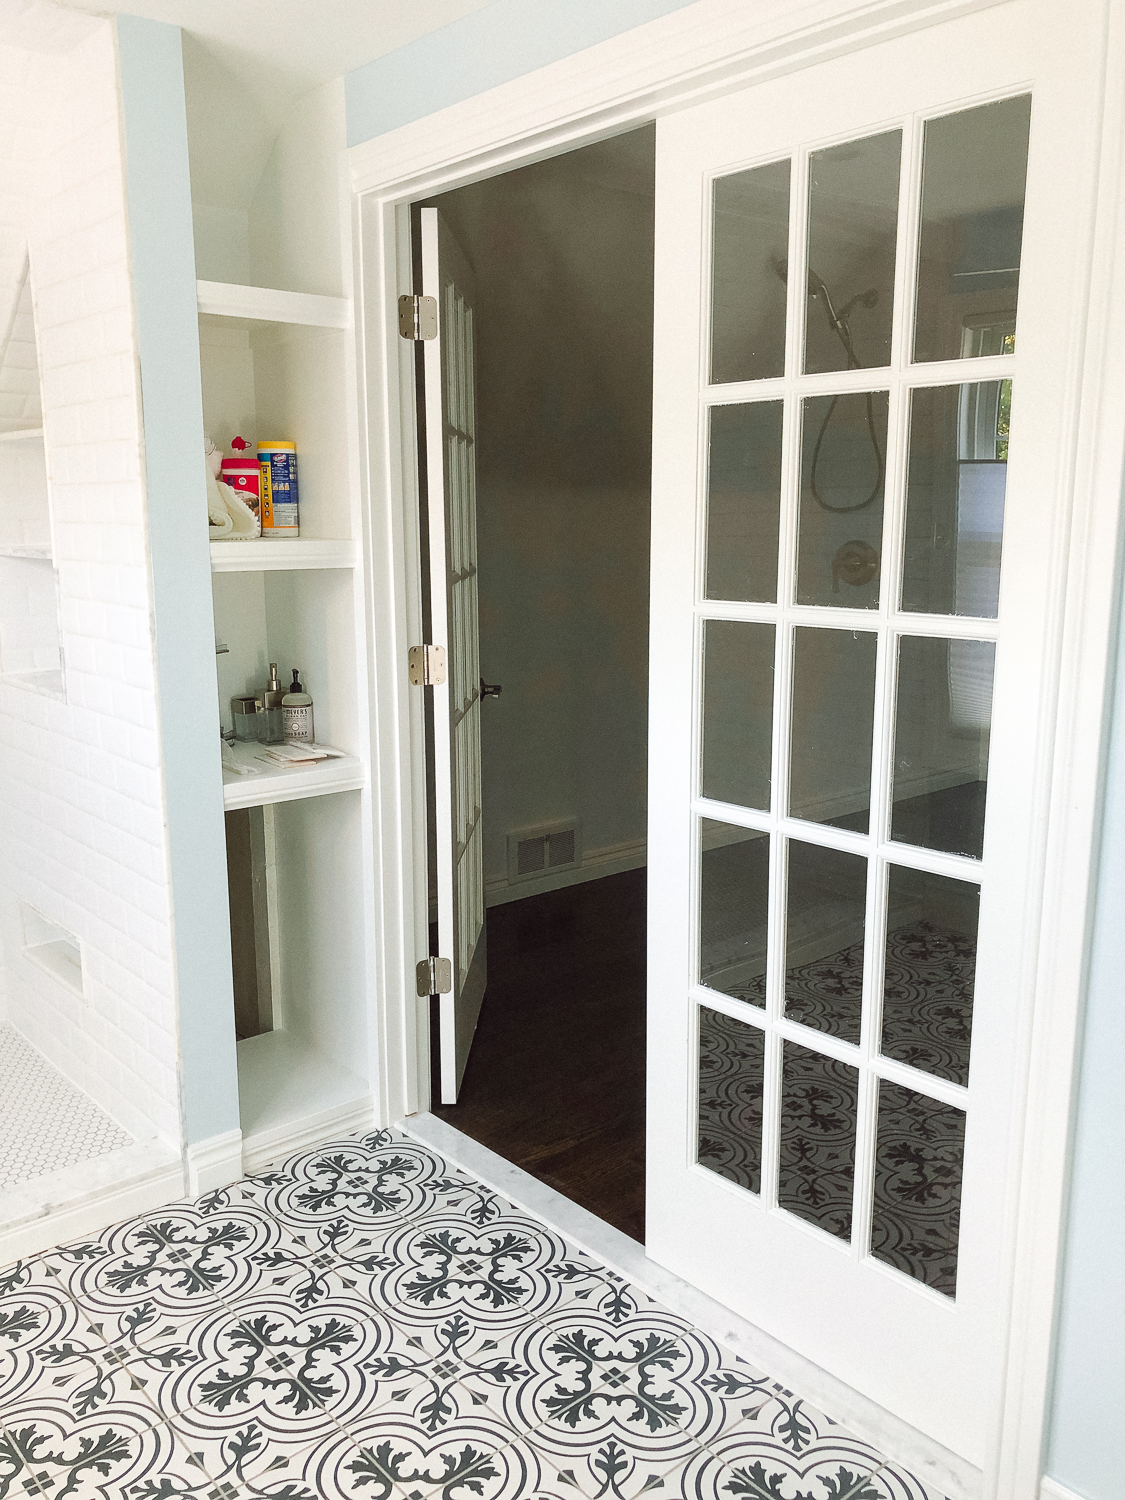
Stairs To Second Floor + The Master Bedroom + Bathroom – After

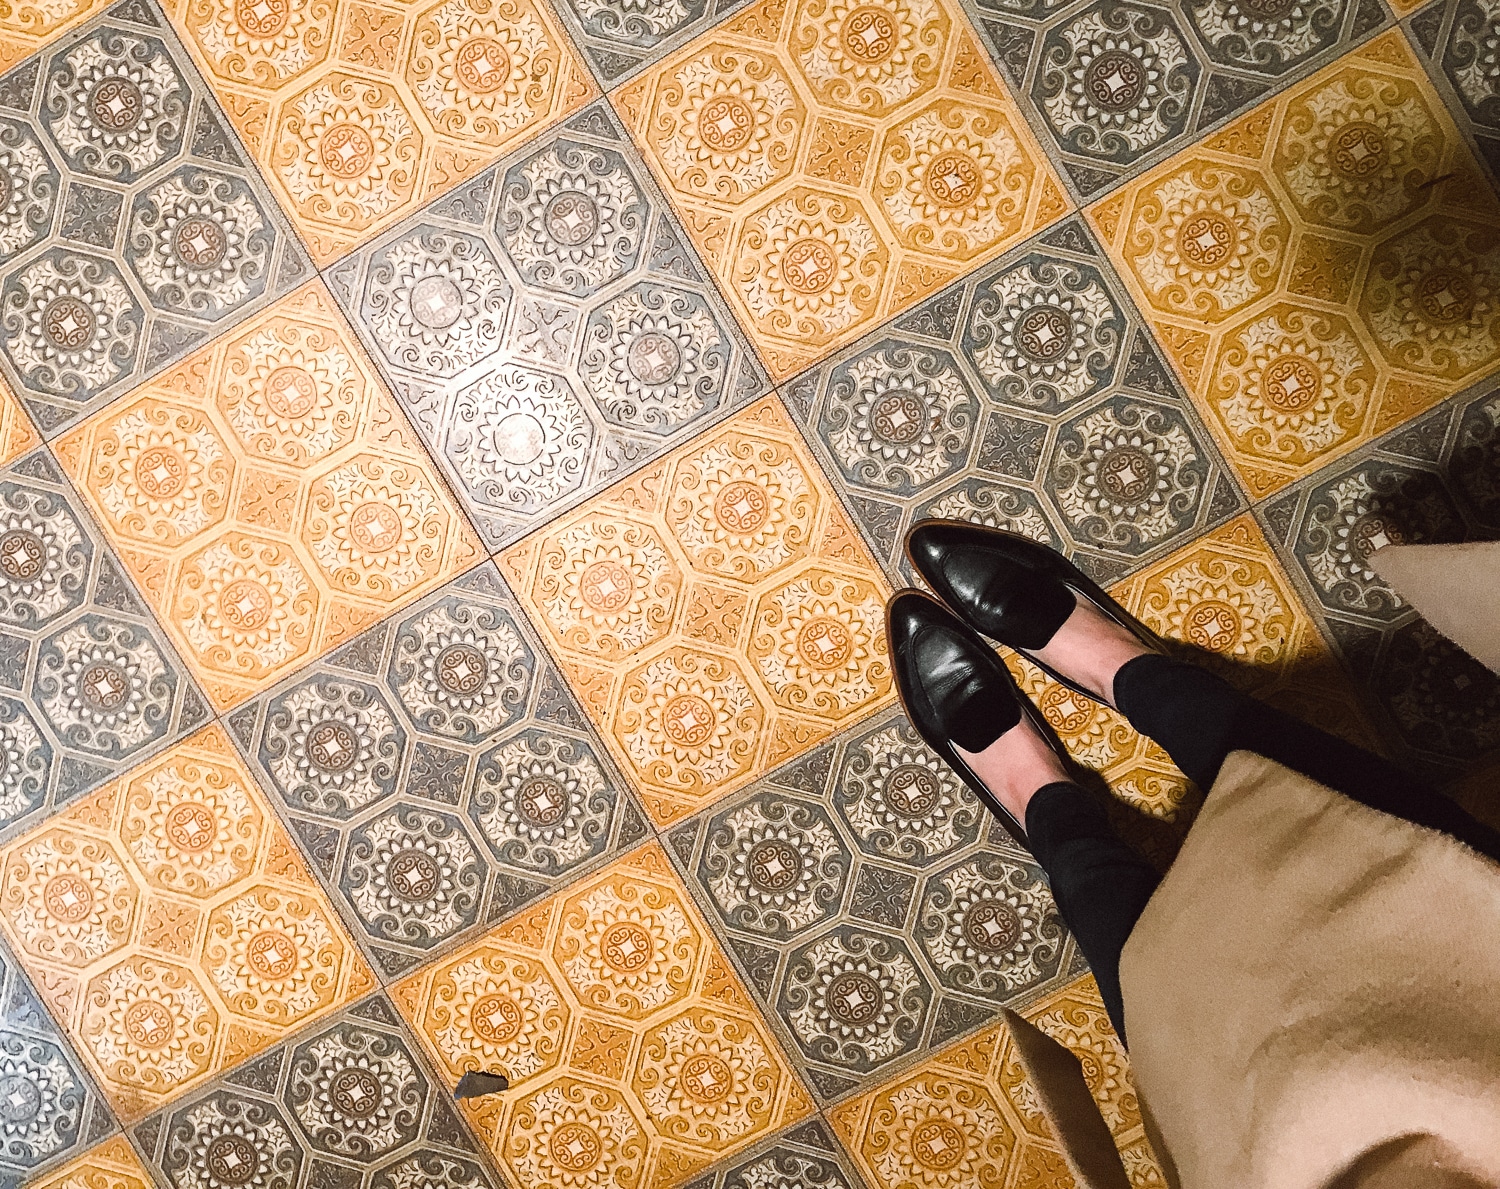
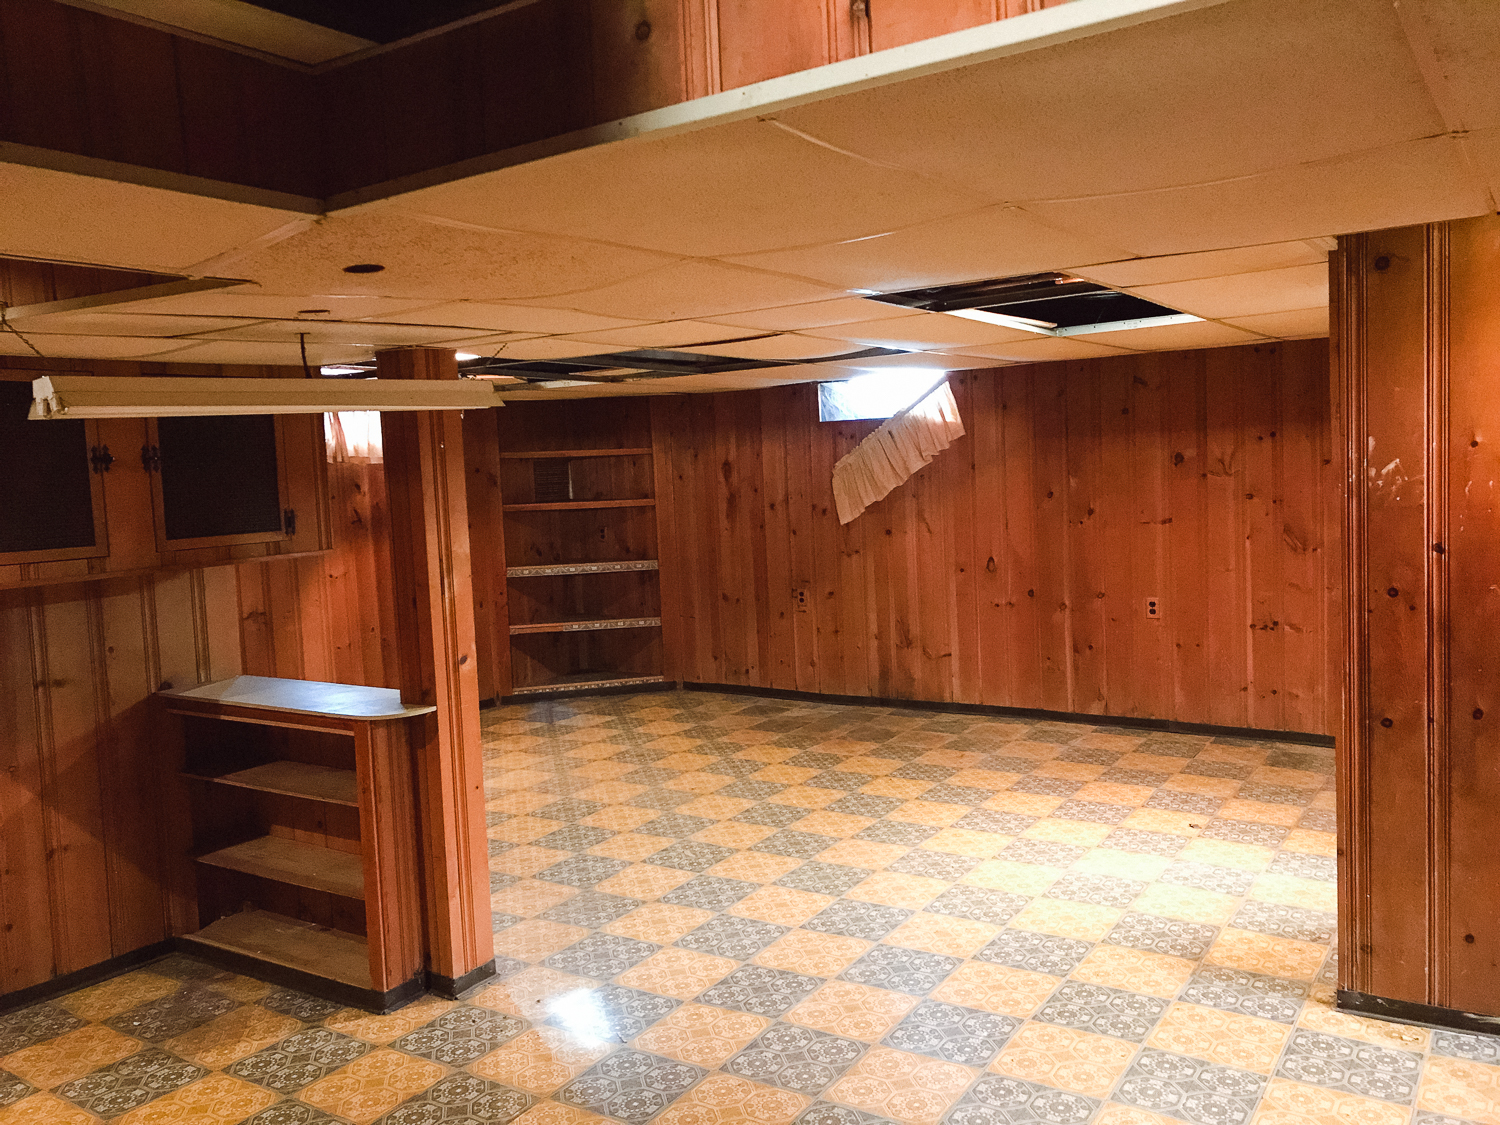
Basement Main Rooms + Laundry Room – Before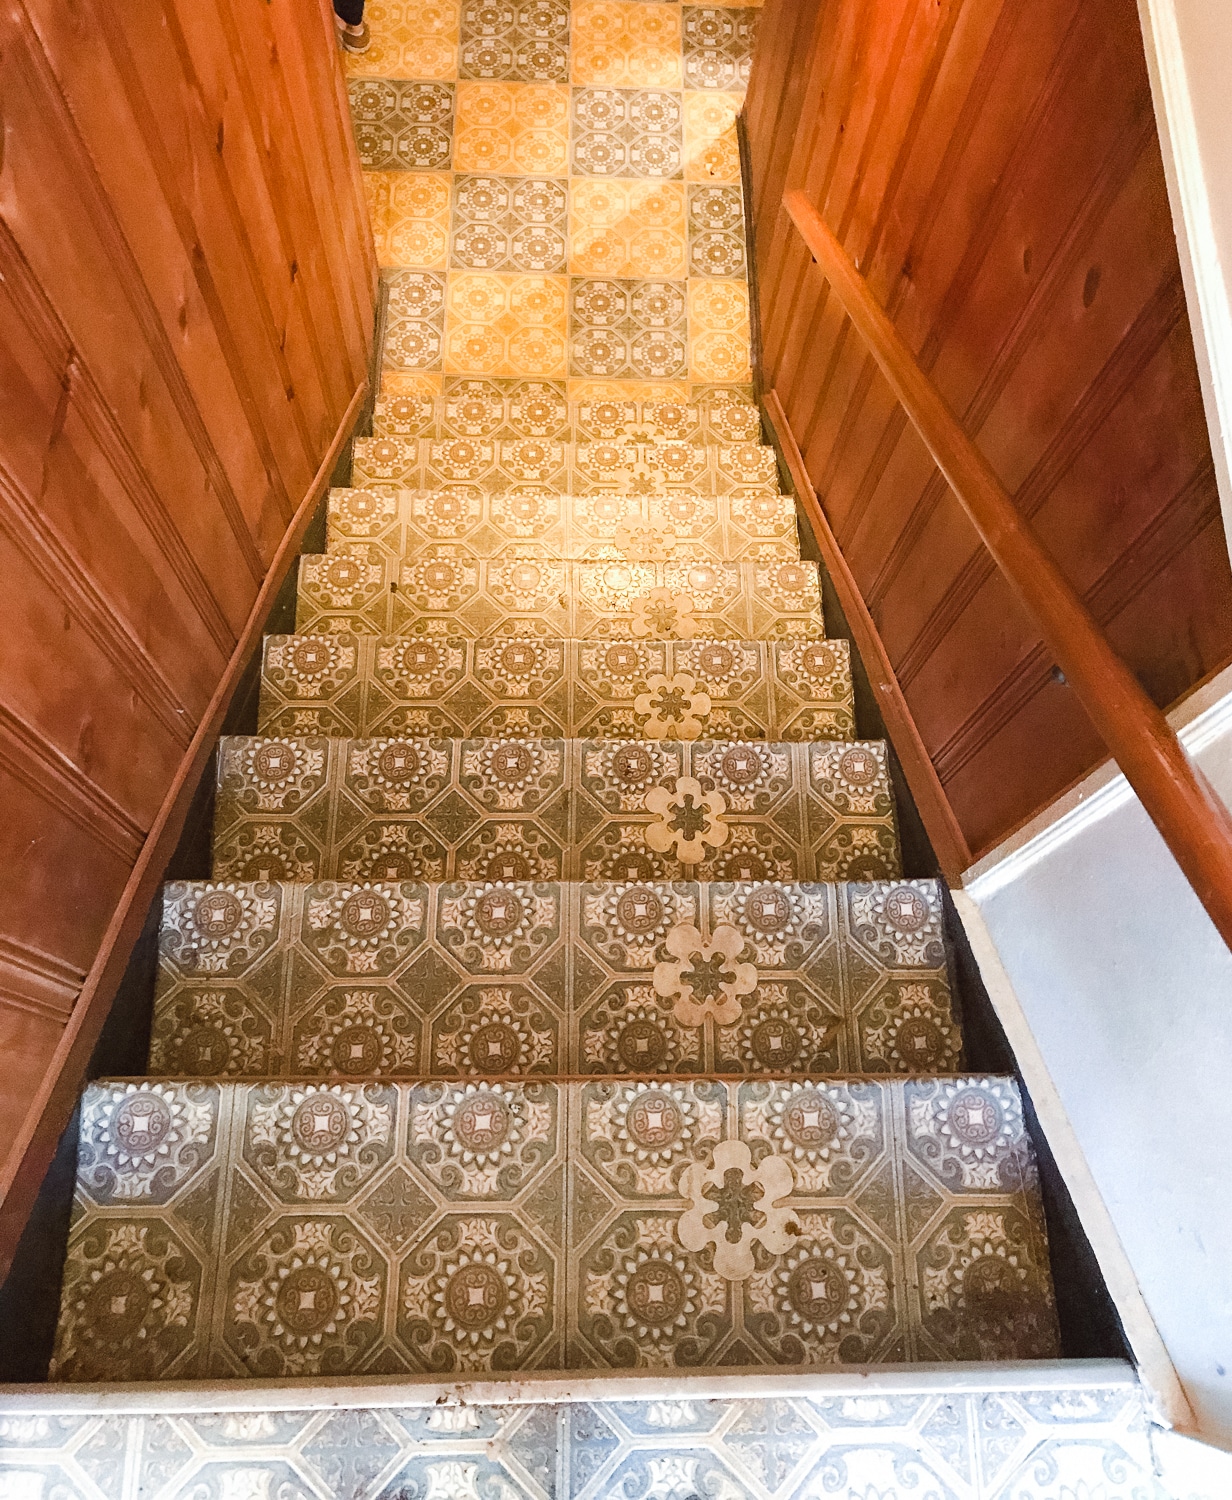
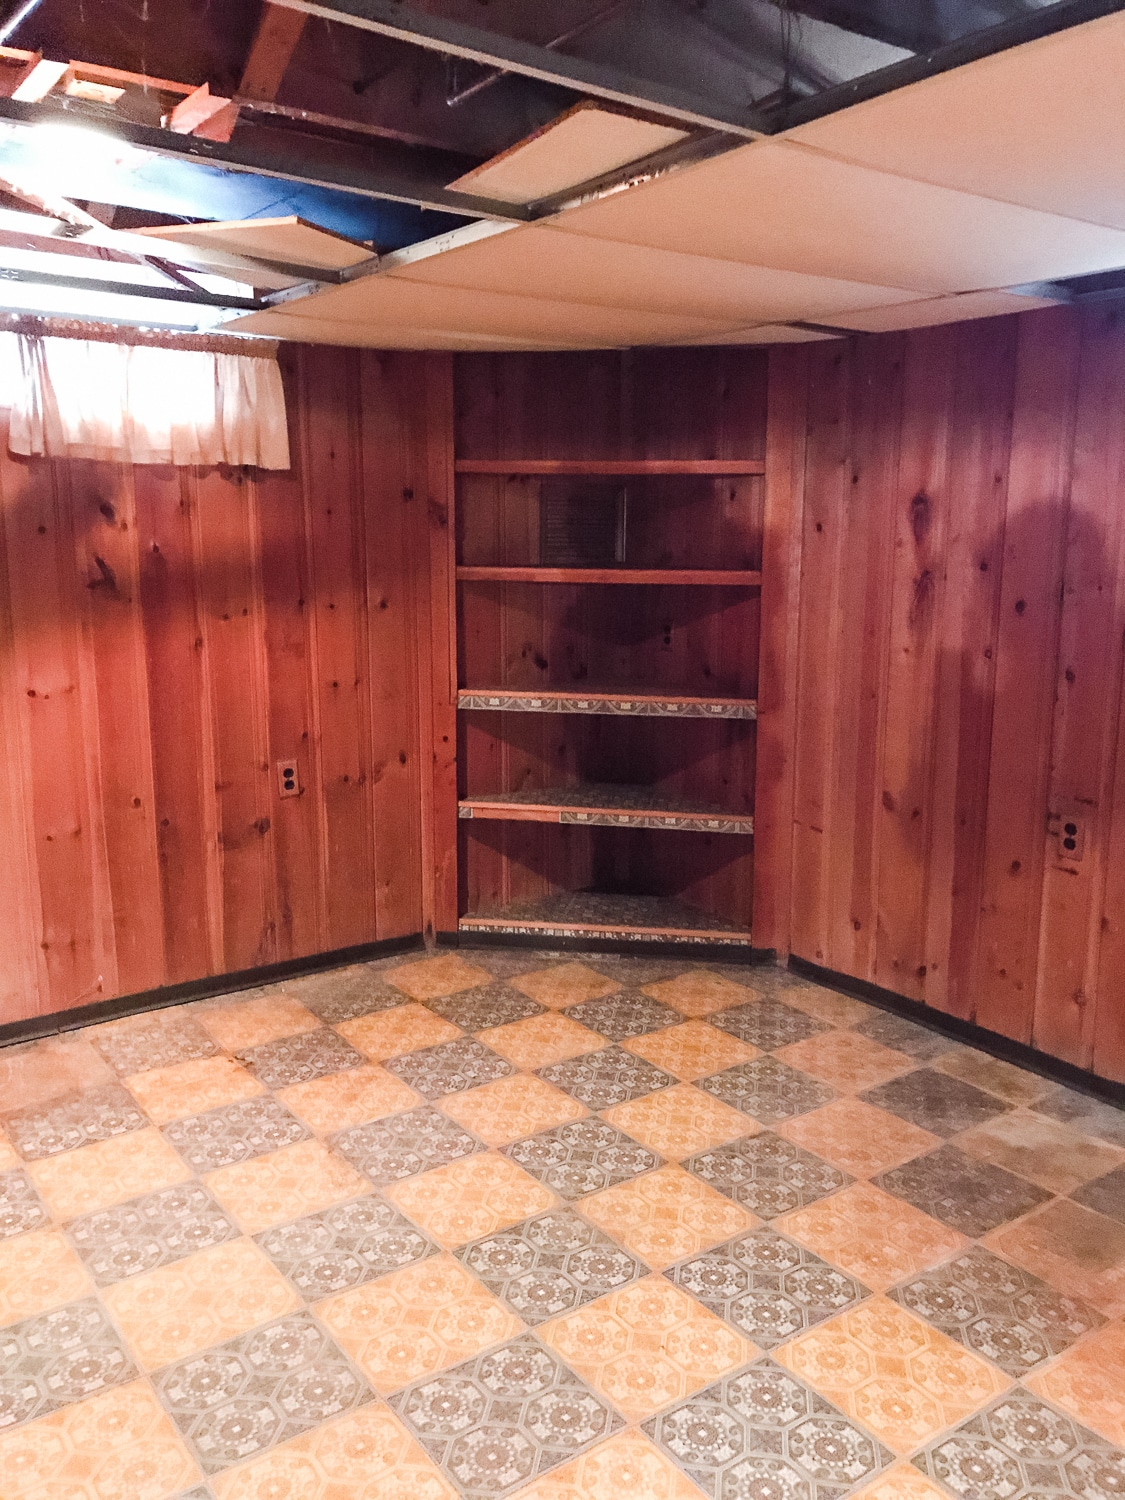
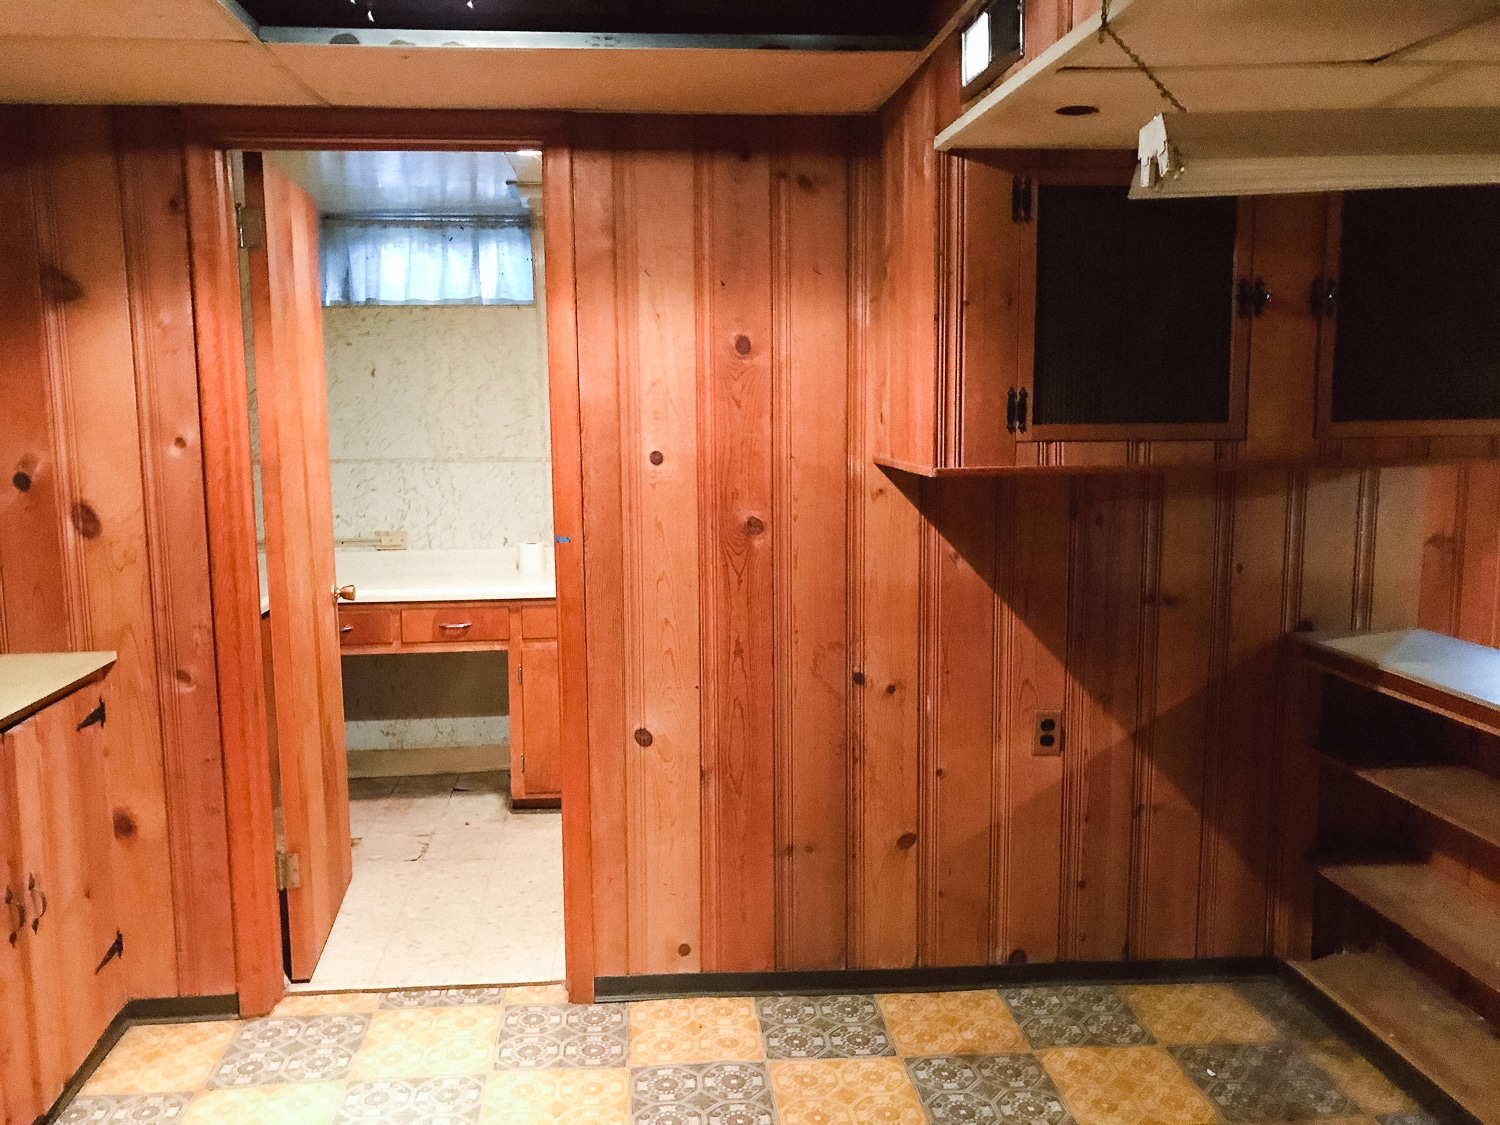
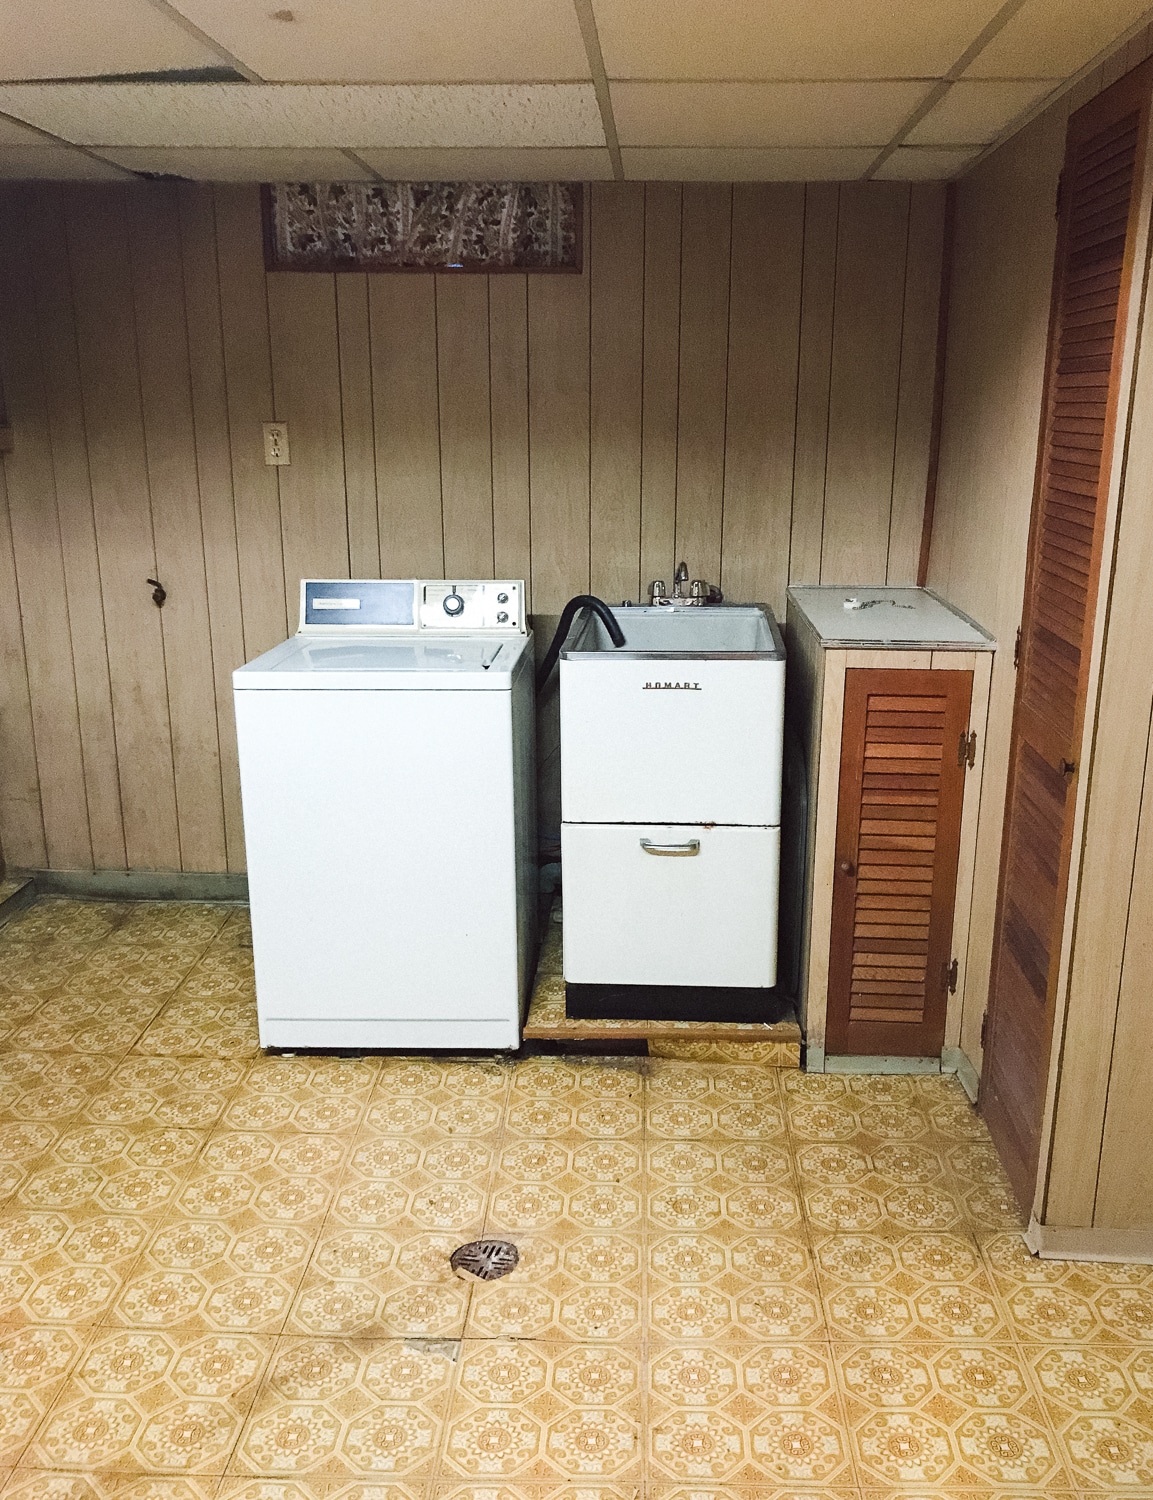
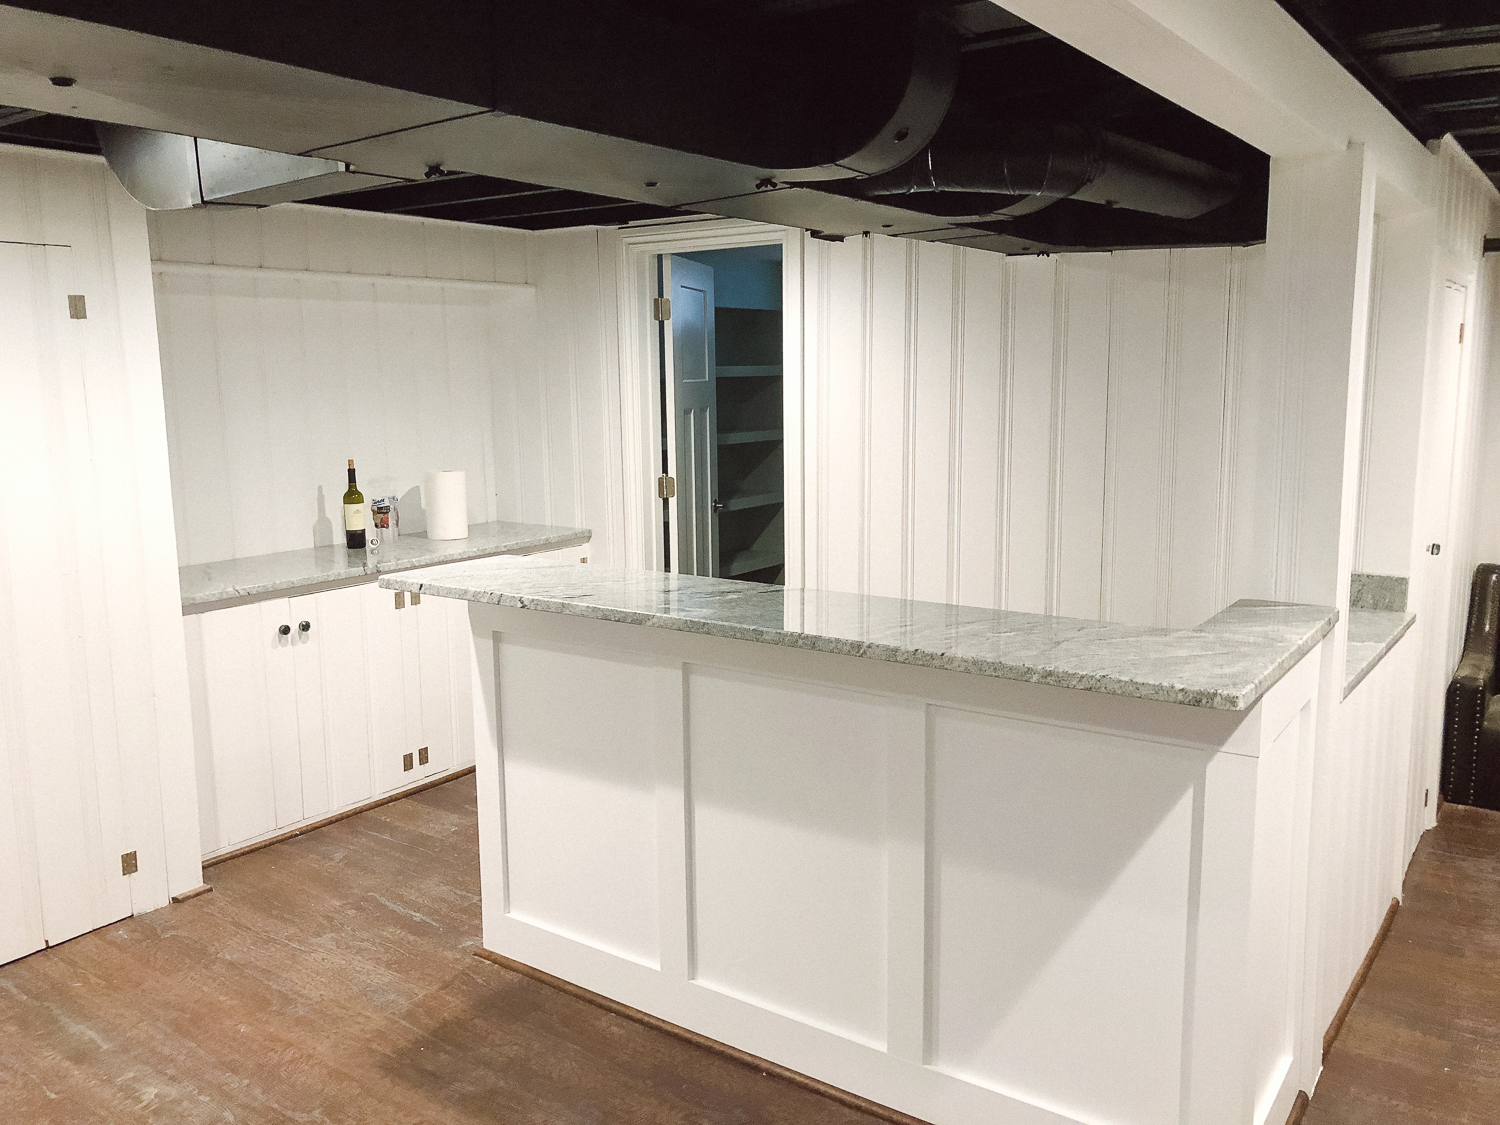
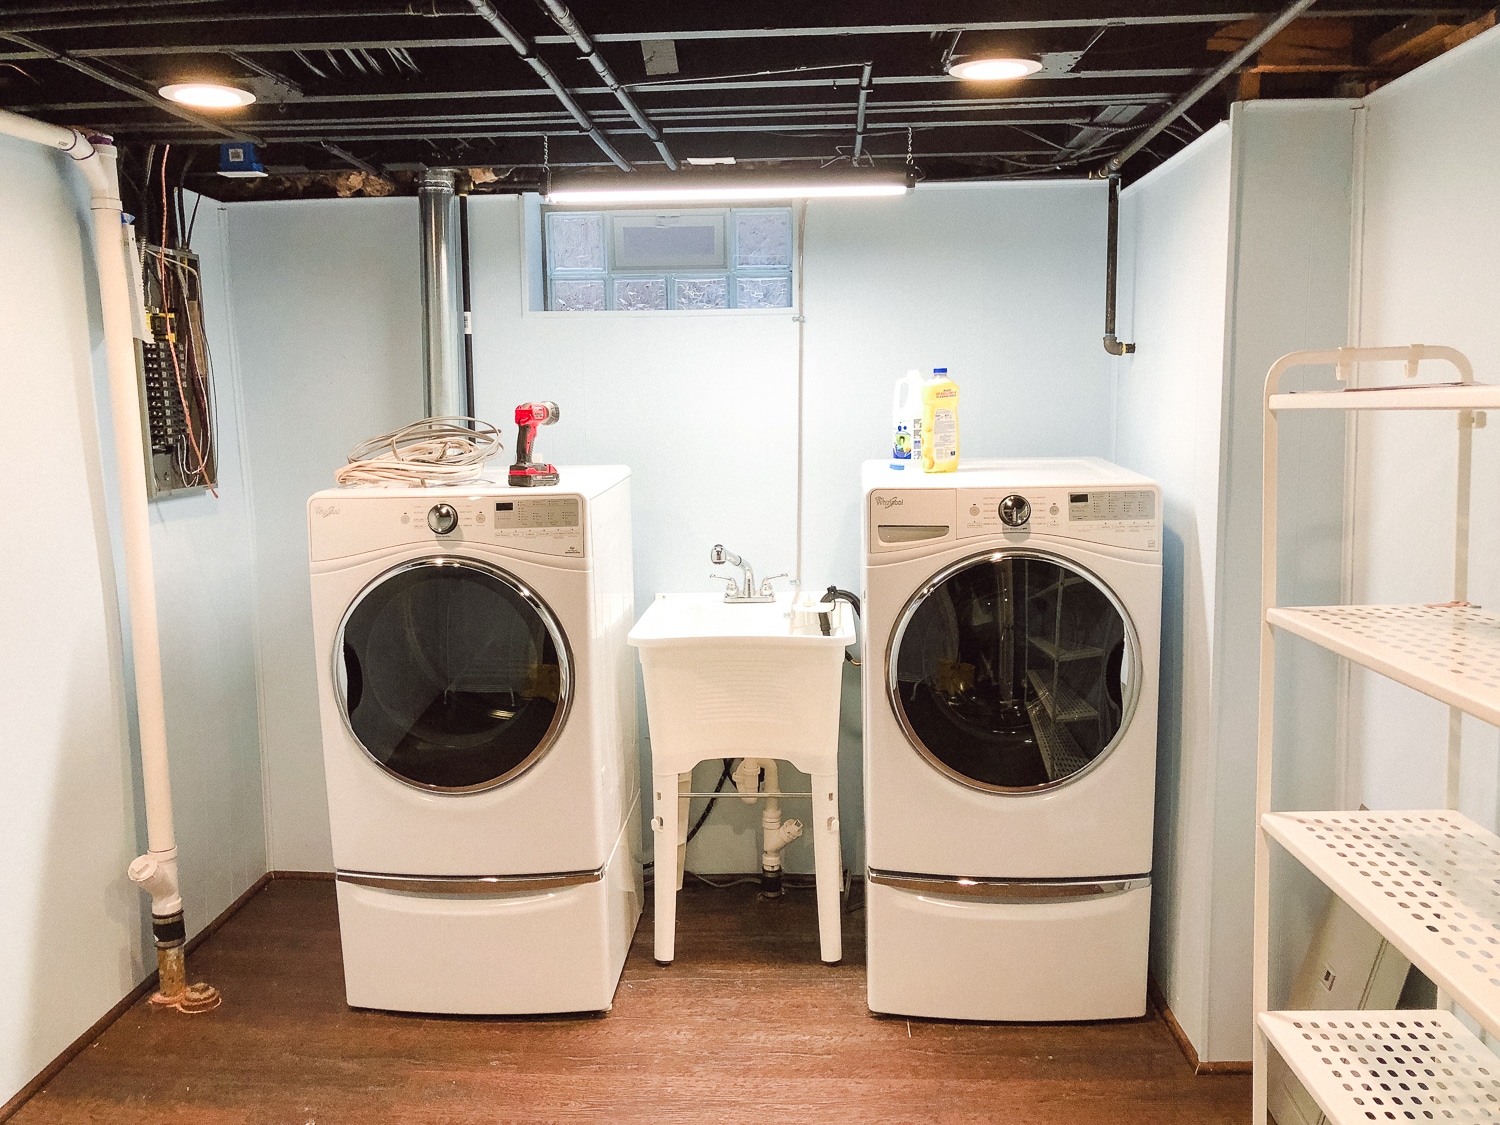
Basement Main Rooms + Laundry Room – After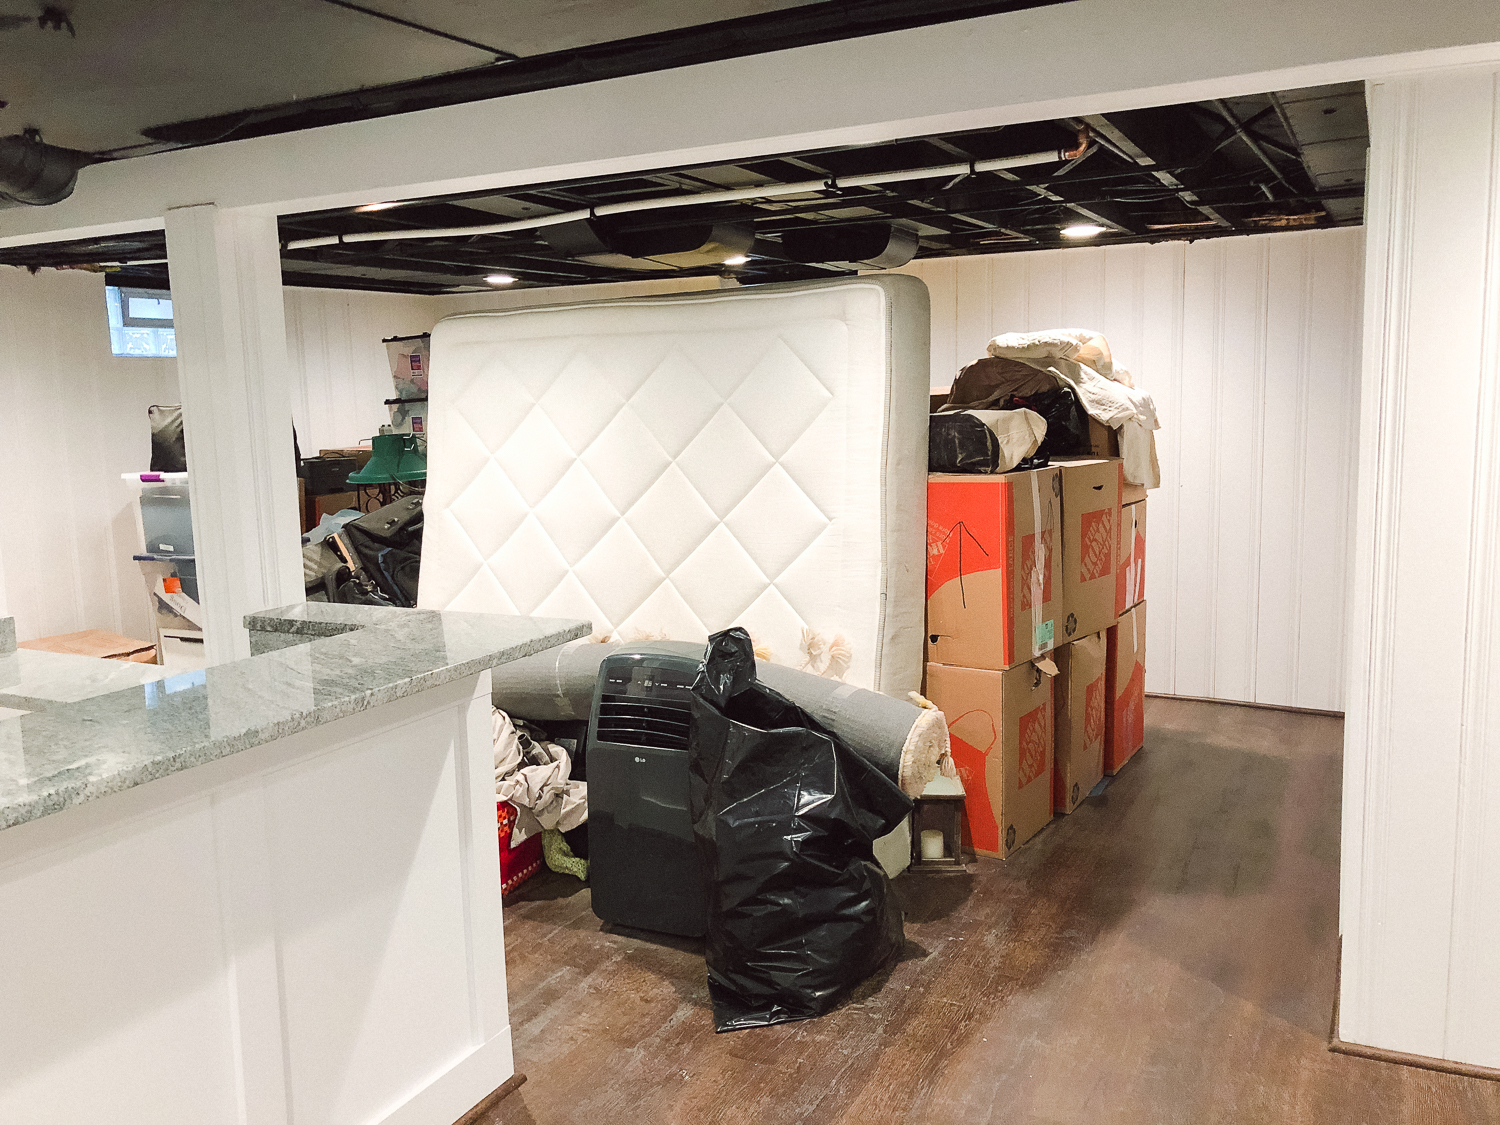
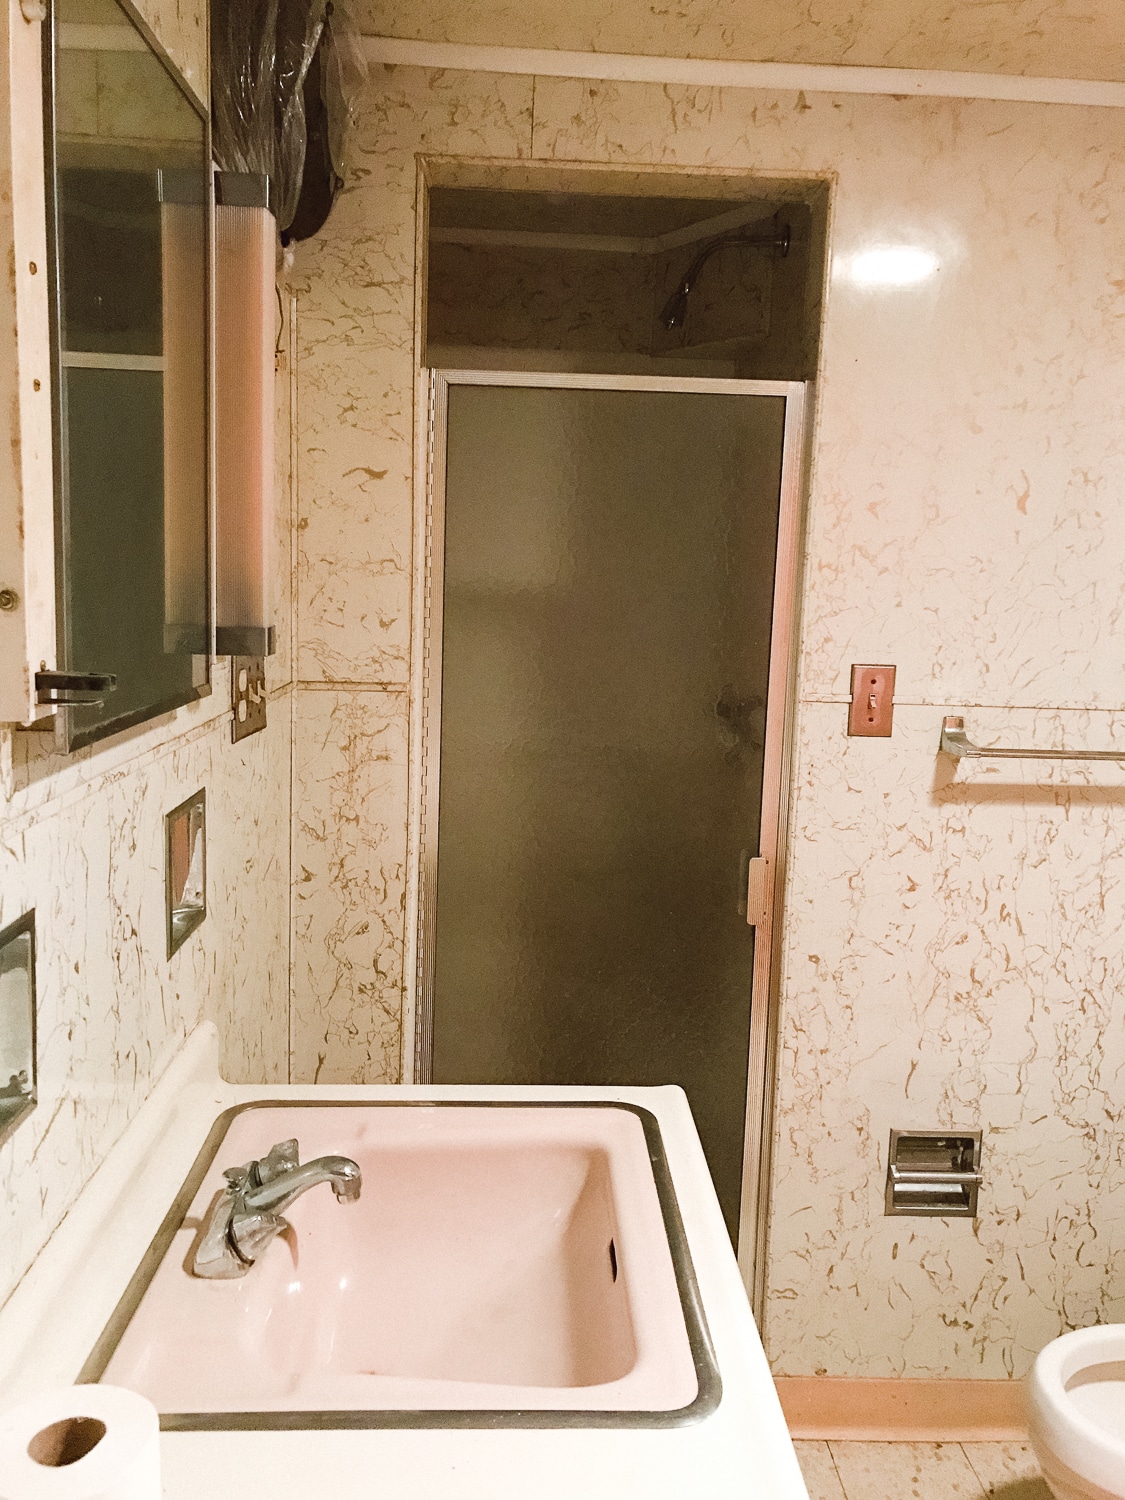
Basement Bathroom – Before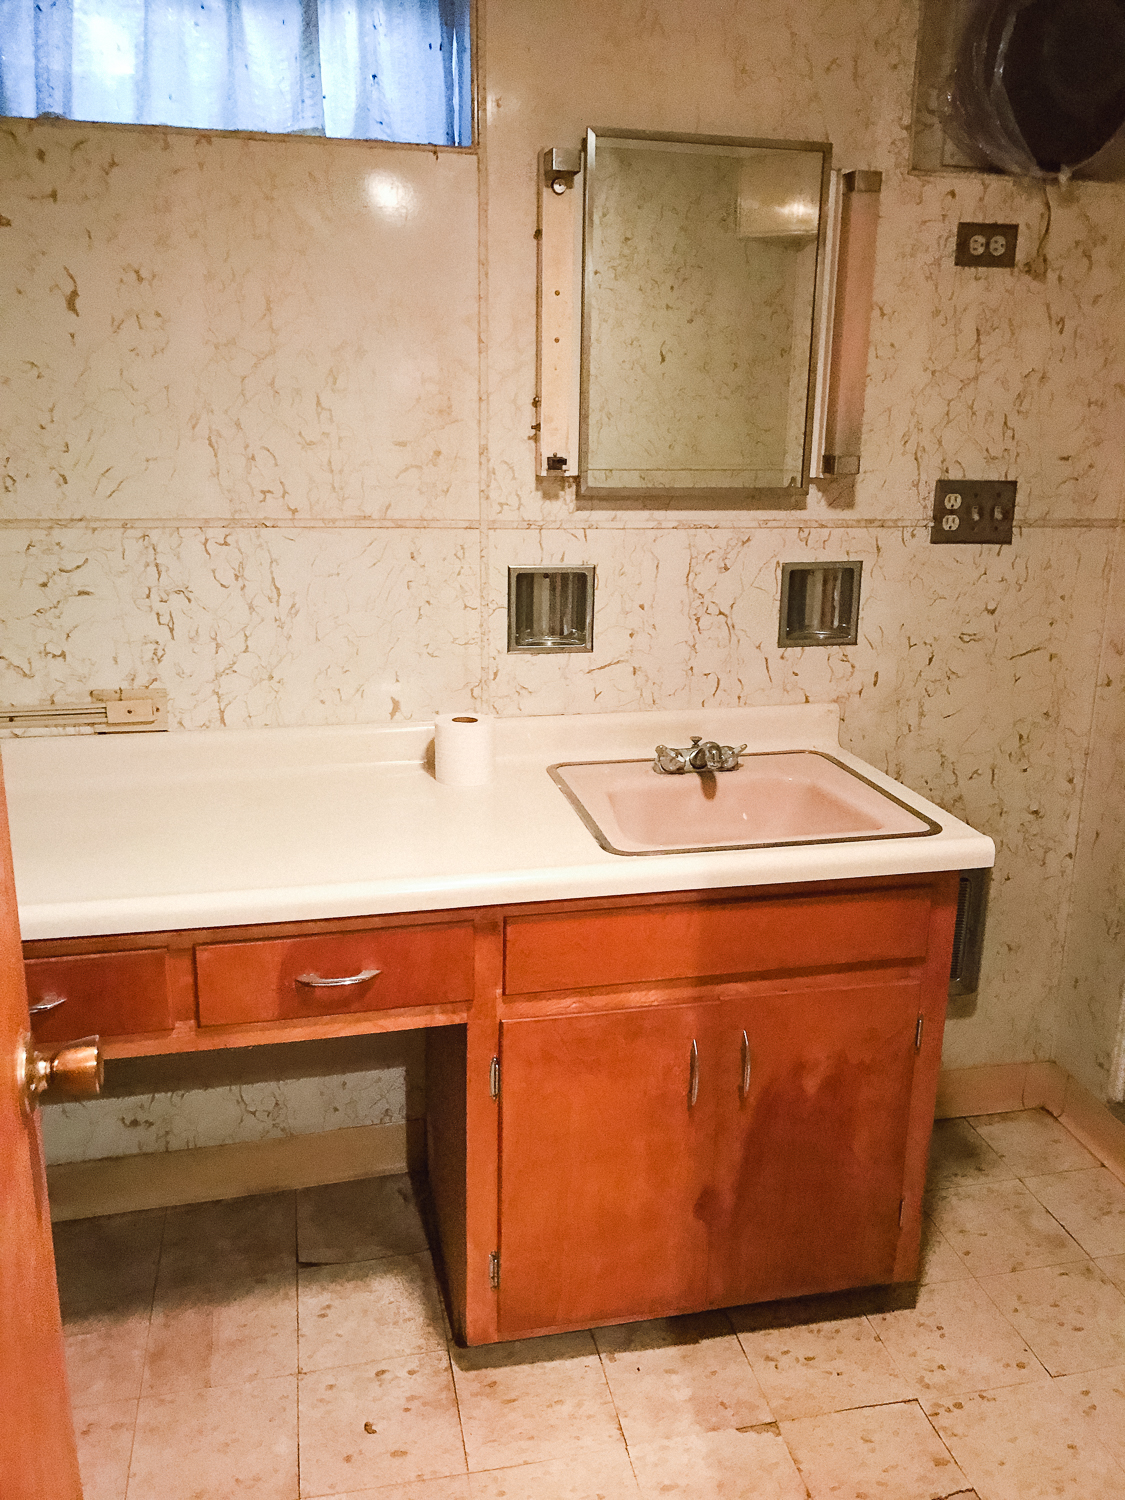
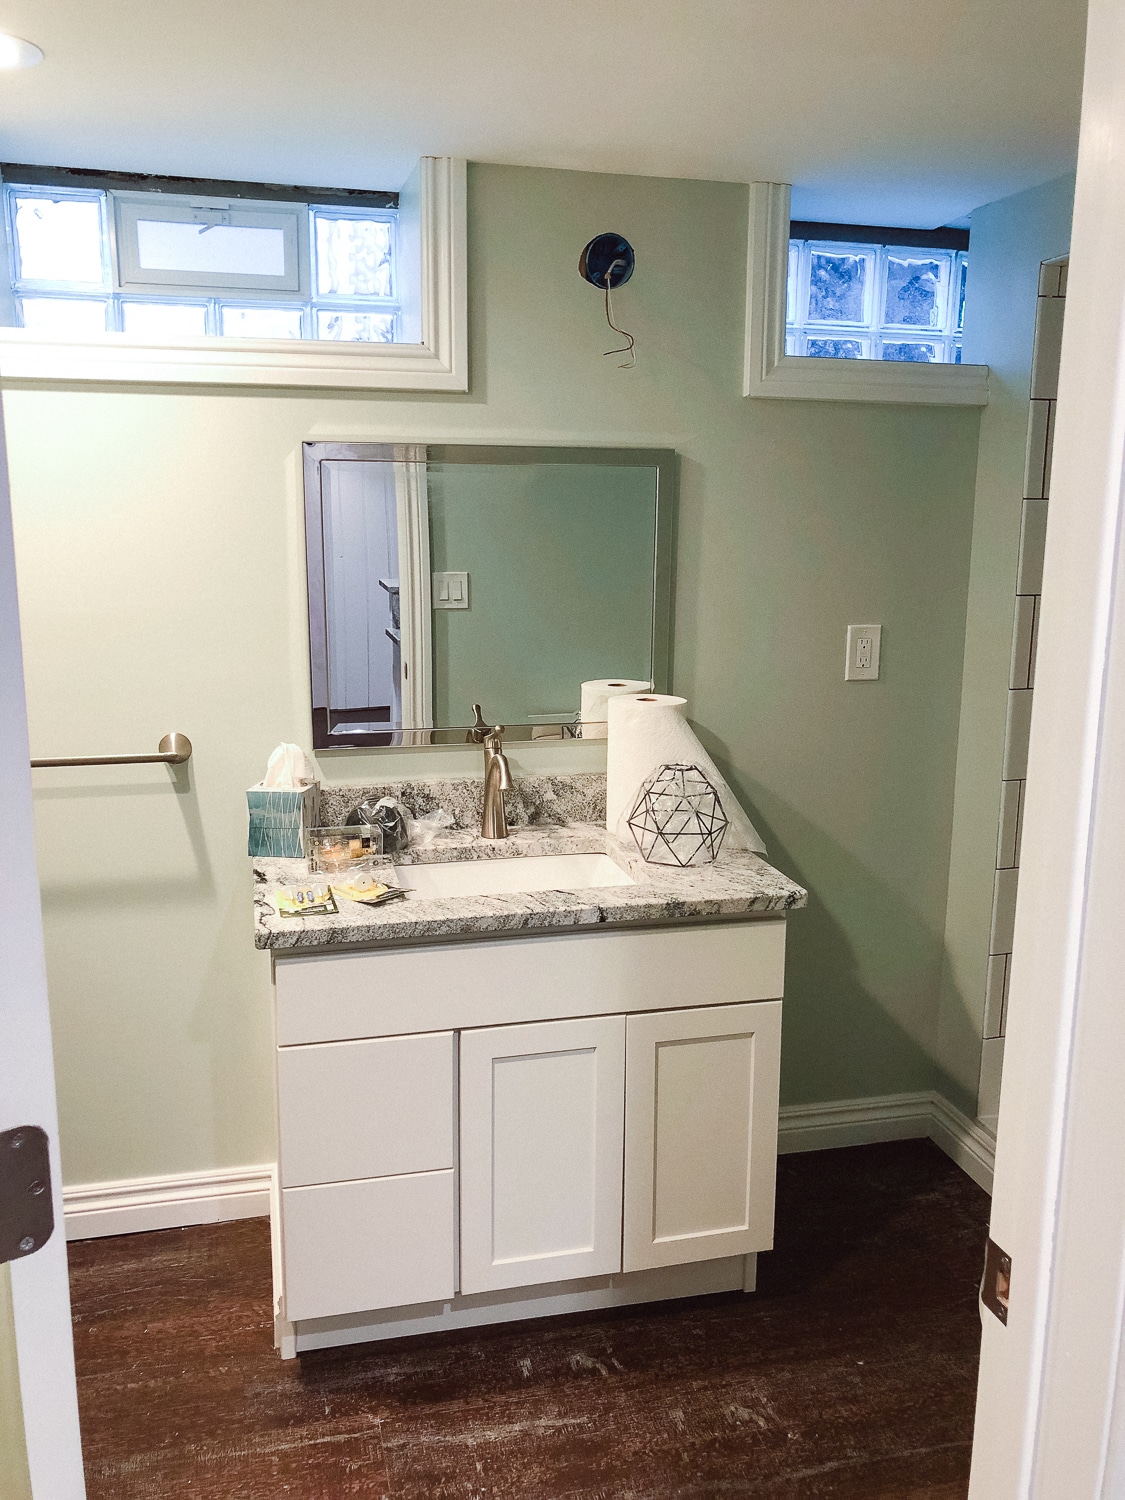
Basement Bathroom – After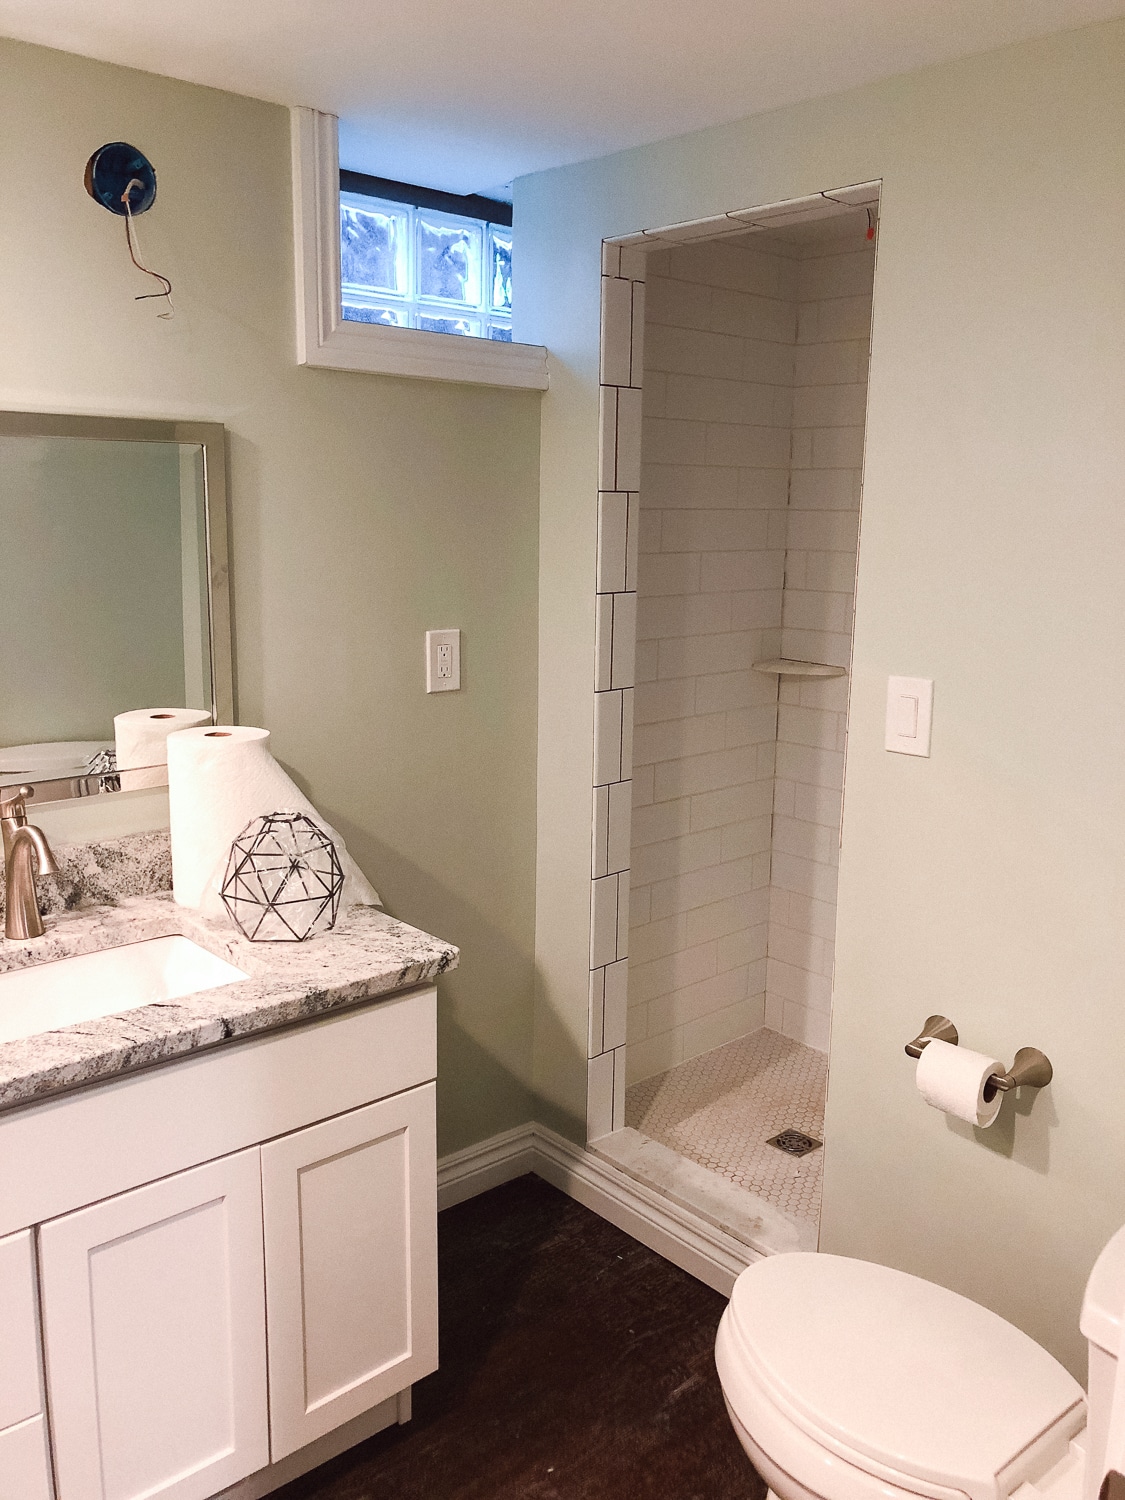
There is SO much more to share, and after looking at this post I’m realizing I actually missed a lot of details. I plan on doing in depth room tours, including all the changes that we made and details behind the renovations per room, so look out for more posts soon.


5 comments
It looks so good! I love a good fixer upper. Where dd you get your upstairs master bathroom tile from? I’m looking for something very similar for a laundry room reno. Sierra Beautifully Candid
Thank you so much, Sierra! A good fixer upper is so fun, right?! I’m pretty sure the tile was from Home Depot — there’s a ton of great options here if you’re interested! http://bit.ly/2Ok1Spa
Thanks for commenting!
Your new home looks beautiful! I’ve loved watching you guys on your move from Chicago to Michigan. We live in Chicago also, and have contemplated doing the same. Very happy for you and your family!
So sweet, thank you Sara! Really appreciate it! Also – in case you’re taking votes on moving back to MI – mine is “YES”! 😉
I love it Emily!!!!!!! So happy you are back in town!! xoxo