After this post & with visions of Carrie Bradshaw dancing in my head, I set out to make a tulle skirt. “How hard could it be?” I thought. Nevermind that I’d never sewn before or that I’d heard tulle is one of the most difficult fabrics to work with. I was convinced it would be as easy as cut-sew-done.
4 hours later & multiple threats to throw my newly-purchased sewing machine out the window, I proved myself wrong.
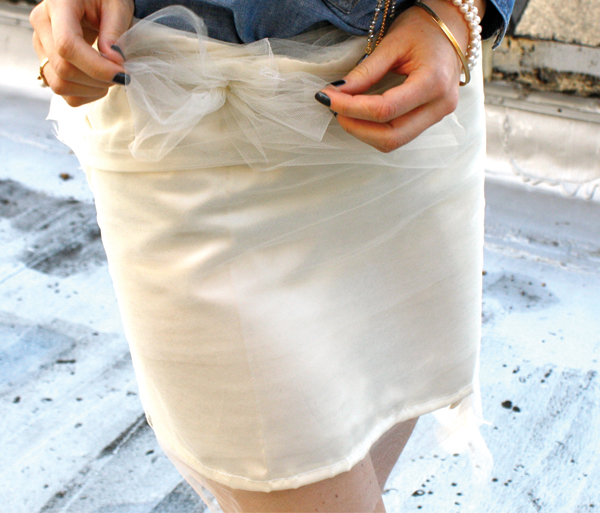
A tulle skirt probably wasn’t the best way to jump into the make-your-own-clothing world. But, my friends, I finished. It’s by no means a professional looking piece but I’m pretty darn proud. And now I have a fabulous tulle skirt to twirl around in at holiday parties.
If you’re crazy enough to try this DIY from a beginner who had no idea what she was doing, step by step instructions are after the jump.
Be sure to stop in tomorrow for an outfit post featuring this skirt, a puddle-grazed rooftop & Chicago’s beautiful skyline.
1 yard of satin fabric
2 yards of tulle to match (Total cost of fabric was $15)
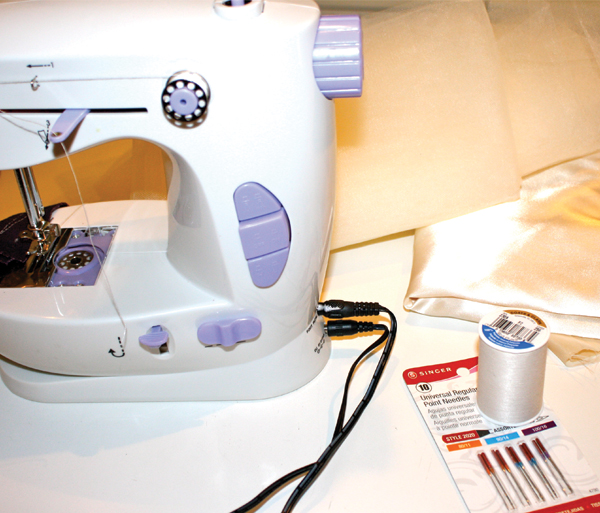
Sewing machine + needles
Thread that matches satin fabric color
{All of my materials were purchased at Joann Fabrics.}
Directions
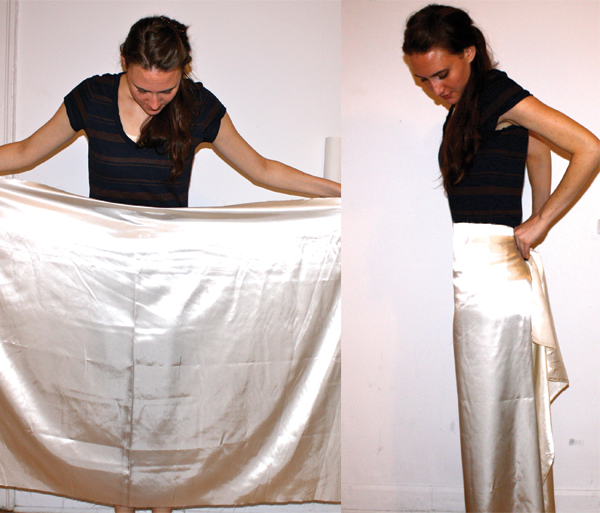
1. Take the satin fabric, which will be the base of your skirt, and hold it up to your waist. Determine your ideal length of the skirt. Mark where you want the fabric to be cut at.
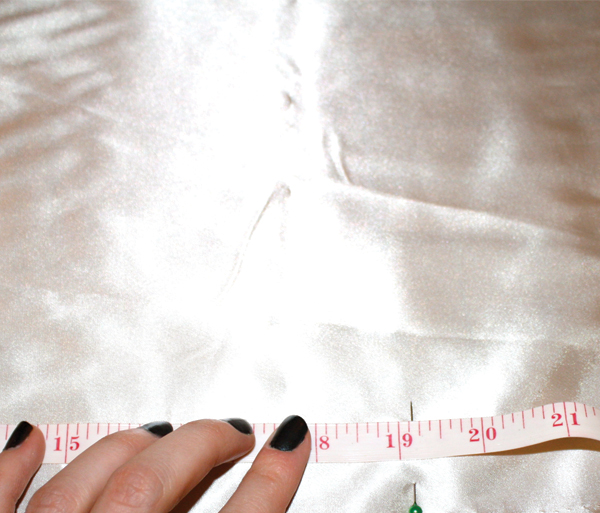
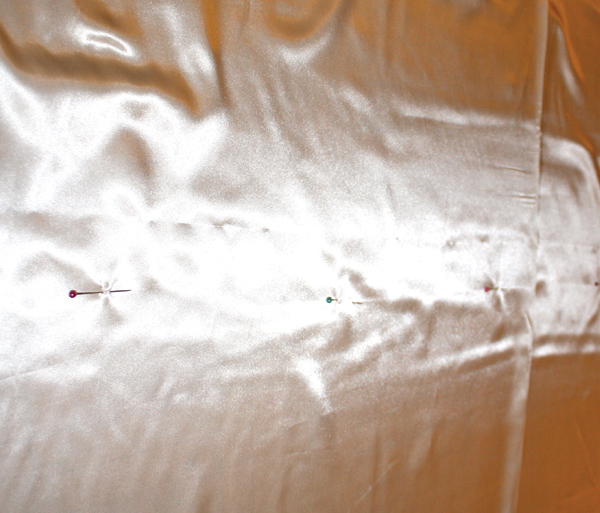
2. Where you’ve marked your length, take a ruler and measure needles evenly across the width of the fabric. You are creating a sewing line which will be the bottom of your skirt.
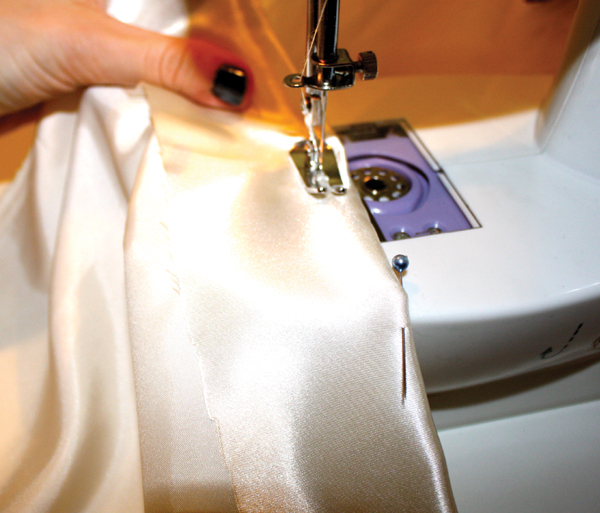
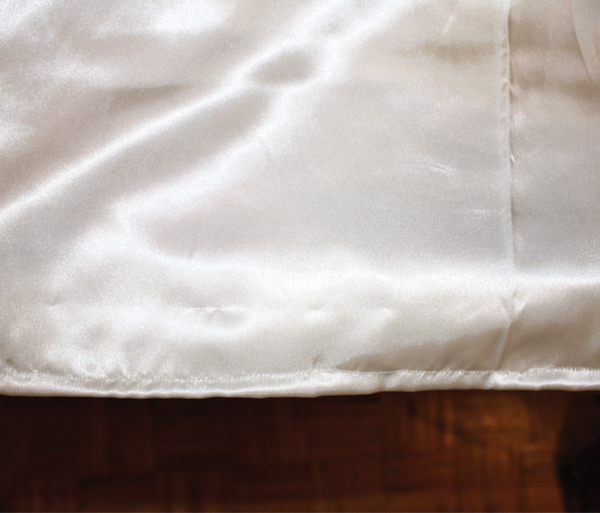
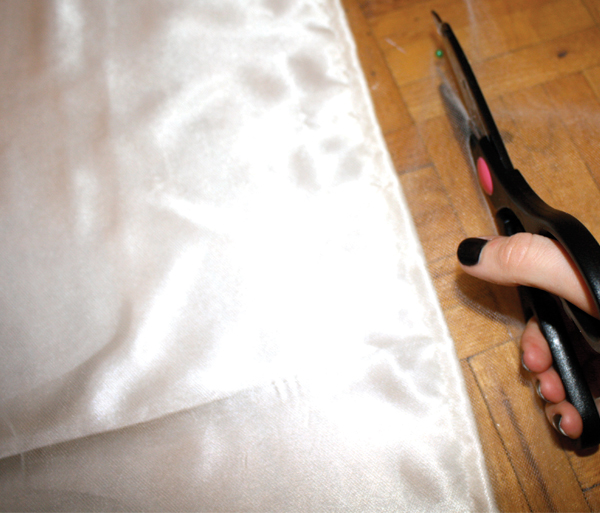
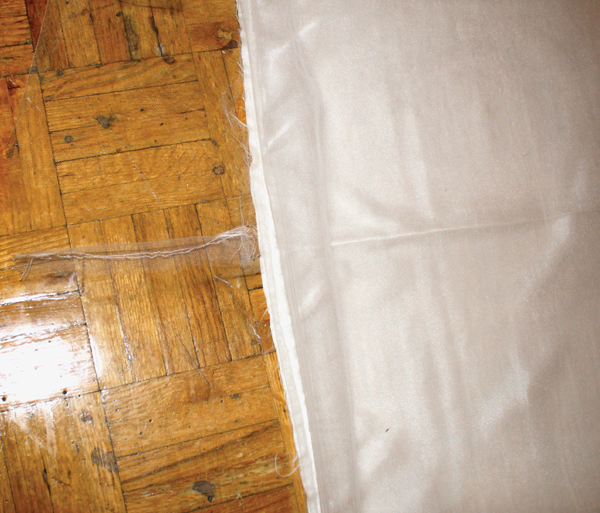
3. Cut excess fabric from the bottom of the skirt to make sewing easier. Fold the fabric along the bottom and sew, removing the needles as you go. I didn’t necessarily focus on the hem being super straight but it’ll look best if you did make a point to create an even hem.
The end result will be a hem along the bottom of your skirt. Repeat this for the top of your skirt.
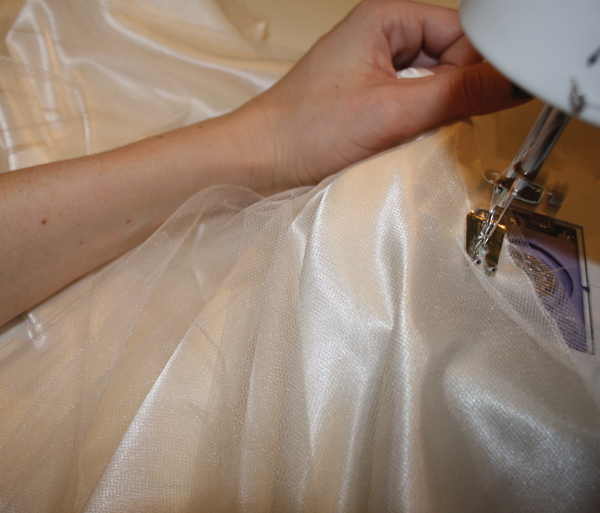
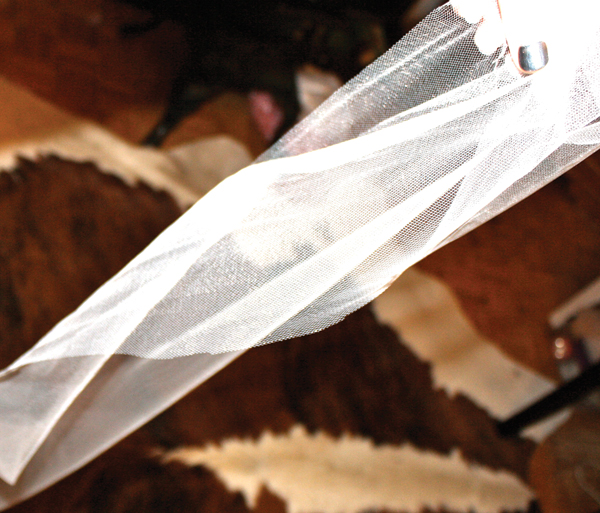
4. Take the first yard of tulle and line it up with the top of your skirt. Secure with needles along the sewing line. Sew to the top of your skirt. Repeat for the second yard of tulle.
5. After all the tulle is sewed, lay the skirt on the ground. Determine the length of your tulle & again create a needle line to guide you. Cut along that line. I wanted mine to look a little uneven so I cut accordingly.
I kept the bottom layer longer than the satin base to extend beyond the hem. I then cut the second layer of tulle to be slightly above the hem line.
6. Create the drawstring for the top of the skirt with your excess tulle. I sewed two parts together and cut them so they were along the same length. Sew this to the top of your skirt.
7. To wear the skirt, wrap it around your body. My tulle drawstring was made long enough so that I could wrap it about 3 times before tying. Tie in a bow at the front of your skirt.
Now twirl. <3



9 comments
Cute!
Gorgeous skirt! xoxo
Eider
http://theeworld.blogspot.com.es/2012/11/long-autumn-skirt.html
Awesome job! I’m terrible with a sewing machine, so I think I’ll just have to watch your sewing projects from afar.
LOVE it! What a great idea!
xo Emily
http://www.bupster.blogspot.com
Great DIY project!
WOW how ambitious of you! Yay for diy’s gone right!
I’m not quite sure I can rock a tulle skirt as Carrie, but I’m sure this was a fun DIY! Can’t wait to see you rocking this skirt tomorrow! And thanks for sharing the step by step process, who knows, maybe I change my mind later!
Jenny
http://www.jensoutfitjournal.com
You knocked this one out of the park! I am obsessed with Tulle, so I”m going to have to try this sometime soon!
thanks for the awesome DIY inspiration – as usual!
xx,
Maya
Great D.I.Y i really love tulles too =)
http://anotsosecretlife2011.blogspot.com/