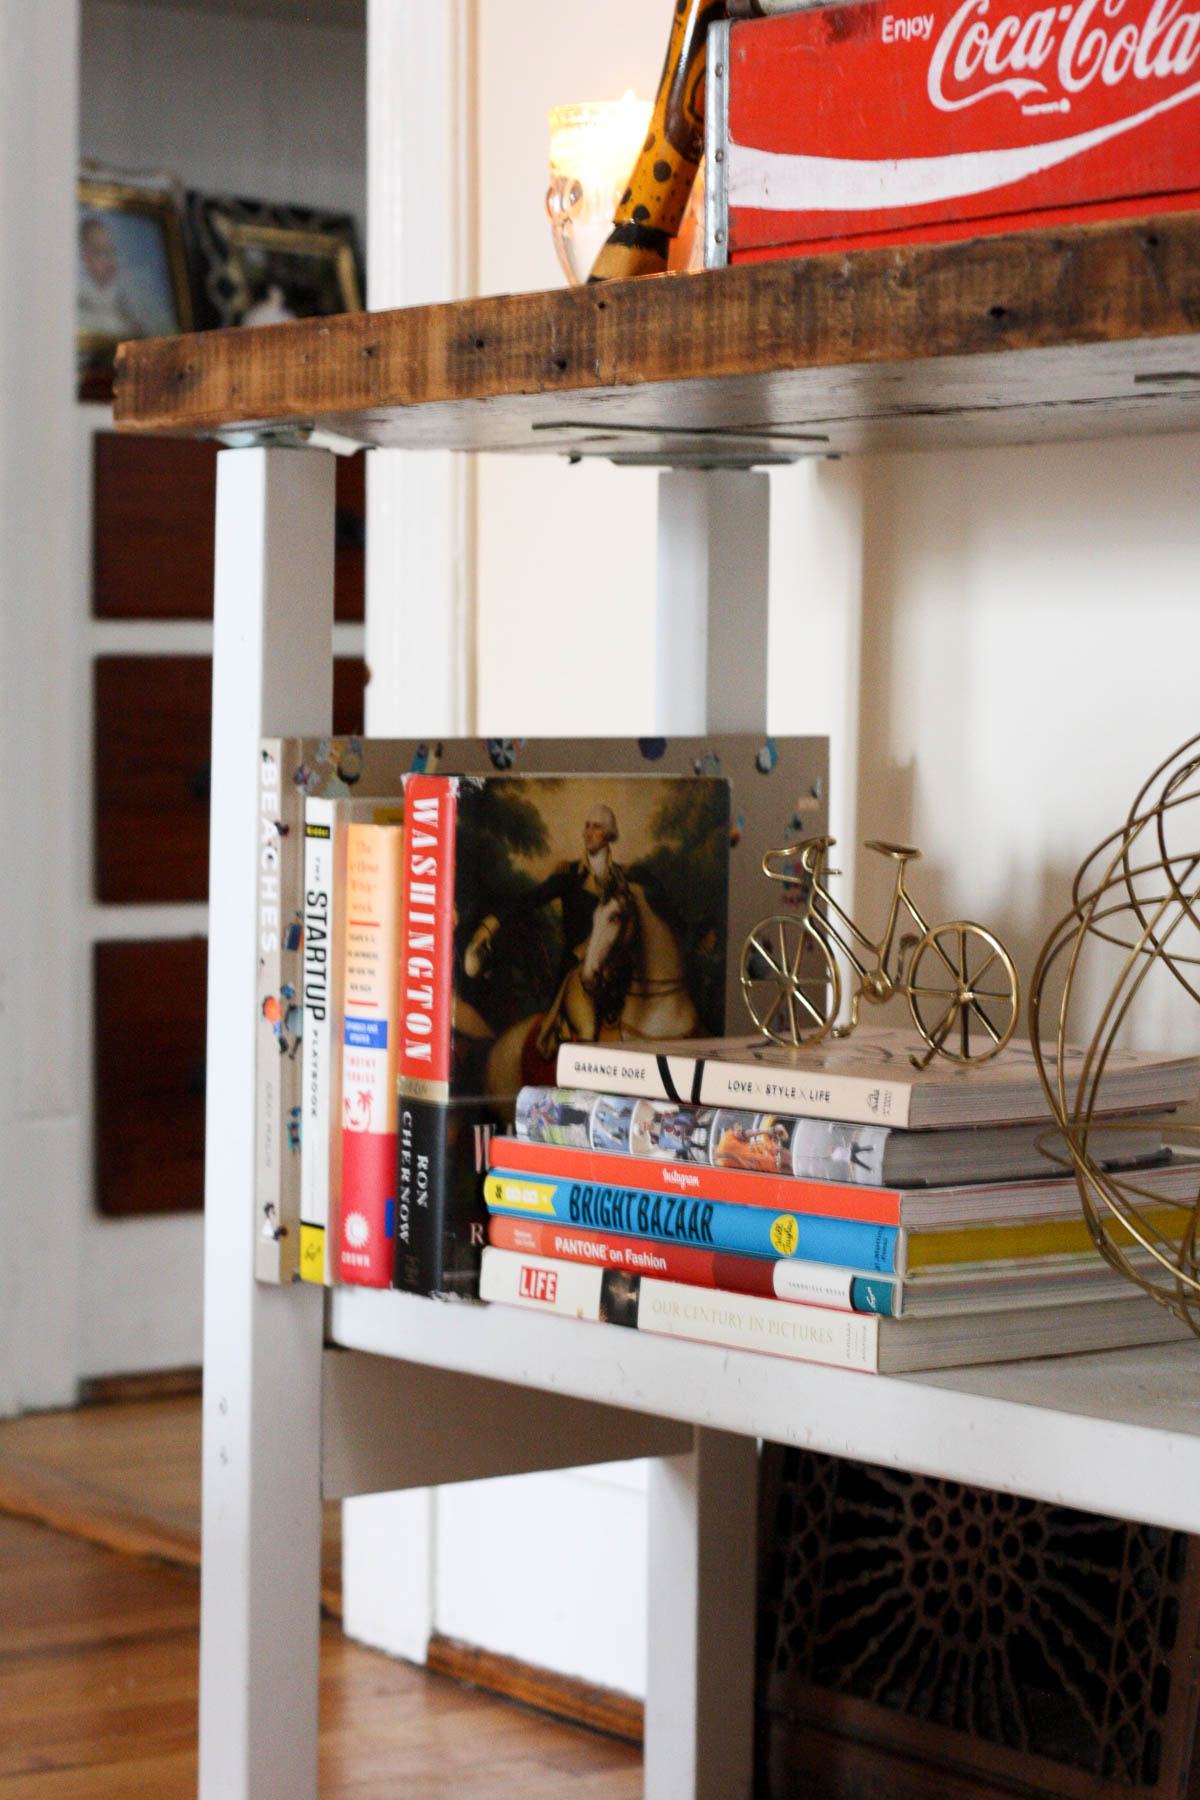
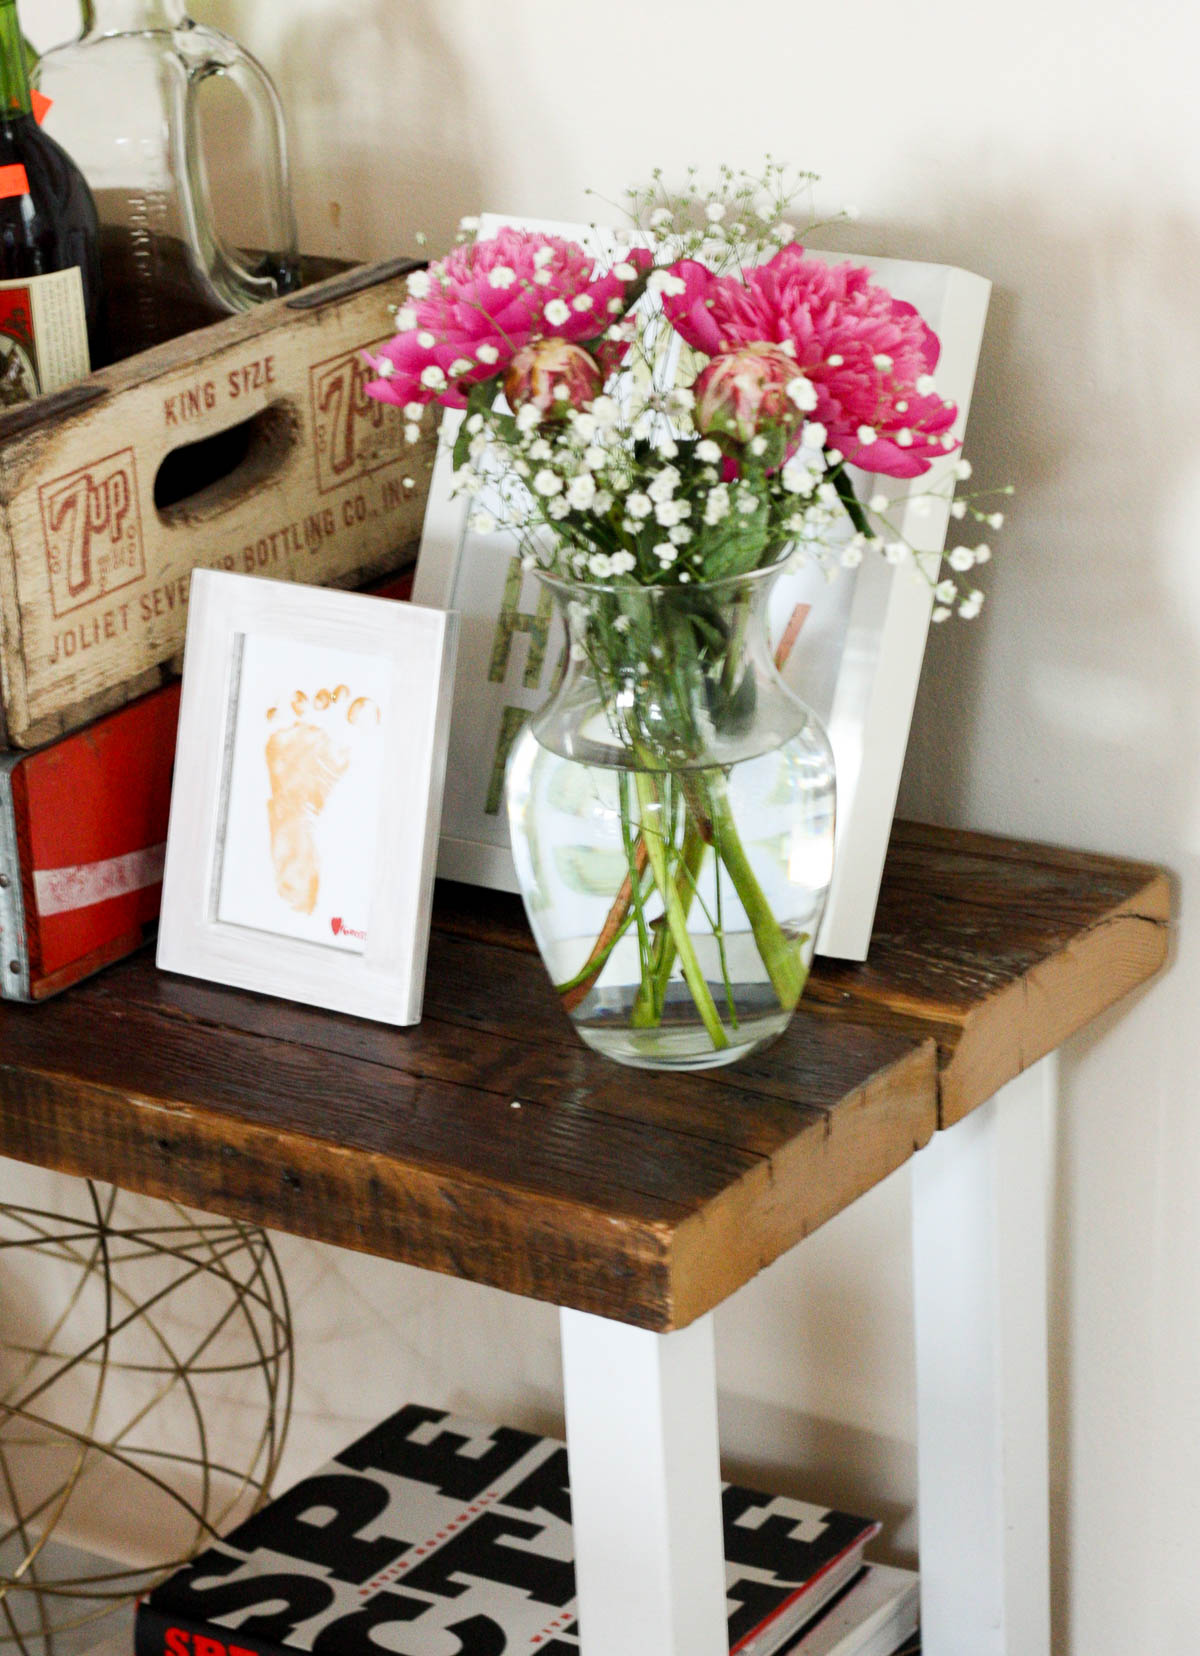
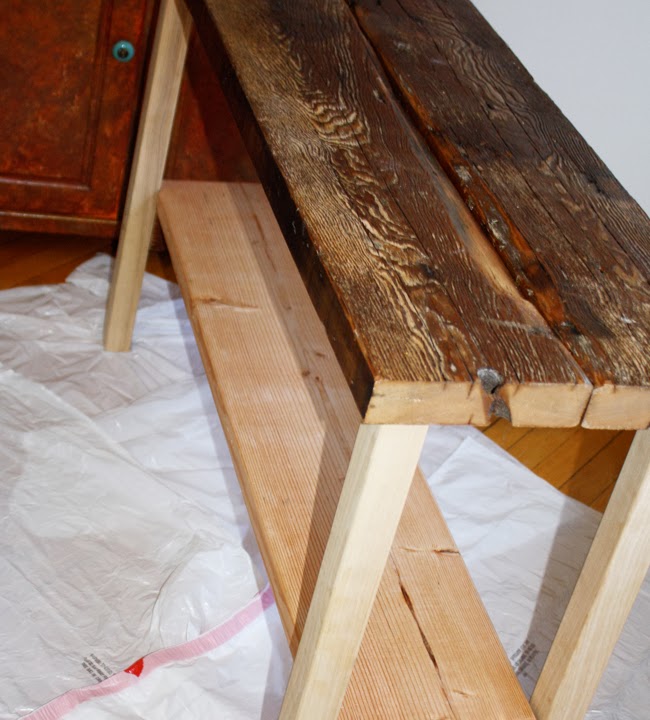
After discovering the coolest reclaimed wood store in Chicago, Doug and I had our hearts set on making furniture for our apartment. We chose to start with a TV stand since we’re both relatively new at wood working and figured it’d be simple to make. Once the wood was measured and cut, making the table was a breeze, and I absolutely adore how the piece turned out.
The reclaimed wood we chose for the top of the table was repurposed from a house in Detroit, which is of course something we’re big proponents of since that’s where we’re originally from. I just love when furniture has a story behind it, don’t you?
If you’re new to wood working, this is definitely a great first project to get your feet wet!
Directions provided below!
:: Materials Needed ::
- (2) pieces of stained reclaimed wood, each cut to 48 inches (4 ft) x 8 inches
- We purchased ours from Rebuilding Exchange, a non-profit in Chicago
- (2) pieces of wood, each cut to 9 inches x 2 inches, to mount the shelf onto
- (1) piece of wood for the shelf, cut to 48 inches x 9 inches
- (4) wooden table legs
- (4) top plates to screw legs into
- (3) mending plates
- Screws
- White paint
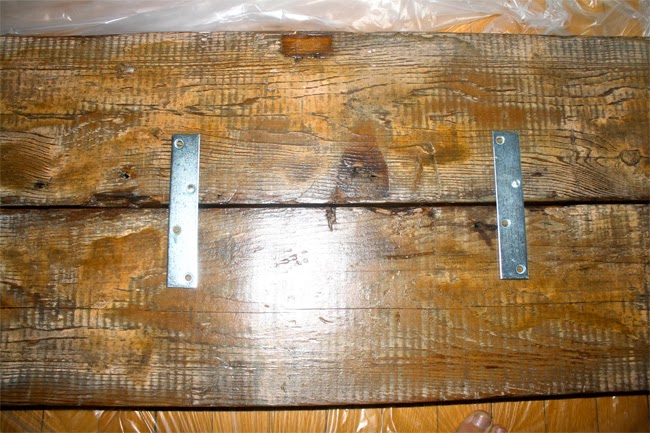
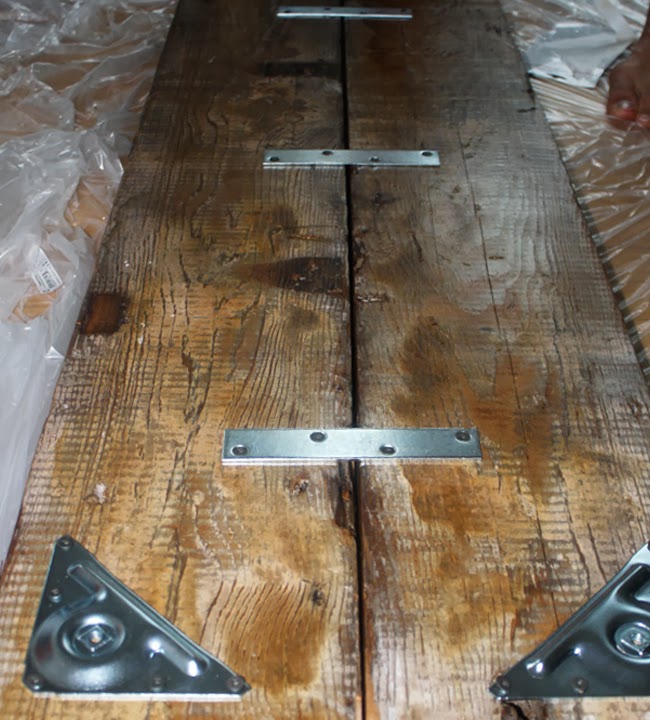
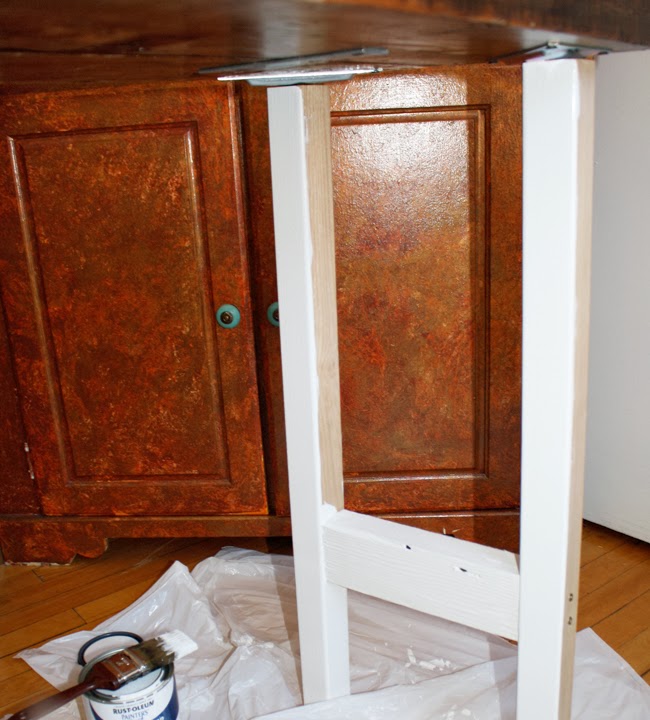
Step 1: To create the top of the table, line up the two reclaimed wood pieces, making sure that the bottom is facing upwards toward you. Screw in the mending plates (We used 3 total).
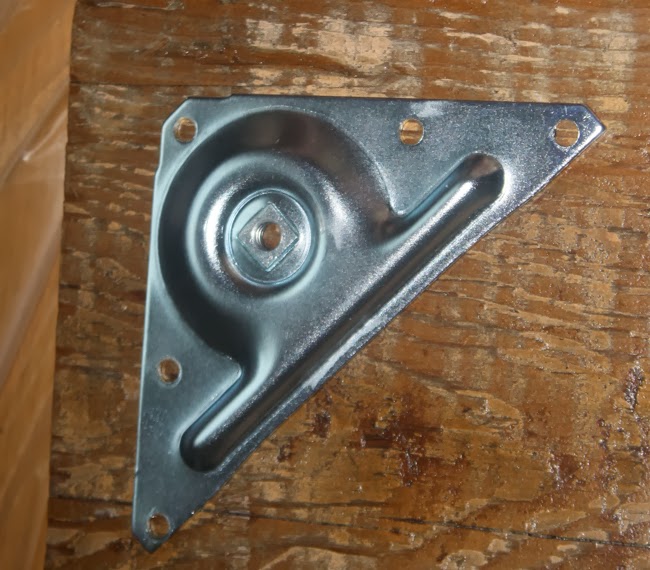
Step 2: On every corner, screw in top plates. These will be used to screw the table legs into, in order for the table to stand upright.
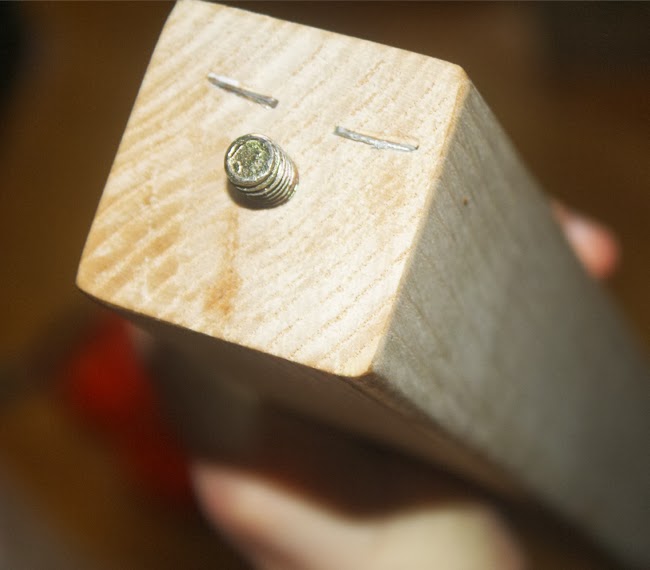
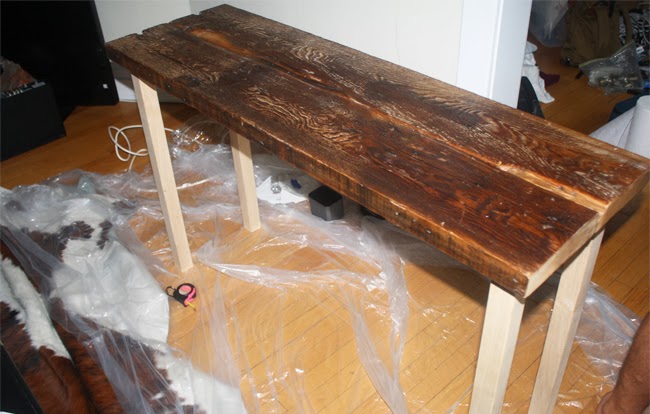
Step 3: Screw in the legs of the table.
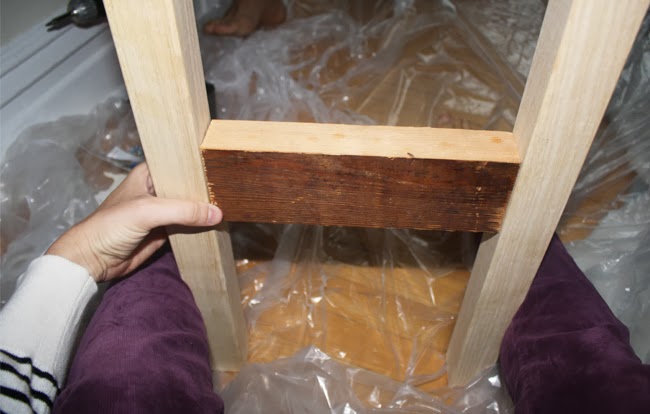
Step 4: Measure where you’d like your shelf to sit. The top of our table shelf sits 11 inches above the ground. Align your smaller pieces of wood (we used scraps from the reclaimed wood store) with your measurements and screw them in.
Step 6: Place your shelf wood on the top of the mounting wood pieces. We did not nail, screw or glue our shelf in case we want to remove it in the future, and it’s still very secure.
Step 7: Paint the bottom wood portion of the table. Once the paint dries, you’re done!




13 comments
It looks perfect doll x
Looks awesome!
-Alex
http://www.monstermisa.blogspot.com/
This came out so amazing, Emily–and I love the story behind the wood! I honestly didn’t know you could purchase reclaimed wood, so I’ll have to try this out!
Oh that turned out so pretty! Love it!
agirlandhersparkles.blogspot.com
Wow go you! Looks so good.
I personally “love” the rustic look, great job!
I am so so so impressed! Can’t wait to see even more of your projects come to life!
That is so awesome that you did this yourself! I would get too frustrated and give it up entirely too fast. Awesome job!
How awesome! Love finding other Chicago bloggers:)
http://www.somewherelately.com/
My gosh, you’re beyond crafty! There’s simply no way I’d ever be able to build something this like! You did an amazing job!
xo jen
Pearls & Lace
I appreciate your work and i like your art technique this is life’s different experience and i like your crafty work waiting for other blogs.
DIN 7 | DIN 6325
This went straight onto my pinterest board! Great project and even better results. We have a reclaimed wood headboard above our bed but I don’t have a tutorial like you, as my dad assembled it as a surprise while I was away:
http://asecondglanceblog.blogspot.ca/2012/12/bedroom-and-bathroom-update-reveal.html
Very nicely done – so cool that the two of you are getting into a hobby like wood working together!
Bailey
aka Bailey