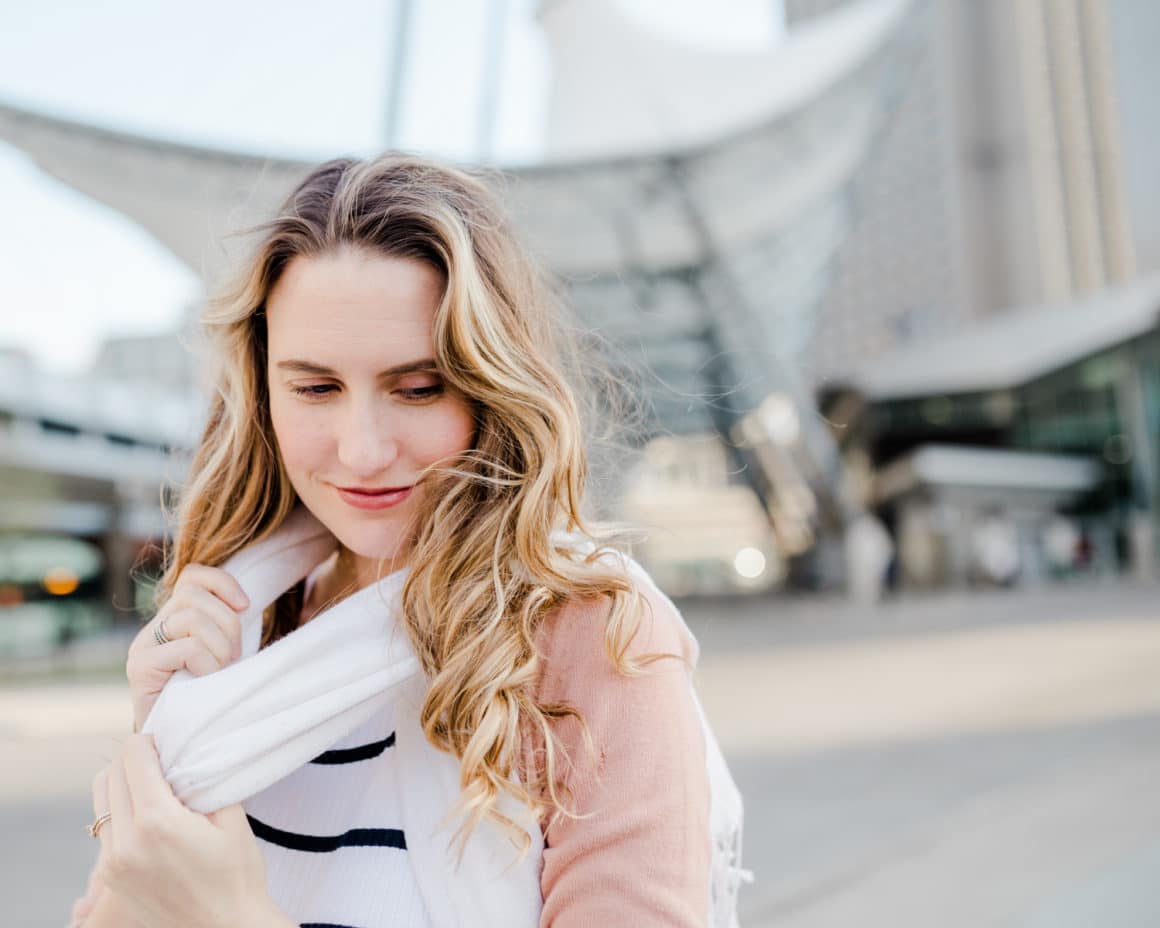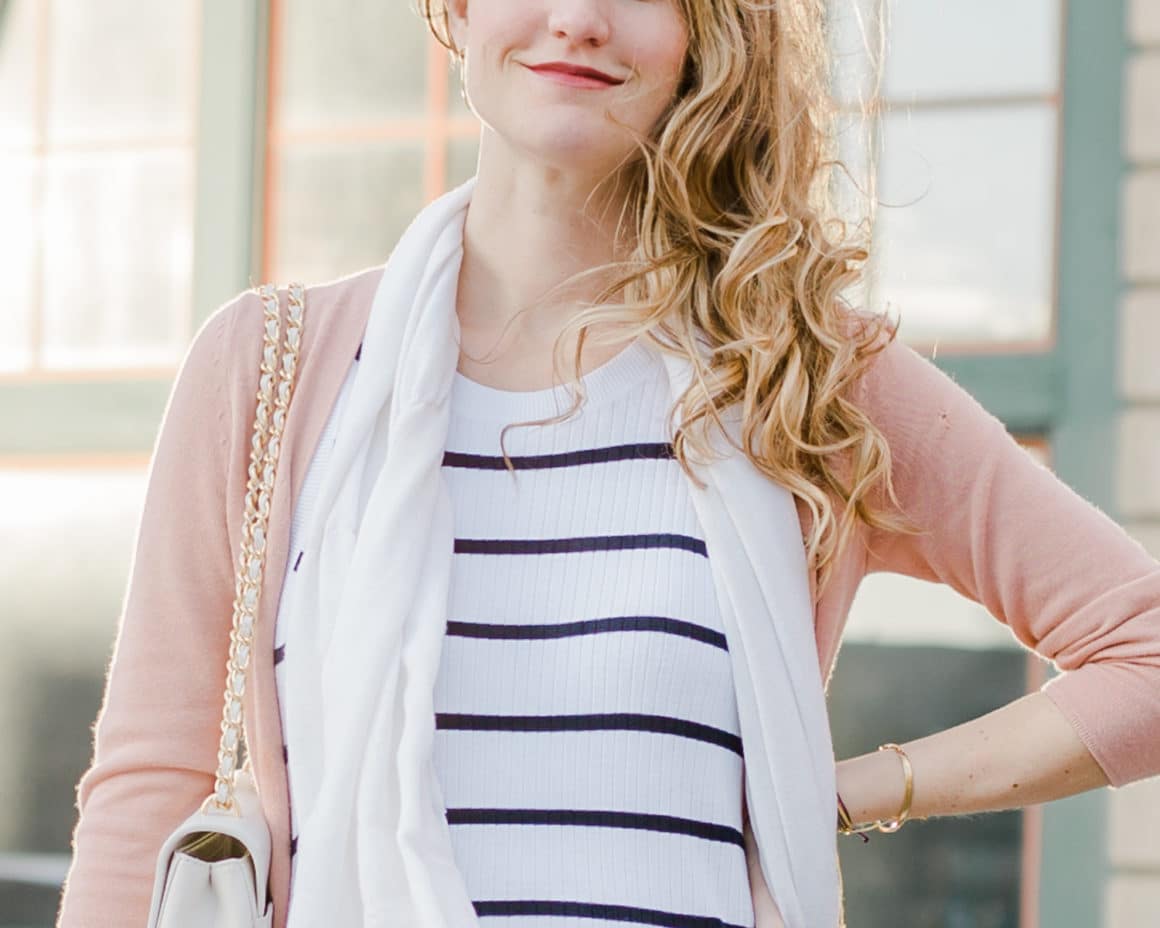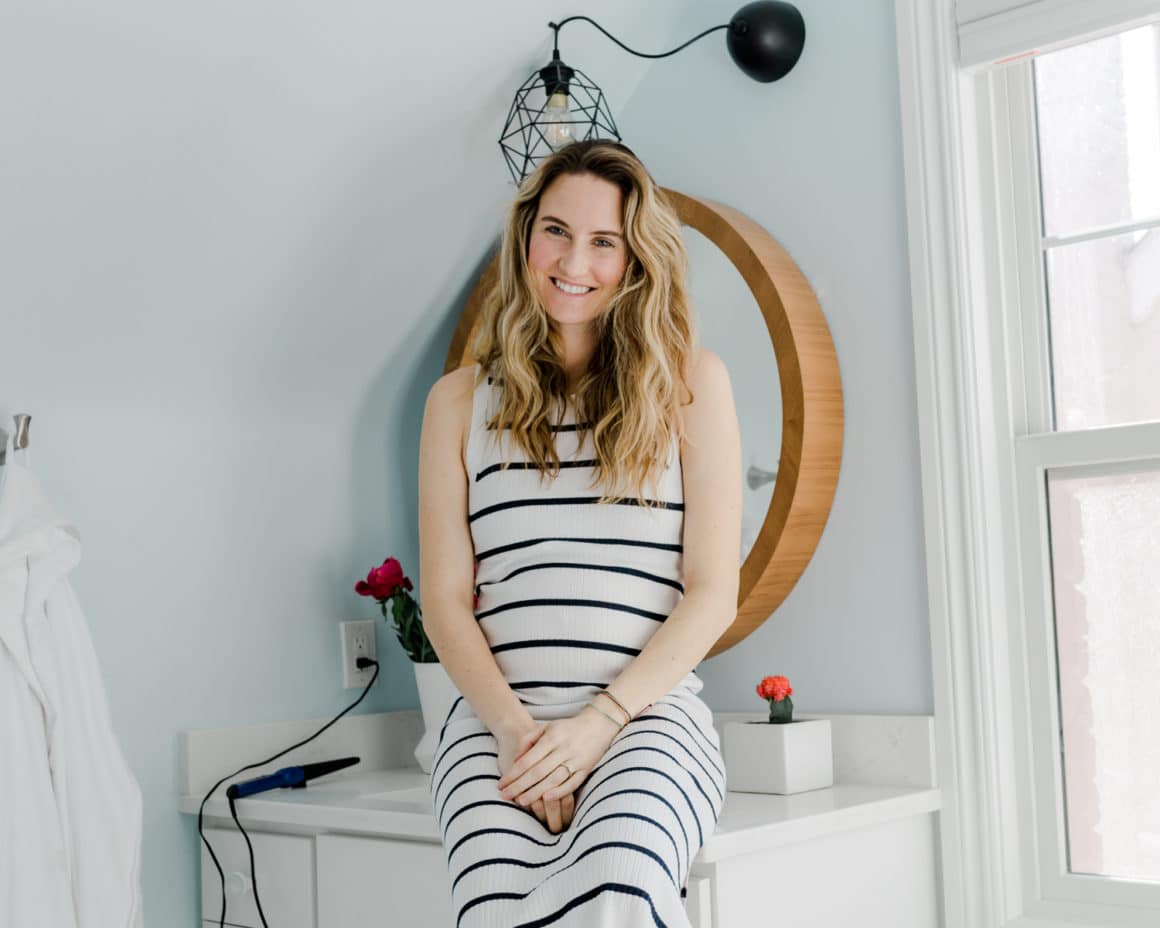


Loose curls are such a timeless, pretty style.
Before I share the curling wand tutorial, let me tell you why I love this look so much.
First, it looks pulled together, while simultaneously not being a style that requires a lot of hassle. Usually, with the help of dry shampoo, I can get multiple days of wear out of this look. So even though I do need to take the time to do my hair initially, it ends up saving time. (Especially if I can stretch it for 2 – 3 days, which I try to do!) And last, it’s pretty darn easy to style! The proof?
Below, I break down the quick and easy steps that I take to get this look. The only tool I use is an under $20 curling wand I got ages ago from CVS or Target. (It was so long ago I don’t even remember!) I honestly giggle to myself when I see some of those crazy expensive curling wands because I feel like this does the job just as well. (To be fair, I’ve never used one of the more expensive alternatives so there may be benefits I’m just not aware of?)
Curling wand tutorial: How I style beautiful, loose curls

Step 1
Start with freshly washed and dried hair. I usually wash my hair the night before, and let it air dry, so that it has a little bit of texture (not straight, like if I blow dry it) to begin with. This tends to hold the curls for longer.
Step 2
Split hair into two parts – the bottom and upper half. With a clip, secure the top half so the bottom is easily accessible.
Step 3
Take about a 1 inch section of hair and wrap it around the curling wand, holding the wand pointed down. Pointing it down helps for the curls to be looser at the top and more defined at the bottom. Hold the hair to the wand for about :15 seconds. (Adjust time depending on if you take bigger or smaller hair sections to curl. Thicker sections will require longer hold times, and vice vera for smaller sections.)

Step 4
Once the lower half of hair is curled, take down the top, and begin to curl. Same steps as the above.
Step 5
When full head of hair has been completed, gauge if you like the waves! If you do, go ahead and spray. If you want them to be even looser, let the curls relax for a half hour before spraying. It also helps to lightly run your hands through your hair to break up the curls.


…That’s it!
I hope this curling wand tutorial was nice and easy to follow! Don’t forget to play around with the size of your hair sections – that definitely makes a difference in how the curls turn out!
PS – How to Style A Slip Dress: 10 Ways For Fall + What Is Clean Beauty & Why You Should Give A F*


